
You can save money doing your own plumbing. You can also cost yourself a lot more. I’ve been on both sides of that equation — the ten-minute win that made me feel like a professional, and the overtightened fitting that dripped for weeks before I found it. The trick isn’t avoiding DIY. It’s knowing which jobs are actually DIY.
That’s the part most guides skip. They tell you to swap a flapper or unclog a drain without ever explaining the boundary between “smart savings” and “voided insurance claim.” The line isn’t drawn by your confidence level. It’s drawn by legal codes, safety hazards, and what a mistake really costs.
Take Washington State, a decent model for how this works. Homeowners there can legally perform their own plumbing without a license. However, some projects require permits, and when a permit is required, a certified inspector must check the work. The law gives you a clear sandbox: fix leaky faucets, unclog drains, install or replace fixtures without altering the plumbing system.
Complex work — repiping, water heaters, anything touching gas lines, belongs to licensed pros. Messing with that can mean fines, problems when you sell your house, or an insurance company that refuses to pay for the damage.
So yes, you can DIY plumbing. The real question is which plumbing.
Key Takeaways
A toilet flapper costs under $10, takes 10 minutes to replace, and can stop $70–$200 in monthly water waste; plumbers charge around $200 for the same job.
Washington State homeowners can legally work on their own plumbing without a license, but some projects require permits and certified inspections — and unlicensed work can void insurance claims.
Handle faucet washers, drain clogs, showerheads, toilet seats, and faucet swaps yourself; leave water heaters, gas lines, sewer lines, and repiping to licensed professionals.
Table of Contents
The real cost of DIY vs. hiring a pro
Start with the best case, because it’s the one that makes DIY worth it. The toilet flapper is a rubber part inside the tank that lifts to release water into the bowl. When it wears out, it leaks constantly — and that leak can waste $70 to $200 in extra water every month. A standard flapper costs under $10.

Replacing it takes about 10 minutes. A plumber will charge you around $200 for the same job.
That’s the math that makes you feel like a hero. And it’s real.
But the math flips hard when a job goes wrong. A joint that isn’t sealed properly or a fitting that’s overtightened can create a hidden leak that drips for weeks before you notice it. By then, you’re looking at water damage that costs thousands to restore if it floods a basement or soaks through a floor. That’s not a DIY savings. That’s a DIY bill.
Two more costs most people don’t think about until it’s too late. Insurance companies often refuse claims for damage caused by unlicensed work — they’ll look for any excuse not to pay, and your handiwork is a big one. And some fixtures require professional installation to keep the warranty valid. Install a new water heater yourself and you might have a perfectly good unit with zero coverage.
The honest rule: DIY wins on simple, visible, low-stakes jobs. The flapper, the washer, the clog. When a mistake could cost more than the pro would have charged, the math stops favoring you.
Five DIY-friendly repairs you can handle
These are the jobs I’d hand to a reasonably careful homeowner without hesitation. They’re visible, they’re cheap to fix, and the worst-case scenario is usually a mess you can clean up — not a flooded basement.
Most leaky faucets result from worn-out washers or seals, not a broken faucet. That’s the key insight. You’re replacing a cheap rubber part, not the whole fixture. Before you touch anything, figure out which type you have: compression (older, separate hot and cold handles), ball (single handle over a ball-shaped valve), cartridge (single handle, replaceable cartridge), or ceramic disk (newer, more durable). It’s like identifying the engine before you start wrenching.
Fixing a leaky faucet
Turn off the water supply first — there should be shut-off valves under the sink. Plug the drain so you don’t drop a screw down it. Remove the handle, disassemble down to the worn part, swap in the new washer or seal, and reassemble. The basic sequence is simple: kill the water, take it apart, replace the bad part, put it back. The devil is in your specific faucet’s details, so keep track of the order pieces come out.
Test it slowly. Turn the water back on, check for drips, and don’t crank the handle like you’re mad at it.
Unclogging a drain without wrecking your pipes
A slow drain is the most common annoyance in any house, and you can usually fix it without calling anyone. You don’t need a pro’s van full of gear — a plunger, a snake, and some kitchen staples handle most clogs.
Start with the plunger. Don’t just jam it up and down. Roll it a bit to create a seal over the drain, keep enough hot water in the sink to cover the cup (two to three inches is about right), and give it a solid 20 seconds. The seal is what creates the suction that breaks the clog loose.
If the plunger fails, try a half cup of baking soda followed by a cup of white vinegar. Let it sit for at least 15 minutes — an hour is better for stubborn gunk, then flush with hot water. It’s cheap, non-toxic, and works on the organic buildup that causes most clogs.
Still clogged? That’s where the drain zip tool comes in. It’s a thin, flexible plastic stick with barbed notches designed to grab hair and break up soap scum. It costs almost nothing and works better than a snake for hair clogs.
For deeper trouble, a plumbing snake (also called an auger) can reach 25 to 50 feet into your pipes. Wear safety goggles and rubber gloves — it’s going to be gross.
If it’s still clogged after all that, you’re not a failure. You’ve hit the limit of what a homeowner’s tools can do. Stop before you make it worse.
One more thing: skip the chemical drain cleaners. They eat away at your pipes over time and cost you far more later. If you want a maintenance product, use an enzyme-based cleaner — it uses bacteria to break down organic gunk without damaging the pipe.
Replacing a showerhead
This is the easiest win in DIY plumbing. A new showerhead can change your whole morning, and you probably own most of the tools already. You’ll need an adjustable wrench, plumber’s tape, a cloth, and the new showerhead.
Unscrew the old one, clean the threads, wrap the plumber’s tape clockwise a few times, and screw on the new one. Tighten it snug, turn on the water, and check for leaks. The tape is the key — skip it and you’ll get a drip where the head meets the pipe.
Installing a new toilet seat
Another 10-minute job that makes a surprising difference in how your bathroom feels. Basic tools only — a screwdriver, and maybe an adjustable wrench or pliers depending on the bolts.
Pop the old seat off, clean the area, position the new one over the mounting holes, and secure the bolts. Don’t overtighten. You can crack the porcelain or the seat itself, and then you’ve turned a simple job into a replacement project.
Installing a kitchen or bathroom faucet
This is a step up in difficulty, but still doable for a capable DIYer. It’s more about patience than skill. If you’re new to this, this is the one to attempt on a weekend when you have time to think, not Tuesday night before dinner.
You’ll want a basin wrench — it’s essential for reaching the nuts in the tight space under the sink. Turn off the water supply, disconnect the old faucet, clean the area, and install the new one. Plumber’s tape goes on the threaded connections. Test for leaks before you put everything back under the sink. Keep cleaning supplies like a rag and mild cleaner handy to wipe away old plumber’s putty or mineral deposits before reassembly.
If you’re working with PVC supply lines, read up on the basics first — the difference between cutting and joining those pipes matters more than people think, but the practical question is can you do plumbing by yourself? A step-by-step guide covers the skills needed and common mistakes to avoid.
Projects best left to the pros
Here’s where the “can you DIY plumbing” question gets a hard answer. These jobs aren’t beyond a handy homeowner because they’re physically difficult. They’re beyond you because the failure modes are dangerous or catastrophic. When a mistake costs you a flooded house, a gas explosion, or a sewage backup, the pro’s fee starts looking like a bargain—which is why the question of can I legally do my own plumbing often leads homeowners to call plumbing companies in San Antonio TX instead.
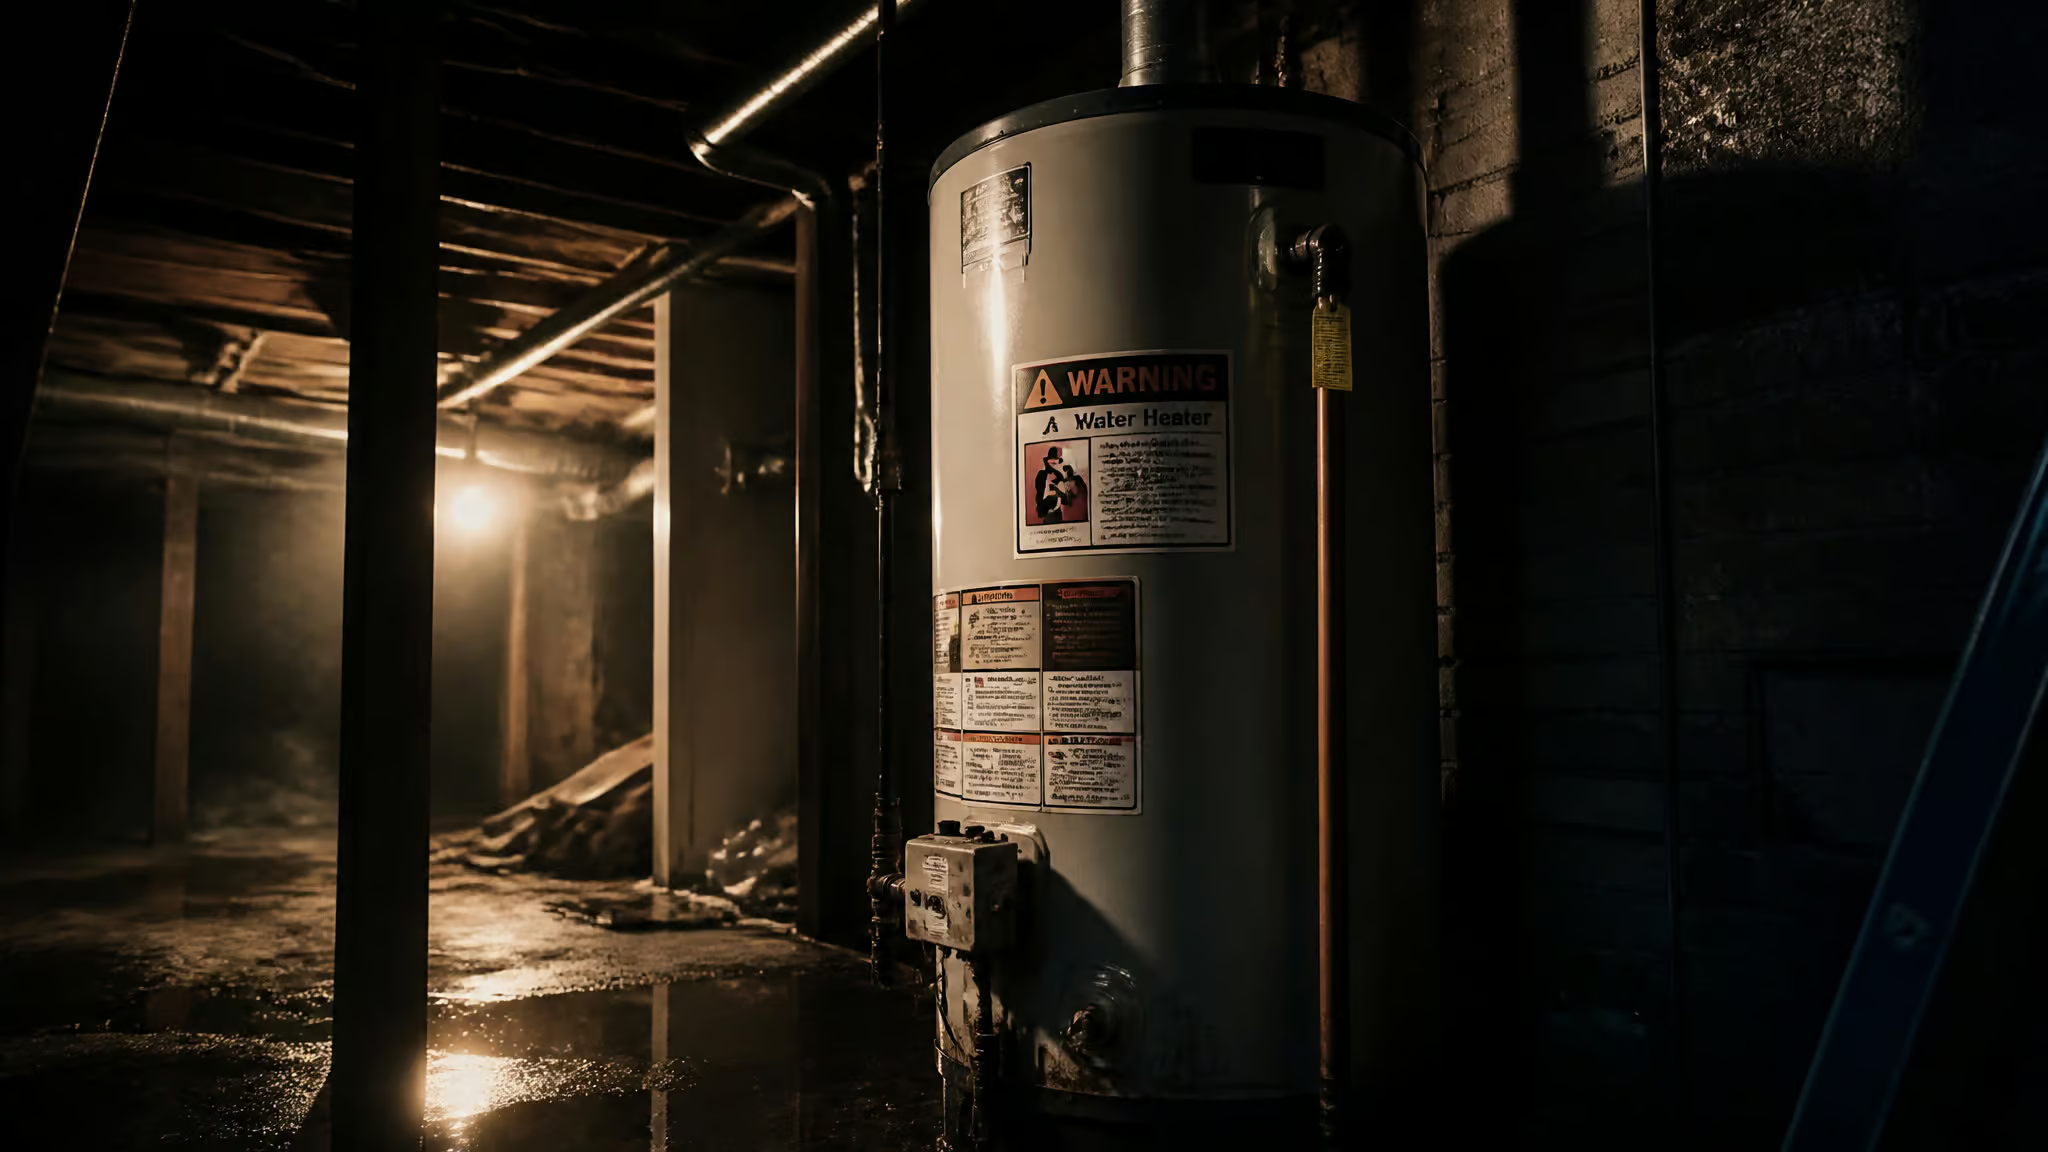
If you’re thinking about tackling a full-house repipe, know this: it’s a large job that usually requires a crew, permits, and inspections. It’s not a weekend project, and the cost of a mistake is a flooded house.
Bottom line: A pro’s fee looks cheap compared to a flooded basement or a gas leak. If the failure mode is catastrophic, don’t DIY — or at least understand the full DIY plumbing meaning before you start.
Major pipe repairs
Repairing the main lines that run through your walls or underground is different from fixing a faucet. A small mistake on a large pipe can cost you thousands in water damage. Leave live running water to the professionals — the smallest error can mean a flood you can’t stop with a bucket.
Water heater installation or repair
Water heaters are not toys. They combine gas or electricity, high pressure, and scalding water. Getting this wrong can cause gas leaks, explosions, or electrical fires. That’s not hyperbole — that’s the actual risk. Not worth saving a few hundred bucks.
If you already own one, have it inspected annually. A quick look can reveal small signs of corrosion that indicate it’s starting to fail. Catch it early, and you avoid the emergency replacement.
Sewer line issues
Sewer problems are nasty, and they require specialized tools you don’t have. Clearing a sewer line needs a camera to find the problem and a heavy-duty auger that can handle roots and deep blockages — not the kind of gear in your garage. And let’s be honest: dealing with sewage is unpleasant and a genuine health hazard. Leave it to the guys with the right equipment.
Bathroom remodels
A full remodel is a major project. You might handle the demo and the tile, but the plumbing should be done by a pro. Rerouting pipes is not a weekend job, and one wrong connection means a leak behind your brand-new wall. A leak inside a wall leads to mold and rot — a much bigger and more expensive problem than the original remodel.
Gas line repairs
This one is non-negotiable. Gas is not something to experiment with. A gas line repair can cause fires, explosions, or carbon monoxide poisoning. The stakes are life and death, not just water damage.
Licensed pros have the training and insurance to handle gas safely. You don’t.
Repiping
Repiping your whole house is a massive job. It’s not a DIY project, no matter how many videos you’ve watched. It takes a crew with experience, and a mistake anywhere in the system means a leak somewhere you can’t see. The cost of getting it wrong is a flooded house and a wrecked foundation.
Common DIY mistakes (and how to skip them)
I’ve made a version of every mistake on this list, and I’ve watched other guys do the same. The worst part is that a lot of them don’t show up immediately. You crank down on a fitting, it feels solid, you move on. The hairline crack doesn’t leak until days later — by which time it’s behind a wall or under a floor.
Overtightening is the big one. Fittings, bolts, supply lines — tight is good, overtight is bad. You can crack a plastic fitting or strip a thread with very little effort, and the result is a slow leak that ruins your floorboards. Hand-tight plus a quarter turn with a wrench is usually enough.
Mixing incompatible materials is the quiet disaster. Copper to galvanized steel without a proper dielectric fitting causes corrosion, leaks, and water contamination. It’s a slow-motion failure that can poison your drinking water and eat your pipes from the inside.
Using household tools instead of plumbing-specific ones is another classic. A regular wrench strips threads, cracks fixtures, and over-tightens connections. A quality pair of channel locks is worth the investment. And so is remembering to shut off the water — the most common DIY mistake is forgetting that step until you’re standing in a puddle, which raises the question: Is DIY plumbing a good idea?
Chemical drain cleaners deserve a special mention. They feel like a shortcut until they eat through your pipes. Natural ingredients or enzyme-based cleaners get the same job done without the long-term damage.
One more: high water pressure might feel great in the shower, but it’s slowly destroying your pipes. If you suspect your pressure is too high, leave the pressure regulator adjustment to a pro. It’s not a DIY adjustment.
When to stop DIY and call a pro
There’s a moment in every plumbing project where you have to be honest with yourself. Here are the signs that you’re out of your depth.
If more than one fixture is acting up — multiple sinks slow, several drains gurgling, you don’t have a clog problem, you have a system problem. Same if the issue is in a pipe hidden inside a wall or underground. You can’t see the problem, and you can’t fix what you can’t see.
Persistent clogs are another red flag. If the same drain keeps clogging after you’ve snaked it, or you’re dealing with recurring clogs in multiple drains, something more serious is going on behind the walls. That’s when you stop and call a professional before you make it worse.
Pay attention to strange noises. Gurgling from a slow-draining sink means a clog is creating suction in the P-trap — that J-shaped pipe under your sink that holds water and blocks sewer gas. And if you hear banging or odd sounds in the walls, don’t ignore it.
Here’s a weird one that’s actually a great clue: green spots on a lawn that is otherwise brown during dry weather. That bright patch of grass means there’s water underground — likely a leak in your sewer or water line. That’s a pro’s job, and it’s worth investigating before it becomes a sinkhole.
Also, if a previous DIY attempt failed to resolve the problem, take the hint. You’ve had your shot. Calling a pro isn’t giving up — it’s knowing when your tools and knowledge have hit their limit.
The legal and insurance side of DIY plumbing
This is the part every DIY guide skips, and it’s the part that can cost you the most. Here’s what I wish someone had told me before I started. If you decide to hire a pro, vet them carefully: verify their state license, ask whether they pull permits and schedule inspections, get a written estimate before work begins, check references, and confirm the work won’t void your existing warranties.
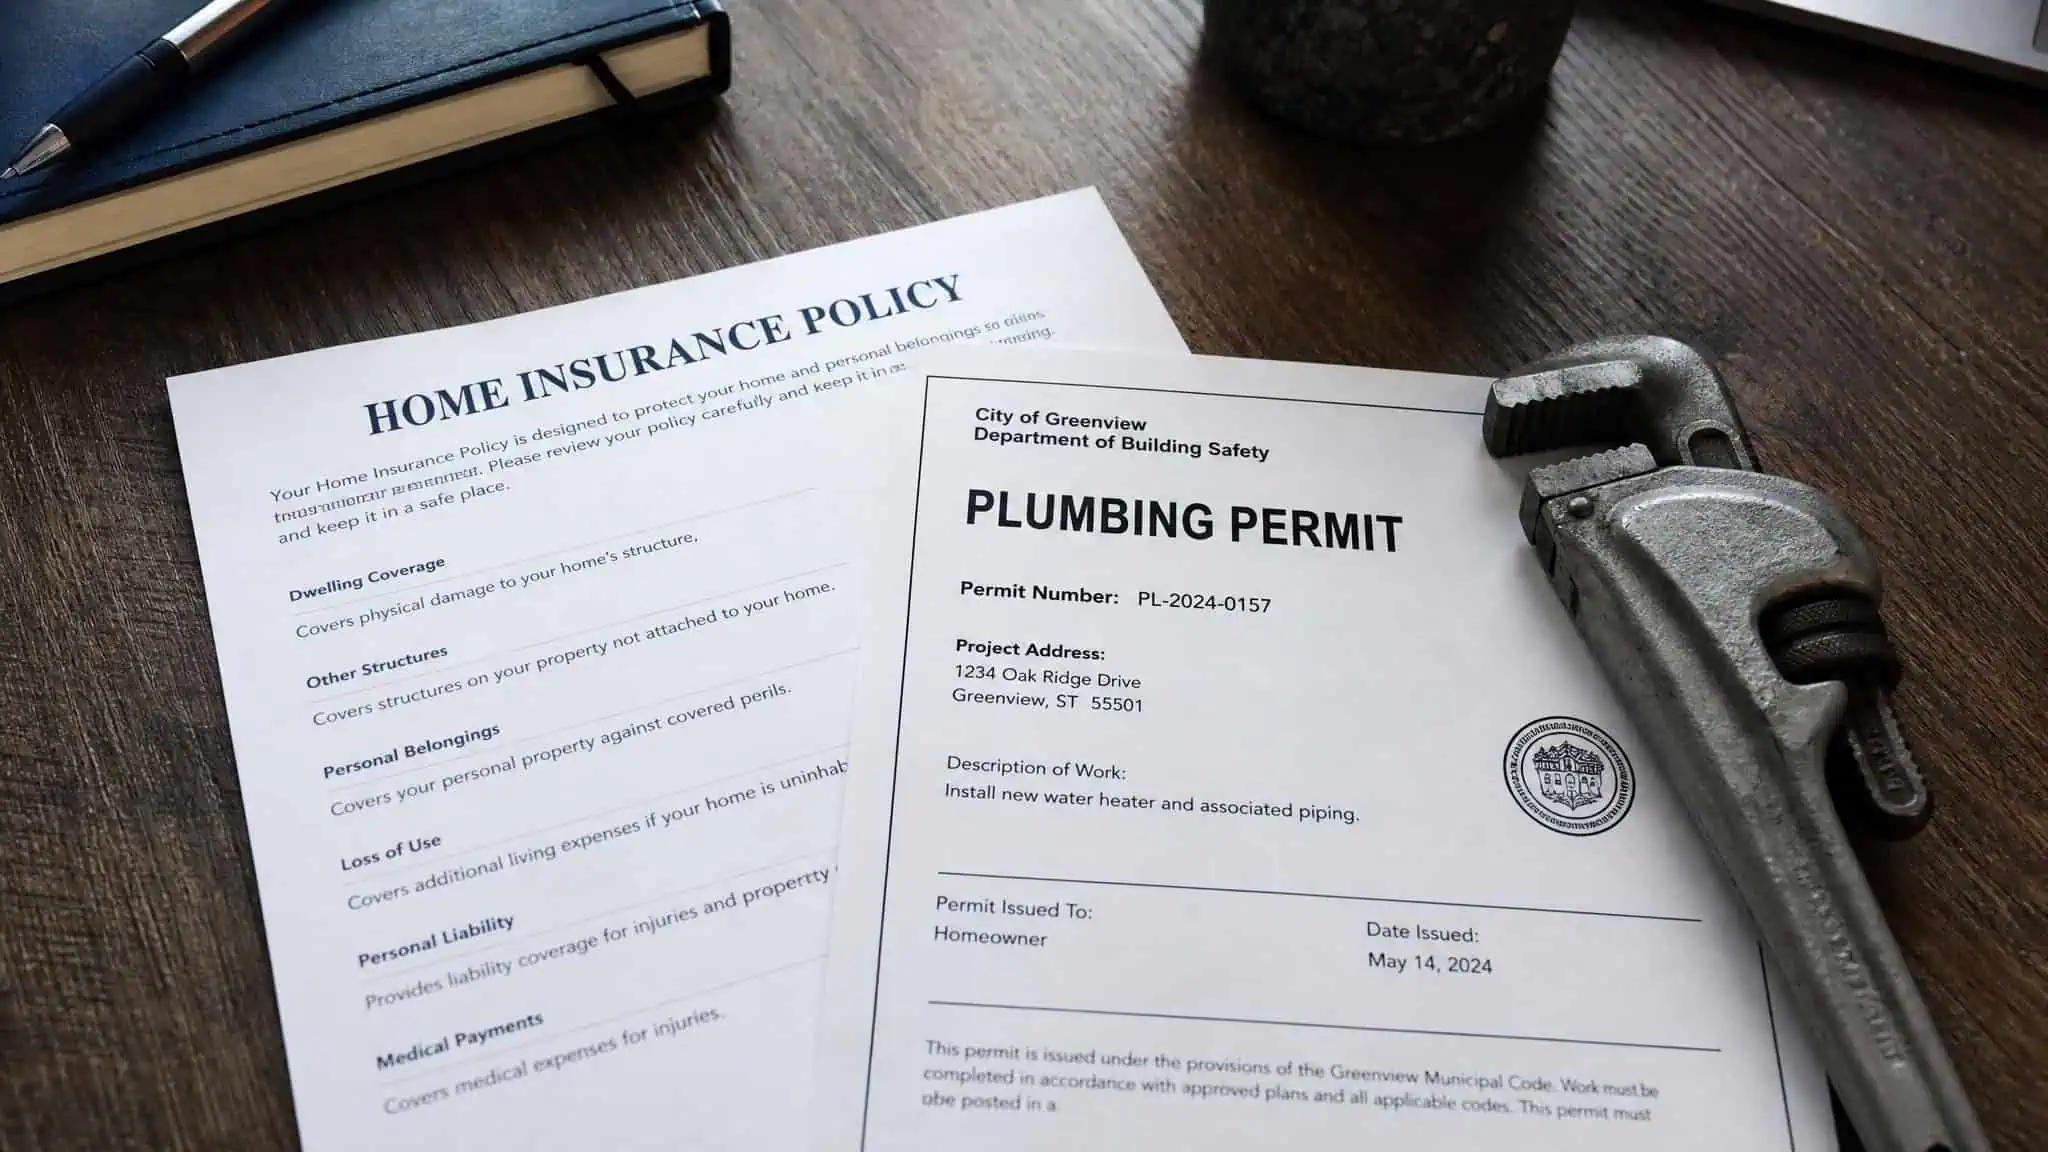
Some plumbing projects require a permit, even ones that look simple. Failing to get one can result in fines, or worse — it comes back to bite you when you sell your house. Unpermitted or non-compliant work can delay a home sale or lower your property value. Buyers’ inspectors find this stuff, and it’s a red flag.
If your project does require a permit, a certified inspector has to check the work. That’s not the government being annoying — it’s the system making sure your work is actually safe. An inspector catching a problem now is a lot cheaper than a contractor finding it later.
The bigger risk is your insurance. Insurance companies often refuse to pay claims for damage caused by unlicensed work. They will look for any excuse not to write that check, and your DIY plumbing is a legitimate one. That $200 flapper replacement you did yourself could void coverage when a pipe bursts and floods your living room.
That’s also true for warranties. Certain plumbing fixtures and appliances require professional installation to maintain warranty coverage. Install a new water heater yourself and you might own a paperweight if something fails.
Washington State requires plumbers to be licensed, and if you hire someone for complex work, that license protects you. It means they’ve met the code requirements and carry insurance. When you do the work yourself, you’re taking on that responsibility — and that risk.
Cost check: A permit fee is annoying. An insurance claim denial for unlicensed work is devastating. Know which jobs require one before you start.
Tools worth having before you start
You don’t need a pro’s van full of gear. A handful of tools handles most household plumbing, and the right ones save you from the stripped threads and cracked fixtures that come from improvising.
For drain work, start with a good plunger — one with a flange works best. Add a drain zip tool (the thin, flimsy plastic stick with barbed notches that grabs hair and soap scum) and a plumbing snake for deeper clogs. Always wear safety goggles and rubber gloves when using the snake, because it’s going to be messy. Keep rubber gloves handy for everything, honestly, plumbing is gross work.
For faucet work, you’ll want an adjustable wrench, a basin wrench (essential for reaching nuts in the tight space under a sink), a screwdriver, plumber’s tape, and a bucket. The bucket matters more than people think — you will make a mess without one. A cloth protects chrome finishes when you’re tightening with a wrench. Keep cleaning supplies like a scrub brush and mild cleaner nearby to remove old gunk from threads and surfaces.
Don’t skip the plumber’s tape. PTFE tape seals threaded connections, and wrapping it clockwise a few times prevents the drips that show up after you’ve put everything back together.
The sink stopper itself deserves attention — it gets coated in gunk and is easy to pull out and clean. And a drain cover is an inexpensive way to keep hair and food scraps from going down in the first place.
Keep drains flowing with a simple routine
The best plumbing project is the one you never have to do. A little regular maintenance costs about 10 minutes a month and saves you a $200 plumber call.
Once a week, flush your drains with hot water and dish soap. It breaks down the grease and soap scum that build up silently in every pipe in your house. It’s cheap maintenance that takes two minutes.
Once a month, do the baking soda and vinegar treatment — a half cup of baking soda followed by a cup of vinegar, let it sit for 15 minutes, then flush with hot water. It dissolves the organic matter that causes clogs before they become a problem.
Clean the P-trap under your sinks monthly — that’s the recommended frequency for keeping drains flowing freely. Monthly cleaning is especially important if you have long hair in the house, every three to six months for less-used sinks. It’s the J-shaped pipe that traps debris, and keeping it clear prevents the slow drains and gurgling sounds that signal trouble.
Use drain covers to catch hair and debris before it goes down. And never pour grease, oil, coffee grounds, or food scraps down the drain. They solidify and cause clogs that no amount of baking soda will fix. Throw them in the trash.
Prefer enzyme-based cleaners over chemical ones for regular maintenance. They’re safer for your pipes and for the environment.
Robert Miller, the general manager at Mr. Rooter Plumbing in Seattle, recommends an annual checkup. Once a year, clean your faucet aerators (the little screens at the tip that get clogged with mineral deposits), inspect your crawl space for dampness or standing water, test your drains, flush your standard tank-type water heater, and check your water pressure. It’s like an oil change for your house.
Also, know where your main water shut-off valve is. It’s usually near the water meter or where the main line enters the house. If a pipe bursts, you won’t have time to look for it — and every second counts. And if you have an older home or trees near your sewer line, get the line video-inspected periodically. A camera can catch tree roots before they cause a full backup.
At Unfinished Man, we’re not here to pretend we know everything. We’re here to figure it out together — and part of figuring it out is knowing when to call someone who actually does.
DIY plumbing is genuinely worth it for the simple, visible jobs. The flapper, the washer, the clog, the showerhead — these are wins you can bank. But the complex projects, gas lines, water heaters, sewer lines, hidden pipes, those are for licensed pros, and the legal and insurance consequences of unlicensed work may outweigh any savings.
Learn the flapper, master the plunger, know your shut-off valve, and know your limits. That’s the whole framework, and it’ll save you money without costing you your house.
Frequently Asked Questions
Can I legally do my own plumbing?
In many places, yes, homeowners can perform their own plumbing without a license, but some projects require permits and certified inspections. Unlicensed work can lead to fines, issues when selling your home, or insurance claim denials if something goes wrong.
Is DIY plumbing a good idea?
It depends on the job. Simple, visible repairs like replacing a toilet flapper or unclogging a drain are easy wins that save money. But complex work like repiping or water heater installation carries risks that can cost thousands in damage, making a pro’s fee look cheap.
Can you do plumbing by yourself?
Yes, for basic tasks like fixing a leaky faucet, unclogging a drain, or replacing a showerhead. These jobs require minimal tools and have low stakes if you make a mistake. Leave major pipe repairs, gas lines, and sewer work to licensed professionals.
Can you repipe a house yourself?
Repiping a whole house is not a DIY project. It requires a crew, permits, inspections, and experience. A mistake anywhere in the system can cause a leak behind walls or under floors, leading to a flooded house and expensive damage.
How much can I save by doing my own plumbing?
On simple jobs, you can save significantly. For example, replacing a toilet flapper costs under $10 and takes 10 minutes, while a plumber charges around $200. But if a DIY job goes wrong, water damage can cost thousands, wiping out any savings.
Can I use chemical drain cleaners for clogs?
It’s better to avoid them. Chemical drain cleaners can eat away at your pipes over time, causing long-term damage. Natural alternatives like baking soda and vinegar, or enzyme-based cleaners, are safer and just as effective for organic buildup.