Yeah, you can handle some of it. A leaky faucet washer, a clogged drain, a showerhead swap, a toilet seat replacement — those are all within reach for a guy with basic tools and a little patience. You’ll save the labor cost and feel good about not calling someone for a ten-minute job.
But here’s what the cheerful DIY guides won’t tell you: unpermitted work can void your homeowner’s insurance. And bad plumbing can push bacteria back into your neighborhood’s water supply. Those aren’t scare tactics — they’re real consequences from people who’ve seen the aftermath.
This article is built around three questions: Is it safe? Is it legal? Can you actually do it with the tools you own? You’ll get a walkthrough of the plumbing system, step-by-step fixes for the jobs you can do yourself, and the insurance reality most guides skip.
Key Takeaways
The three-factor decision for any plumbing job is: your skill level, the risk of water damage if you mess up, and whether your local code requires a licensed pro (which affects your insurance coverage)
Simple fixture-level repairs — faucet washers, drain clogs, showerheads, toilet seats, running toilet floats, are genuinely DIY-able with basic tools and the right identification steps
Major pipe repairs, water heater work, sewer lines, bathroom remodels, and anything involving gas lines are licensed-trade jobs; experts like Rick Cutler and Stephen Campbell confirm that unpermitted work on these can void your policy and contaminate the public water supply
Table of Contents
How your home’s plumbing system actually works
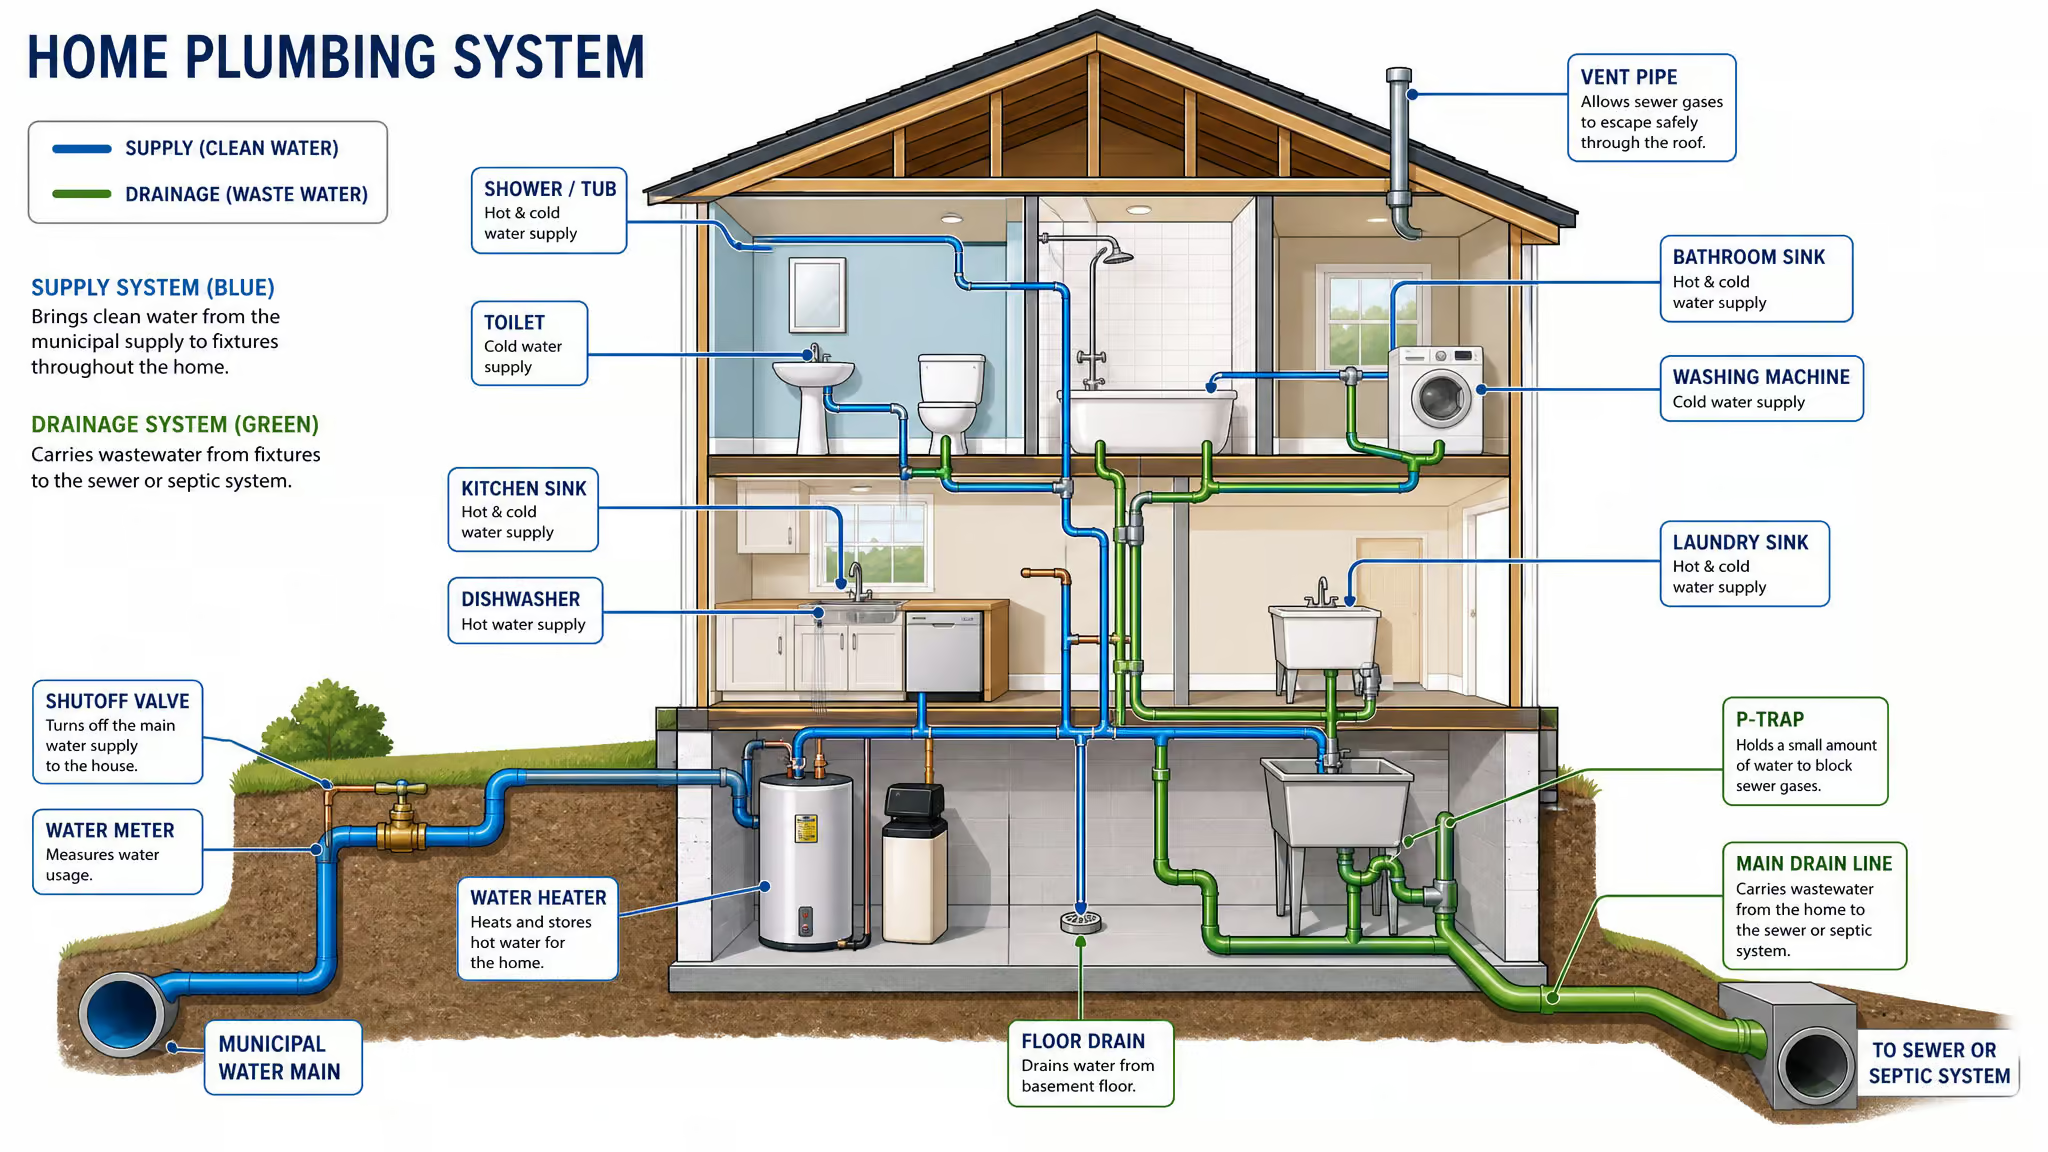
Before you touch a wrench, you need a mental model of the two separate systems running through your walls. Most problems live on one side or the other, and knowing which one you’re dealing with is half the diagnosis.
The supply side — freshwater under pressure
Water enters your house under pressure. That’s how it gets upstairs and around corners. Your water meter is usually where the main shut-off valve lives — find it before you need it, because if a pipe bursts, you don’t have time to Google.
Hot water has its own loop. Cold water runs to the water heater, gets heated, then travels through a separate hot line to your shower, sink, and dishwasher. The factory default on most water heaters is set between 140 and 160°F, which is hot enough to scald. You probably don’t need it that high. 120°F is adequate for a shower and saves you money on your energy bill. Some dishwashers boost their own temperature by about 20°F anyway, so don’t worry about them.
Most fixtures also have individual stop valves under the sink or behind the toilet. These let you work on one leaky faucet without shutting off the whole house. Not every home has them, but if yours does, they’re a big convenience.
The drainage side — gravity, vents, and traps
Waste moves by gravity, not pressure. That’s why the slope matters. Horizontal drain pipes need a vertical drop of about a quarter-inch per foot. If they’re not sloped right, stuff doesn’t flow and you get clogs.
Those pipes sticking out of your roof are vents. They let air into the drainpipes so water can flow freely. No air means no flow, and your traps can get sucked dry — which means you’ll smell sewer gas. A shower and a toilet can share a vent as long as the toilet connects last.
Traps are the U-shaped pipes under your sink. They hold a small amount of water that blocks sewer gas from coming back up into your home. Every fixture needs one — toilets have them built in, sinks and showers need them added.
If you have an older home, your bathtub might have a drum trap instead of a modern P-trap. Drum traps work, but they catch hair and gunk, and they’re not up to current code. If you have one, consider replacing it with a P-trap next time you open up the floor.
Shut-offs — where they are and when to use them
The main shut-off valve lives near your water meter — basement or crawlspace, usually. That’s the only thing that stops flooding when a pipe bursts. Find it now.
Individual stop valves under sinks and behind toilets isolate just that fixture. That’s the convenience move: repair a leaky sink without shutting off water to the whole house.
Tools you’ll need for basic DIY plumbing
You don’t need a truck full of specialty gear, but there are a few things you should buy before you start any job.
The basic DIY plumbing toolkit
- Plunger
- Plumbing snake
- Adjustable wrench
- Basin wrench
- Plumber’s tape (thread sealant tape)
- Bucket
- Gloves
The basin wrench is the standout. It reaches the mounting nuts under a sink that a standard wrench can’t reach. Most guys improvise with a crescent wrench and end up damaging the supply lines. Just buy the basin wrench — it’s cheap and it makes the job straightforward.
Household staples that actually work
Baking soda, vinegar, and hot water do real work on clogs. They’re not just internet hacks. You’ll get the exact amounts in the drain section below.
For thread sealing, Hercules Megatape is a standard PTFE tape — one inch wide, a thousand inches long. Wrap it clockwise a few times before you screw on a fitting. Clockwise matters: wrap it in the same direction you tighten, or it unravels.
For toilet flange repairs, the Oatey Fix-It Repair Ring exists. It’s a specific product for a specific problem, and I’ll cover it in the toilet section.
Fix a leaky faucet yourself
A dripping faucet wastes more water than most people realize, and it’s usually a simple fix. But you have to know what kind of faucet you’re dealing with before you buy parts.
Match the repair to the faucet type
There are four types: compression, ball, cartridge, and ceramic disk. They all have different internals and disassemble differently. A generic repair kit from the hardware store won’t help if you grab the wrong one.
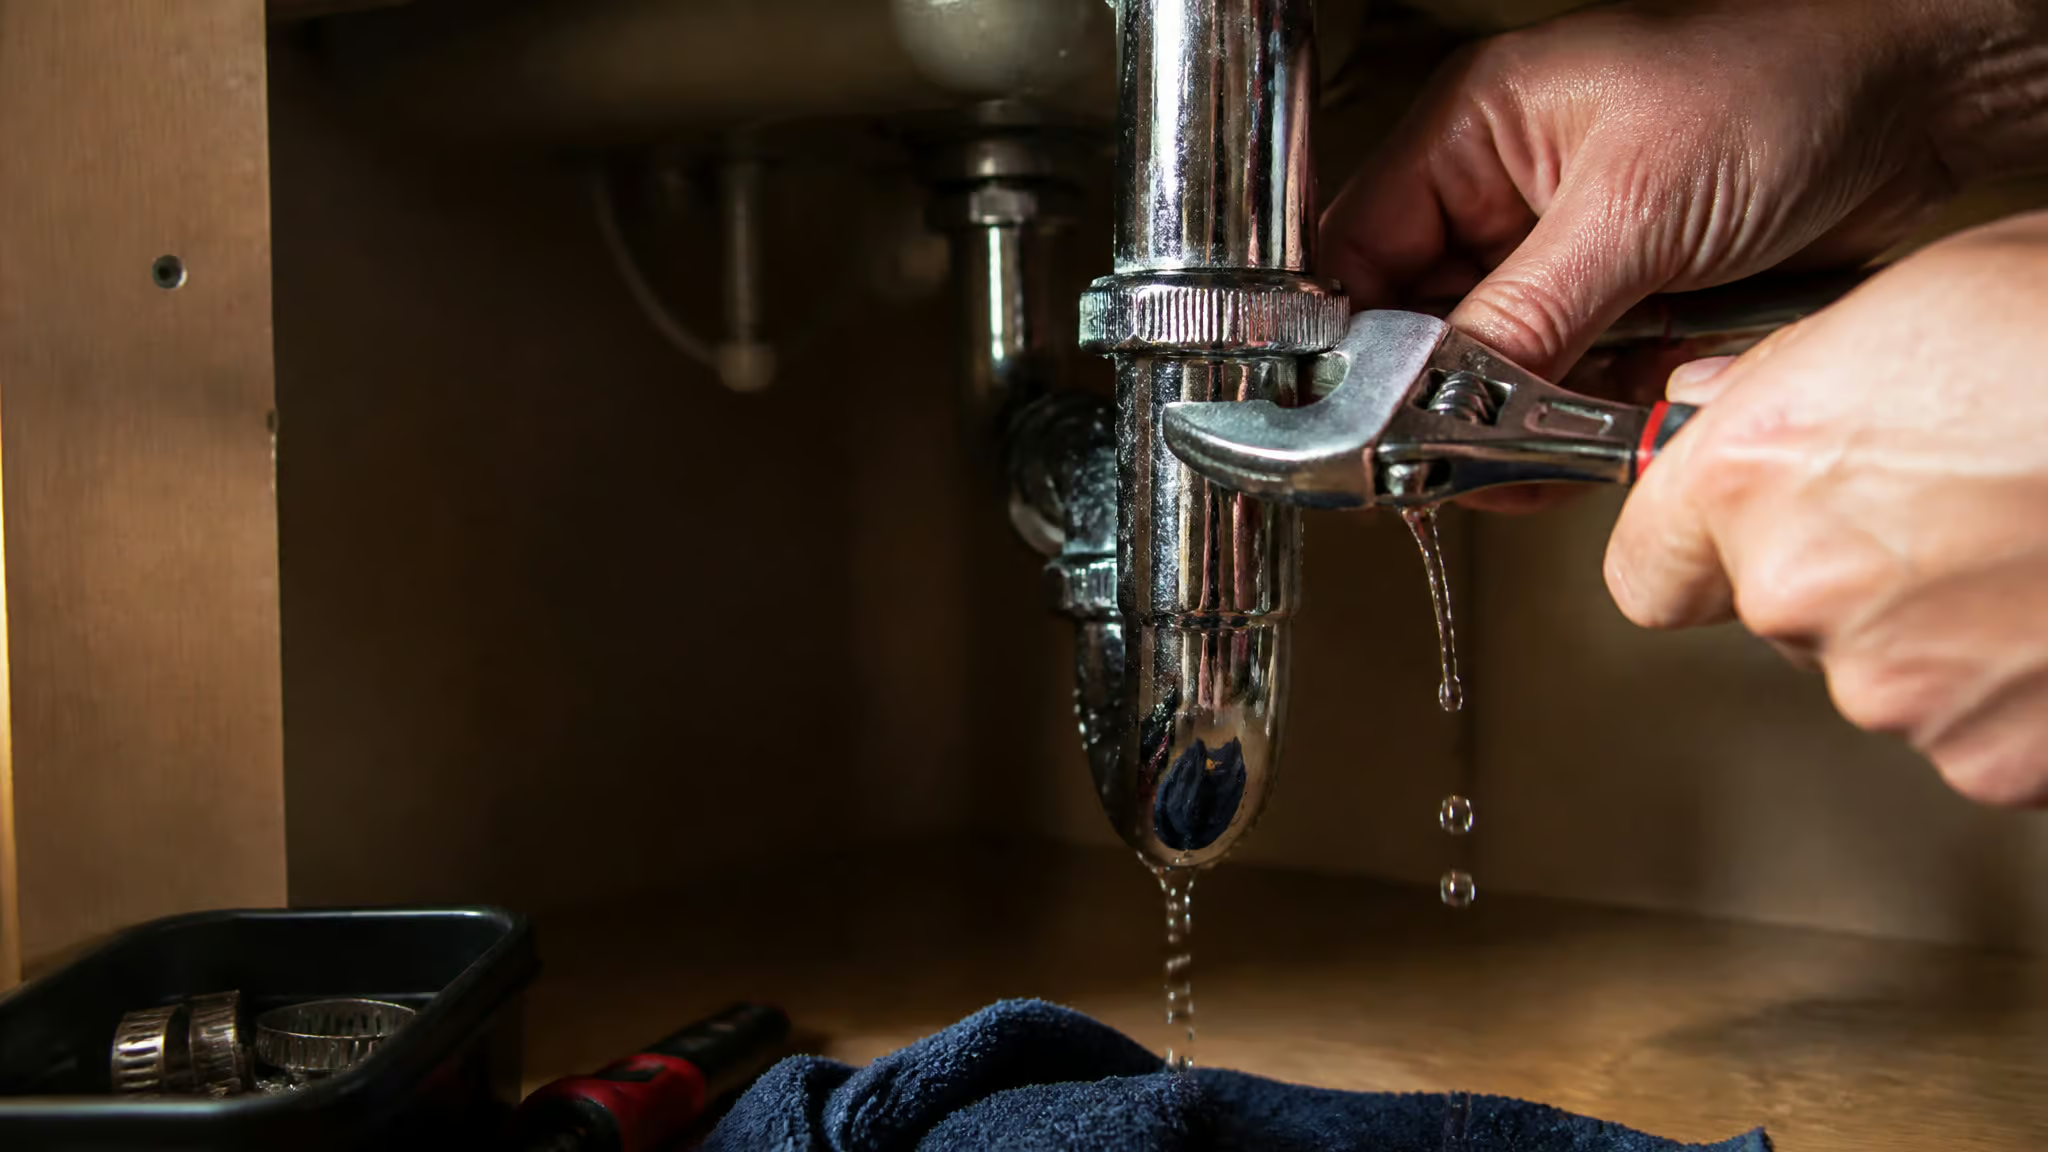
The general steps: turn off the supply valves, open the faucet to release any water pressure, plug the drain so you don’t drop a screw into it, pop off the decorative caps on the handle, remove the handle, disassemble the internal parts, inspect the washers, O-rings, and seals, replace the worn ones with exact matches, reassemble, and test.
Here’s the honest caveat: if you have a dripping single-lever mixer, it’s probably a cartridge furred with limescale. Disassembling those is fiddly, and sometimes the replacement cartridge costs nearly as much as a new tap. At that point, replacement beats repair. Don’t feel bad about just buying a new faucet.
Unclog a drain at home — what to try first
Clogged drains are the most common plumbing problem, and you can usually clear one without calling anyone. But there’s a right order to try things—unless you face an overflowing toilet and water spilling into the bathtub, in which case you need to know when to call a plumber immediately.
Plunge and snake first
Get a good seal with the plunger and work it for about 20 seconds. If that doesn’t do it, run a plumbing snake in and rotate it until you feel the clog break up.
The baking soda and vinegar treatment
Pour about half a cup of baking soda down the drain. Follow it with a cup of vinegar. Wait fifteen minutes — the reaction does the work. Then flush with hot water.
For toilet-specific clogs, scoop out enough water so the plunger seats well in the bowl. Push and pull rapidly. If that doesn’t work, a toilet auger is the next step. They’re not expensive and they’re better than jamming a regular snake into porcelain.
Chemical drain cleaners — use with caution
If you’re going to use a chemical cleaner, match it to the clog type. Kitchen clogs are usually grease and fat, so you want a fat-breaking formula. Bathroom clogs are hair and soap scum, so get something formulated for that.
But sanitary industry specialist Jens J. Wischmann advises against chemical cleaners entirely. They damage pipes over time and they’re bad for the environment. I’d say skip them if you can.
If you’ve plunged, snaked, and tried the baking soda treatment and nothing has cleared, call a pro. You’re past the DIY point.
Replace a showerhead and restore weak pressure
This is a two-for-one: installing a new showerhead and fixing weak pressure from the old one.
Installation
Wrap a cloth around the old head so you don’t mar the finish. Loosen it with an adjustable wrench. Clean the threads on the pipe. Apply plumber’s tape clockwise — a few wraps, enough to cover the threads. Screw on the new head and test for leaks.
The tape direction matters more than most guys think. Wrap it counterclockwise and it unravels when you tighten the fitting. Clockwise keeps it seated.
Weak shower pressure? Soak the showerhead
Low pressure is almost always limescale, not a plumbing problem. Remove the showerhead and soak it in diluted vinegar. That dissolves the scale. Scrub off any residue, reinstall, and you’ll probably have full pressure back.
Install a new toilet seat in minutes
This one’s almost too easy. New seat, adjustable wrench or pliers, screwdriver, cleaning supplies. Unscrew the bolts at the back, lift the old seat off, clean the area, position the new seat, insert the bolts, hand-tighten the nuts, snug them with the wrench, test for stability. No shut-off needed.
Five minutes. Just be careful not to overtighten — the standard bolt spacing is 5.5 inches, and overtightening can crack the porcelain around the mounting holes.
Fix a running toilet and repair a damaged flange
Two common toilet problems, two specific fixes.
Replace the float valve assembly
A running toilet is almost certainly a faulty float valve — the float cup or floater switch that shuts off the water when the tank is full. The best move is to replace the entire assembly rather than patching individual pieces. It’s cheap, it’s easy, and it fixes the problem for good.
Use a Fix-It Repair Ring for a damaged flange
The flange is the ring that bolts your toilet to the floor. If it’s cracked or worn, you’ll see water near the base, a rocking toilet, or you’ll smell sewer gas. Don’t ignore any of those.
The Oatey Fix-It Repair Ring can fix a cracked or worn flange without replacing the whole thing. It works on all flange types and on concrete floors. It has ten mounting holes and four slotted tabs, so it fits most setups.
Install a kitchen or bathroom faucet
This one’s a bit more involved than a showerhead, but it’s still a weekend-afternoon job. The key tool is the basin wrench — trying to do this without one is how guys end up cursing and calling a plumber anyway.
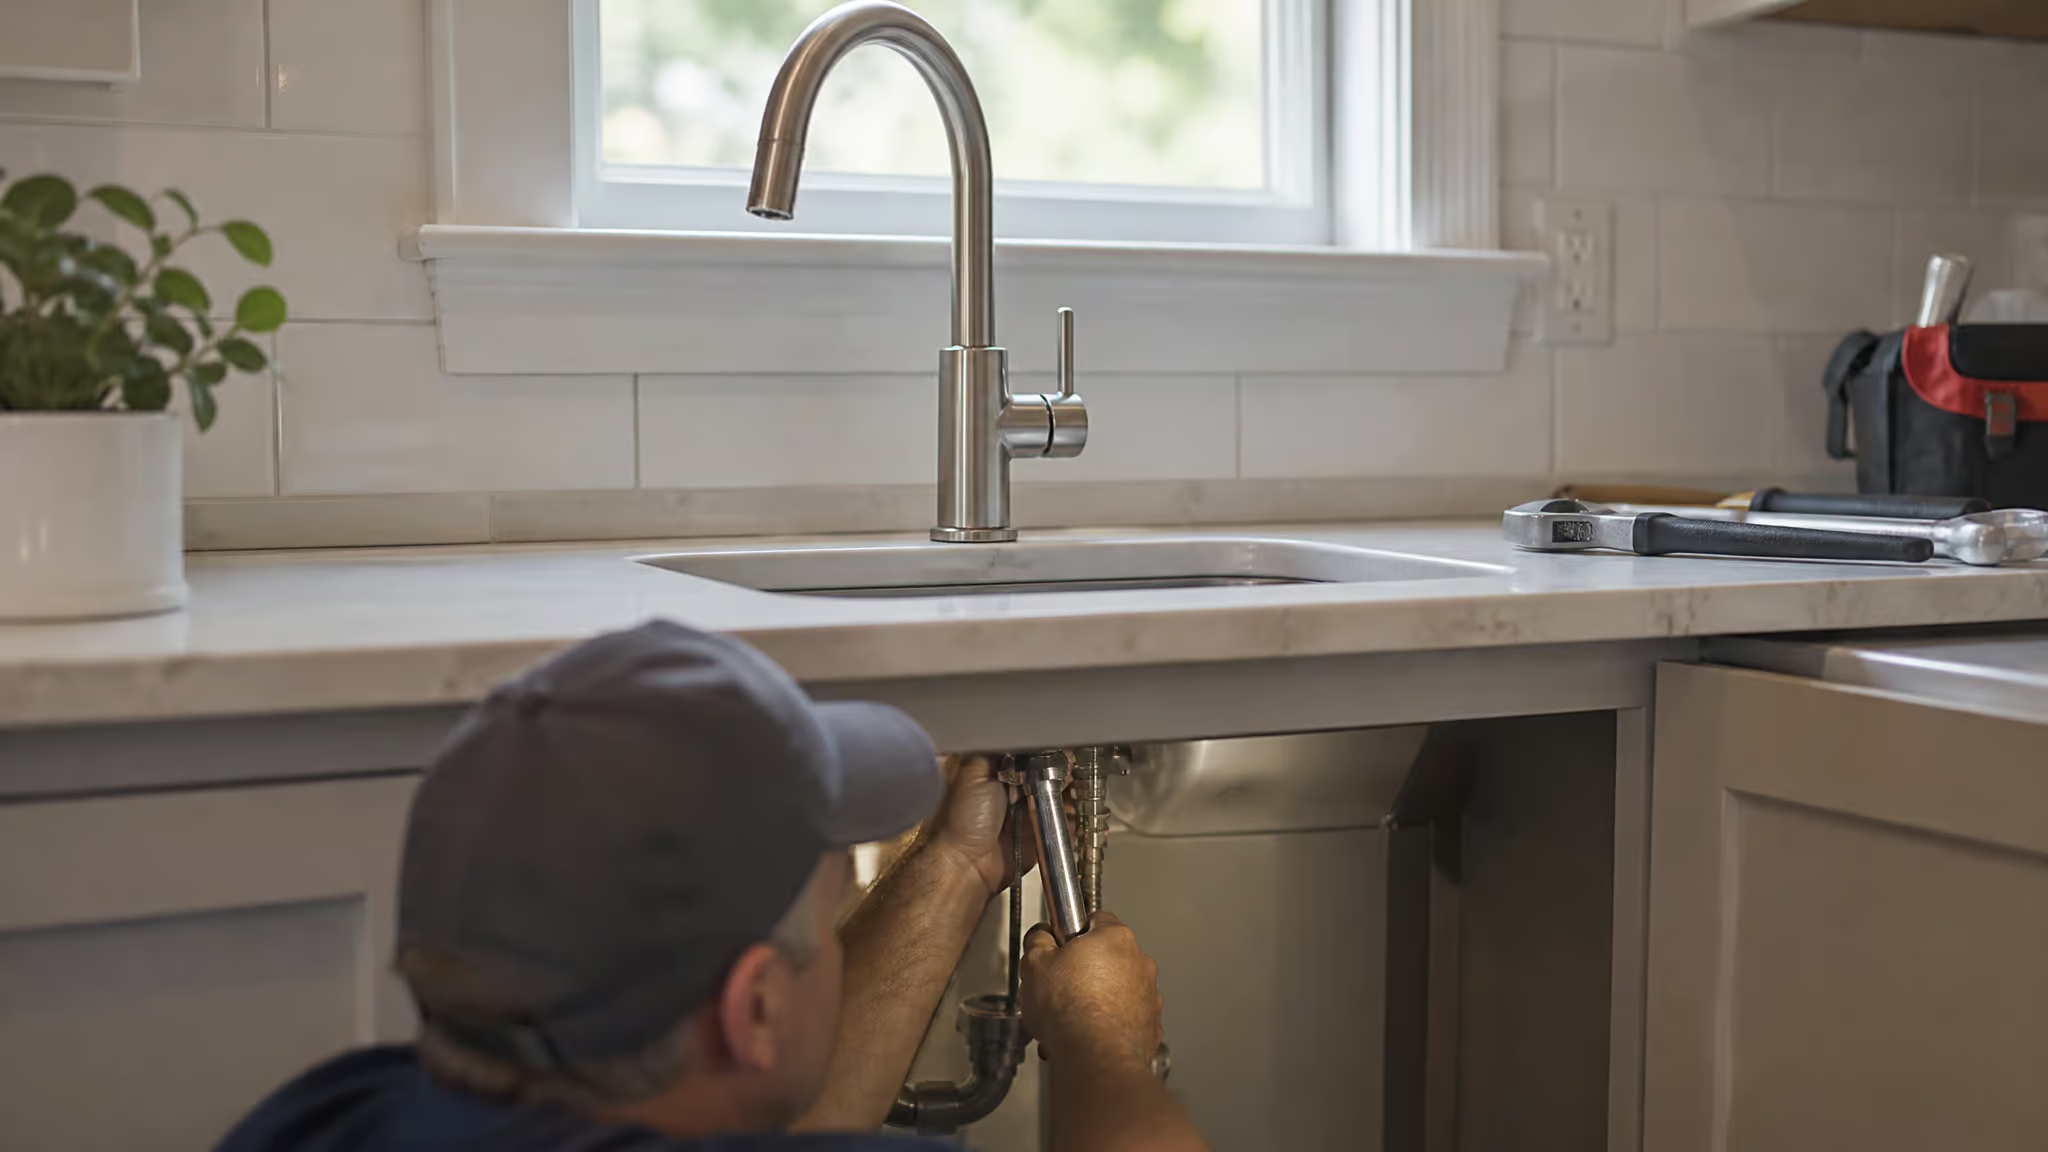
Steps: turn off the supply valves, open the faucet to release pressure, disconnect the supply lines, unscrew the mounting nuts under the sink, remove the old faucet, assemble the new components according to the instructions, apply plumber’s tape to the threads, insert the new faucet through the deck, secure it with the mounting hardware, reconnect the supply lines, turn the water back on slowly, test for leaks.
The basin wrench makes the under-sink work possible. Without it, you’re trying to reach a nut at a bad angle with a regular wrench, and that’s how you strip something.
When to call a professional plumber
Here’s the hard line. These jobs are not DIY, and the consequences of guessing wrong are serious.
Major pipe repairs
Cutting into walls, digging up pipes, replacing long runs of copper or PVC. The risk of a leak that causes water damage to your floor, drywall, and everything underneath is too high. Before you start, check out the comprehensive guide on can you diy plumbing to see what you can legally and safely do yourself, when to call a pro, and how to get started.
Water heater installation or repair
Gas connections, high voltage, pressure. Improper work causes gas leaks, explosions, or electrical fires. So, is DIY plumbing a good idea? There’s no upside to DIY here.
Sewer line issues
You need a camera to see what’s going on and a power auger to clear it. These aren’t in any homeowner’s toolbox. More importantly, you can turn a small clog into a very expensive problem if you don’t know what you’re doing.
Bathroom remodels
A leak behind a wall leads to mold and rot, and that bill is much bigger than a plumber’s fee.
Gas line repairs
Gas leaks cause fires, explosions, and carbon monoxide poisoning. This is not negotiable. If you smell gas, get out of the house and call a pro. Full stop.
How to choose a licensed plumber
Verify they have a current license for your state. Ask if the quote includes permits. Get itemized quotes from a couple of different companies. Confirm they carry insurance. These steps take ten minutes and save you headaches.
DIY plumbing, permits, and your homeowner’s insurance
This is the section that separates this article from commodity DIY guides. The stakes are real, and they’re named by people who know.
Requirements vary by state — for example, some states require permits for any plumbing work beyond simple repairs like replacing a faucet washer. Always visit your local building department website to find the specific rules for your area before starting any plumbing project.
Why plumbing licenses exist
Tim Shaw, a retired master electrician, puts it plainly: licenses exist because people’s health and lives depend on work being done correctly. It’s not gatekeeping. It’s safety.
When unpermitted work voids your insurance
Rick Cutler has been a contractor for over forty years. His warning: if your insurance company can show that work was done without a permit by an unlicensed person, they can null and void your policy. That means if your DIY pipe repair leaks and causes twenty thousand dollars in water damage, you’re covering it yourself.
Stephen Campbell adds another layer: unpermitted plumbing can backflow bacteria into the public water supply. If your work contaminates drinking water, you’re liable, and Jens J. Wischmann says no insurance covers that kind of contamination.
Check local codes before you change any pipe
HowStuffWorks makes a simple point: check with your local plumbing code officials before you add or change any pipe. State and local rules vary so much that nobody here can tell you exactly what your town requires. Google “[your town] plumbing permit requirements” and find out before you start.
Common DIY plumbing mistakes to avoid
These are the things that go wrong after a successful repair — the leak you don’t notice until the floor is wet.
Forgotten or damaged gaskets
Wischmann warns that this is a common cause of water damage after a DIY repair. The slip nuts on P-traps need their gaskets seated properly. If you skip that step or overtighten and crack the gasket, you’ll have a drip behind the cabinet.
Overtightening and mismatched parts
Connections should be snug, not torqued down. Cracked fittings leak. Stripped threads turn a ten-minute fix into a replacement job. And mismatched parts happen when you skip the identification step — grabbing a generic cartridge because you didn’t check what faucet type you have.
Chemical cleaners and the wrong drain products
Wischmann again: chemical pipe cleaners damage plumbing and harm the environment. Even if you use them, using the wrong product for your clog type wastes time and money. Kitchen grease needs a different formula than bathroom hair.
Preventive plumbing maintenance — stop clogs before they start
A little regular upkeep prevents most common plumbing problems.
Keep drains clear with baking soda and vinegar
A periodic treatment — half cup of baking soda, cup of vinegar, fifteen minutes, hot water flush, prevents buildup. Do this every few months. And never pour grease down your kitchen drain. Let it cool, scrape it into the trash, then wipe the pan with a paper towel.
Fix drain odors and recover lost items from the P-trap
If a drain smells, the P-trap is probably dry. This happens after a vacation when nobody has run the water. Just run the tap for a minute and the trap refills.
If you drop something valuable down the drain, don’t panic. Put a bucket under the P-trap, unscrew it, and retrieve your item. Sylvia Adamec from a DIY academy suggests taking a photo before you take it apart so you know how it goes back together. And if you’re already in there, replace the slip nuts’ gaskets while you’re at it.
Toilet and showerhead upkeep
Drop a dishwasher or denture cleaning tablet in the toilet tank overnight. It prevents buildup and keeps things running smoothly. For the showerhead, soak it in diluted vinegar periodically to dissolve limescale before it becomes a pressure problem.
DIY vs. hiring a plumber — the cost math
The honest math: you save money on the small stuff. A faucet washer costs a couple of dollars. A drain snake is a one-time purchase. The labor you saved on two or three small jobs pays for your basic toolkit.
But the math flips hard on big jobs. A broken pipe repair runs somewhere between $150 and $2,000 depending on length and accessibility. One mistake on a job like that eats years of small savings. Water heater replacement by a pro costs a few hundred dollars and removes the risk of gas leaks, explosions, or electrical fires. Sewer line work is even more specialized.
The hidden costs are what get you: water damage to your floor and drywall, mold remediation if the leak goes unnoticed, a voided insurance policy if you skipped permits. These aren’t scare stories — they’re real outcomes.
The rule of thumb is simple: DIY for fixture-level jobs with standard tools. Hire a pro for anything behind walls, on gas, or requiring a permit.
Frequently Asked Questions
Can a handyman do basic plumbing?
A handyman can handle the same fixture-level jobs a homeowner can — fixing a running toilet, unclogging a drain, or replacing a showerhead. But if the work requires a permit or involves cutting into walls, water heaters, or sewer lines, a licensed plumber is required by code in most areas. Unpermitted work by anyone can void your insurance.
Is it possible to DIY plumbing?
Yes, for specific jobs. You can fix a leaky faucet, unclog a drain with a snake or baking soda and vinegar, replace a showerhead, install a new toilet seat, or swap out a faucet with a basin wrench. The key is knowing where the line is — anything behind walls, on gas lines, or involving the main water or sewer system is not a DIY project.
How do I fix a running toilet without calling a plumber?
A running toilet is almost always a faulty float valve assembly. Replace the entire assembly rather than patching individual pieces — it’s cheap, easy, and fixes the problem for good. Turn off the water at the shut-off valve, remove the old assembly, install the new one according to the instructions, and test.