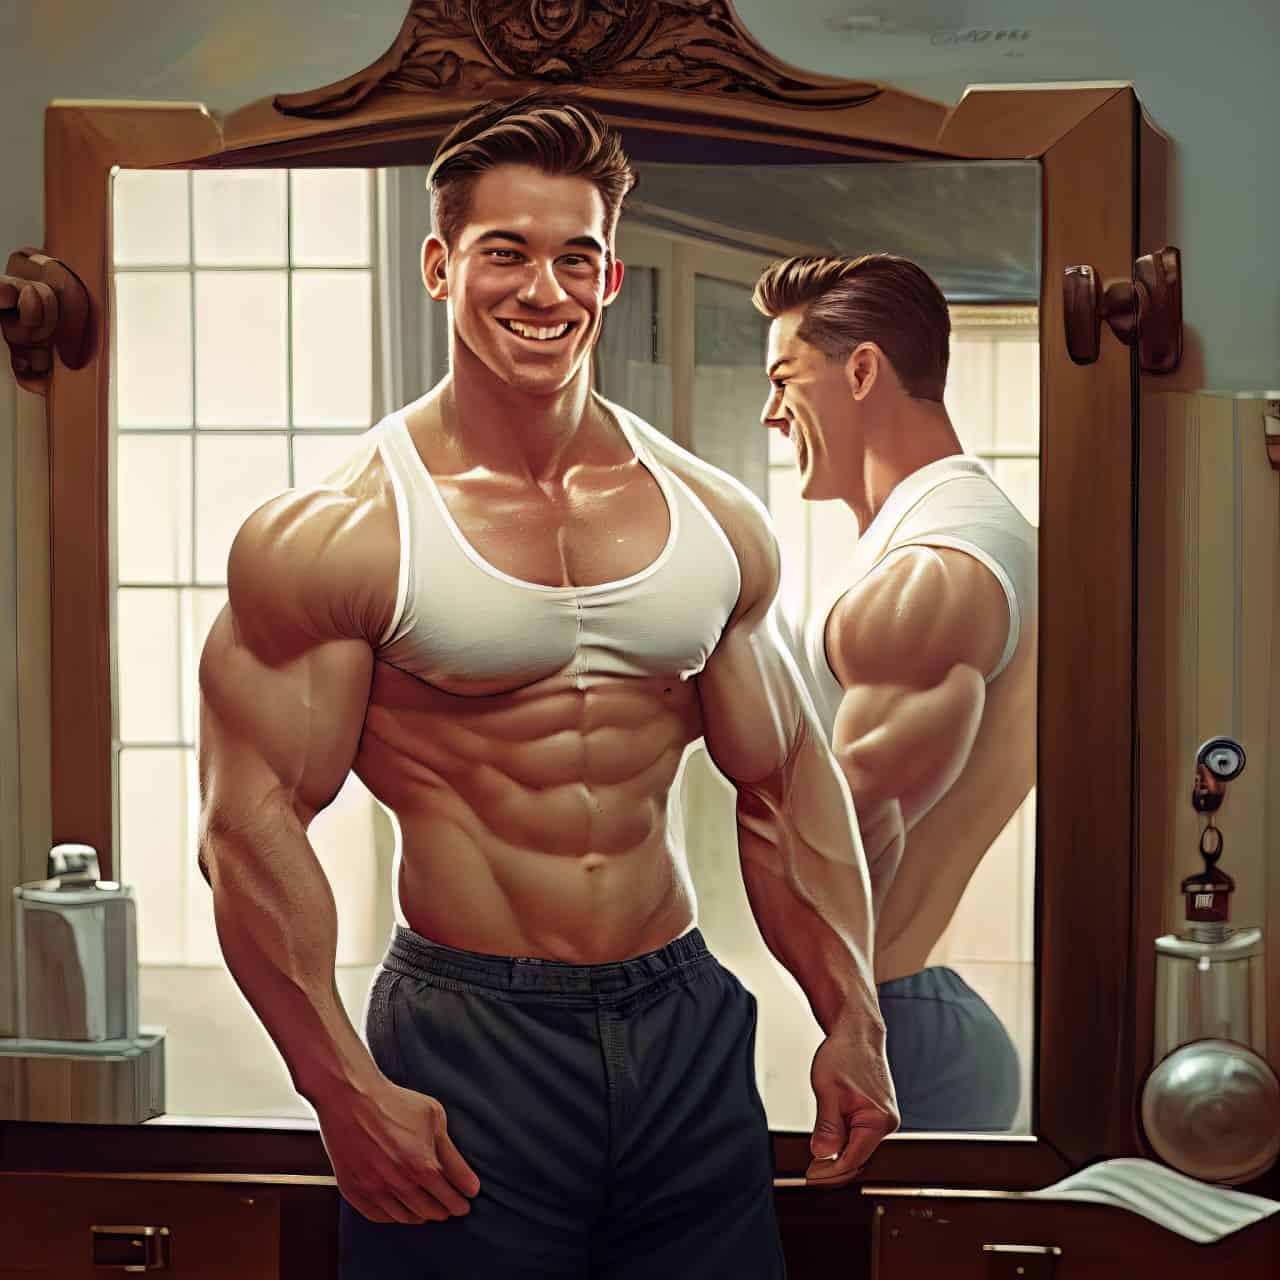
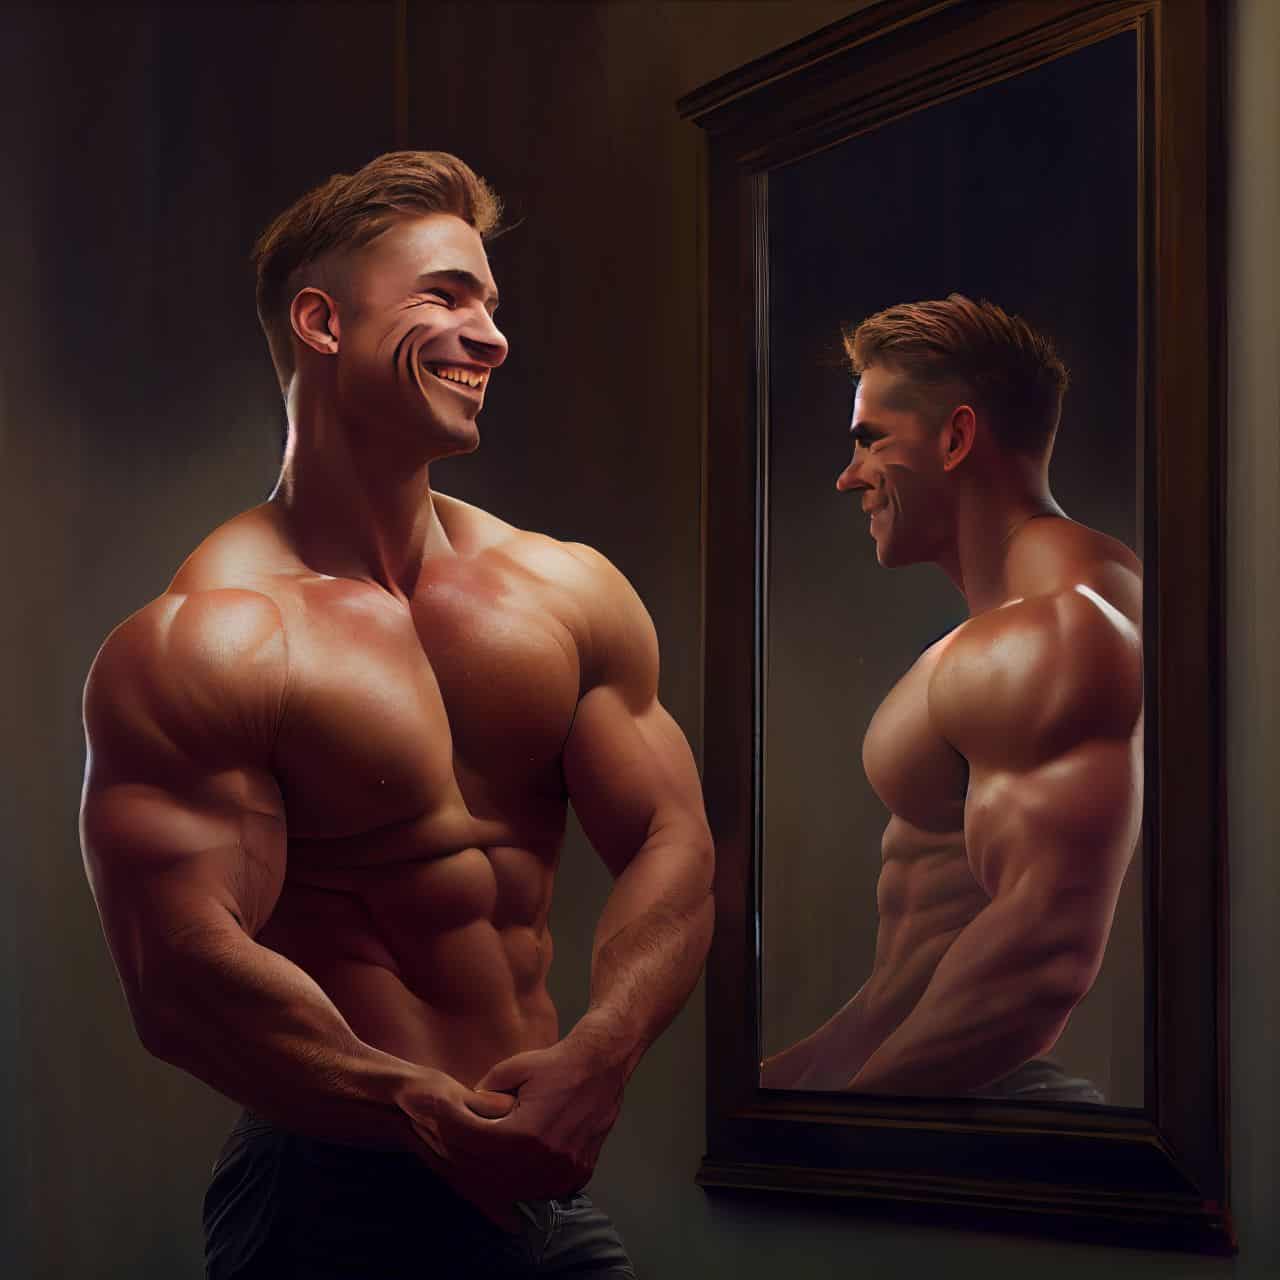
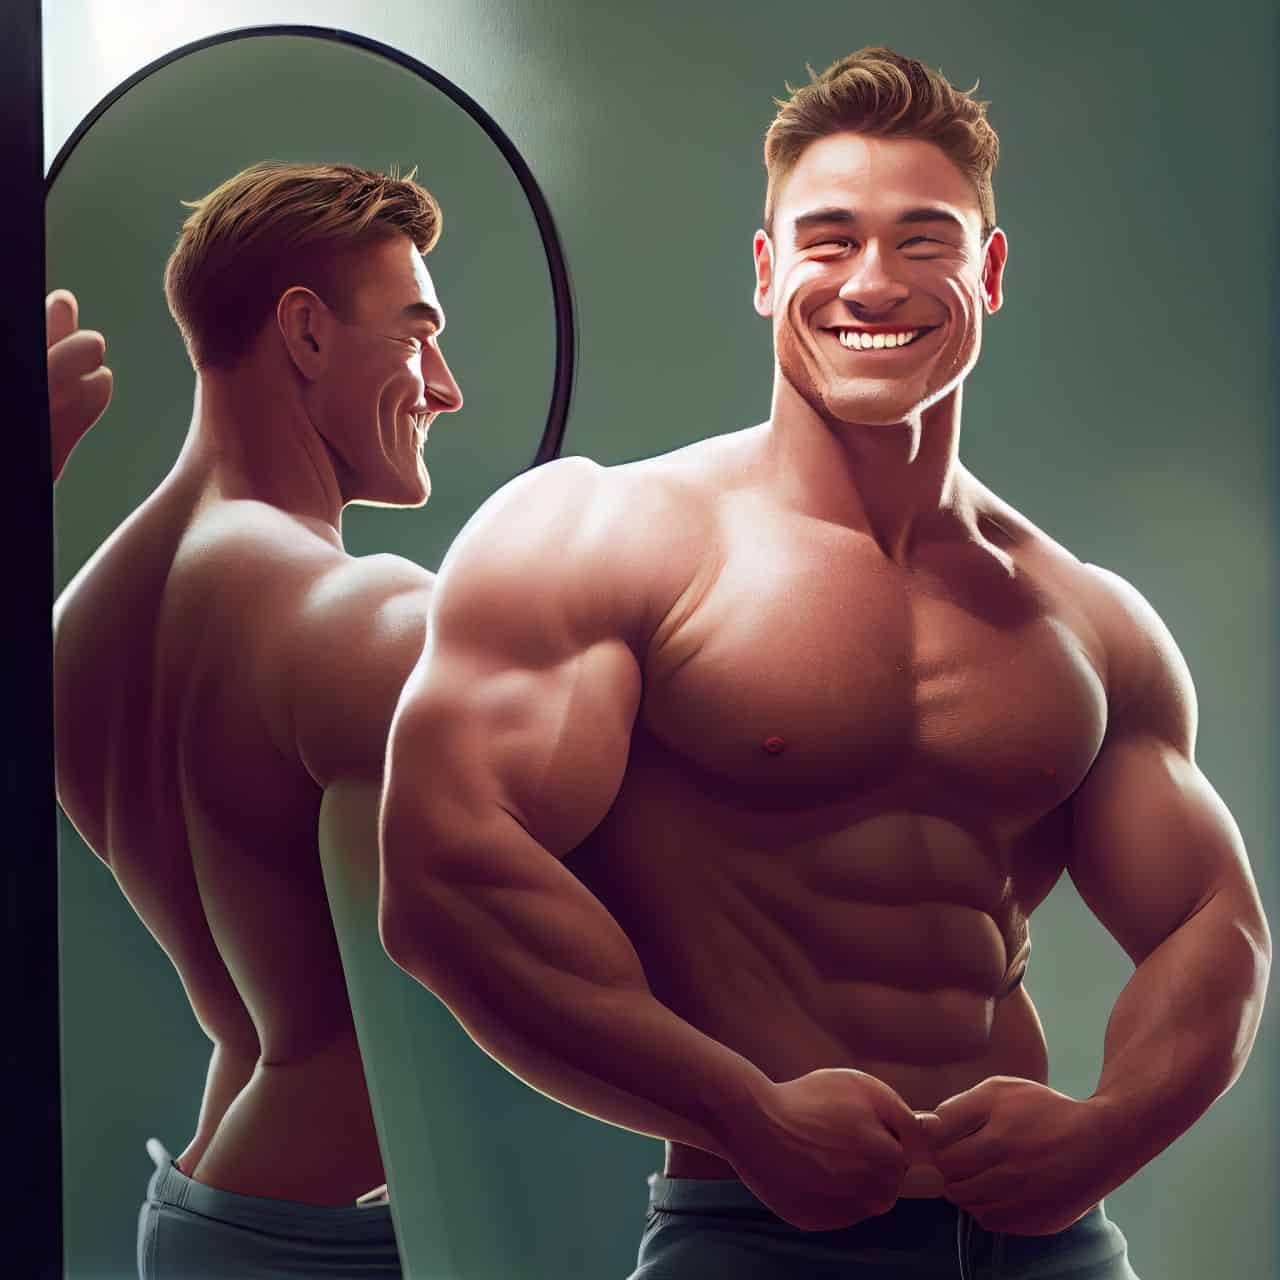
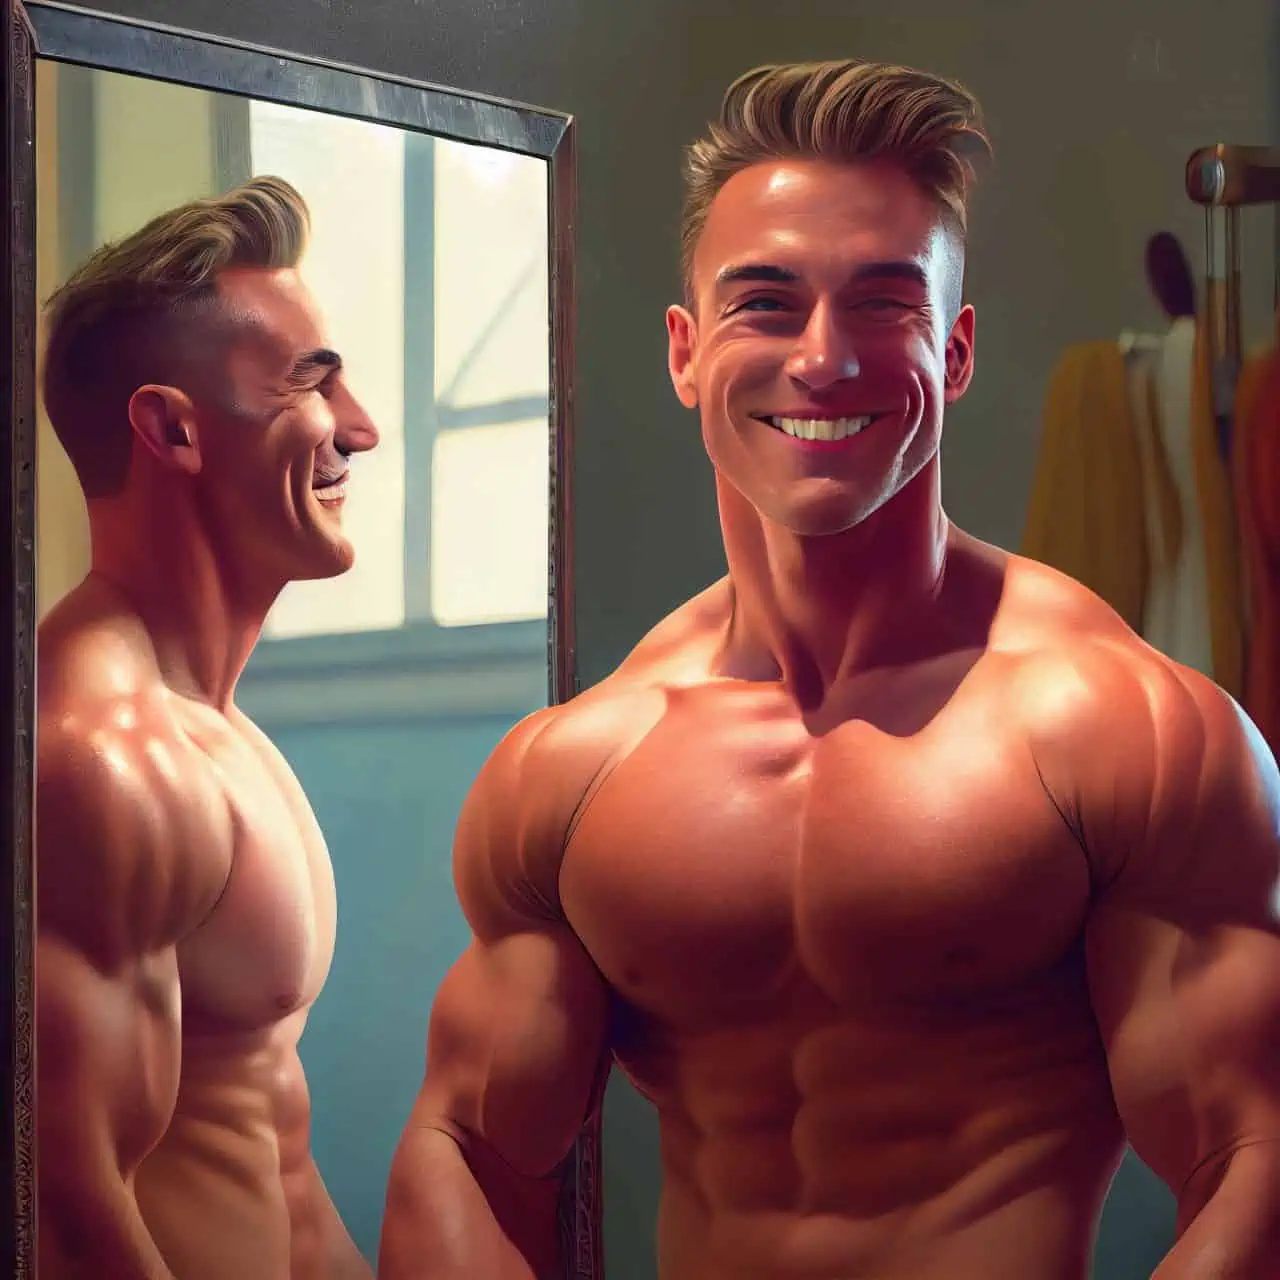
Are you tired of flexing your muscles in the mirror only to be disappointed with the final result on camera? Taking the perfect muscle selfie is like playing a game of Jenga with your physique – one wrong move, and the whole thing comes crashing down. But fear not, my fellow gym-goers, because, with a few simple tips and tricks, you too can achieve that envy-inducing, double-tap-worthy shot. So, put down the protein shake and pay attention because it’s time to flex your photography skills and learn how to take the perfect muscle selfie.
Preparing for the Perfect Muscle Selfie
Taking the perfect muscle selfie requires a bit of preparation. If you want to show off your hard work (and why wouldn’t you?), you’ll need to make sure you plan for the perfect lighting, background, and accessory, like the MOON UltraLight! Here, I’ll detail my steps to plan for the most impressive muscle selfie:
- Find the perfect lighting.
- Choose a background that will draw attention to your muscles.
- Add an accessory to make your selfie stand out.
Choose the right clothing

When choosing the clothing for my muscle selfie, I want to consider how I want to frame my body. Different color combinations and clothing styles can highlight different features and performance cues. For example, I may choose darker colors on the bottom and brighter colors on the top to accentuate certain features and achieve contrast in my selfie.
Also, depending on what area of my physique I’d like to draw attention to, it can be helpful to wear tight or loose clothing that compliments that particular part of my body. Additionally, if I aim for a more muscle-toned or cut look, forms fitting clothing can better help showcase this feature. Knowing which fit emphasizes your strengths is essential to taking a picture-perfect selfie!
Find the perfect lighting
Finding the perfect lighting for your muscle selfie is essential. Natural light is best, contrasting your muscles and accentuating their shape. If you take a selfie with your phone camera, try standing directly facing a light source in a room or going outside on a Cloudy day. Soft lighting, like outdoors on an overcast day, will create beautiful highlights and shadows across your body and face.
To achieve a dramatic look that shows off your curves, you can use artificial light, such as a flash or spot lamp, to brighten up the photo and create depth. When setting up the lights, pay attention to placement; lights should come from in front of you or slightly above and not behind – this will avoid heavy shadows that are unflattering when taking a muscle selfie!
Get the right angle
Taking the perfect muscle selfie is all about finding the right angle. Experiment with different angles to determine which shows off your muscles best when taking your picture. Holding the camera low will make your muscles look larger while positioning it higher will create a longer and leaner look. Make sure you have enough light to showcase the details of your physique. Natural light is ideal, but if taking pictures indoors, ensure plenty of artificial lighting in the room.
If you’re posing with weights in hand or find that your usual arm flex doesn’t quite cut it for a photo, try:
- Rotating your torso slightly for added visual appeal.
- Leaning back slightly for greater definition in chest and shoulder shots!
You can also try different poses and hand/head placements; these little changes can make all the difference in how inviting (or not) your selfie appears!
Equipment
Taking muscle selfies is an art form that requires the right gear. When I’m hitting the gym for my daily workout, I always bring my MOON UltraLight. Its adjustable clip-on lens, adjustable lighting, and custom filters have become my go-to for capturing my physique from the perfect angle.
Let’s go over some of the other gear you should have in your arsenal:
Choose the right camera
When wanting to take the perfect muscle selfie, many people feel overwhelmed by the types of available camera choices. But don’t fear; I am here to help you find your perfect shot!
First and foremost, it is important to note that quality trumps quantity–if you want an amazing picture, you need an amazing camera. To find the right camera for you, it’s best to understand what each one can do. Here are some common types of cameras and what they can do for your muscle selfie goals:
- Cell phone cameras – Mobile phone cameras have come a long way regarding picture quality. Many have sophisticated features built in, such as adjustable settings, automatic focus features, and HDR (high dynamic range). However, these cameras usually lack the necessary capabilities for a stellar muscle selfie, like adjustable focal lengths, depth of field control, or even interchangeable lenses. Nonetheless, they make great starters but if you want something a bit more professional, let me suggest:
- DSLR cameras – Digital single-lens reflex (DSLR) cameras provide sharper visuals with minimal noise interference and adjustable features like shutter speed and lens choice. If you’re looking for high-quality results with tremendous ease of use, this is a great option!
- Mirrorless Cameras – Mirrorless digital cameras offer users nearly all the same capabilities as DSLRs. Still, without some extra bells and whistles, they tend to be lighter weight without sacrificing too much image quality. Great for tricky angles that may be difficult to capture on a traditional setup.
So choose wisely when deciding on which type of camera will optimize your muscle selfies!
Invest in a MOON UltraLight
My favorite piece of equipment for taking muscle selfies is the MOON UltraLight. This simple and affordable lighting tool provides amazing illumination and lets you take pictures with perfect lighting. It casts a soft look down on your body, highlighting all the best angles of your muscular physique.
The MOON UltraLight is easily powered by two AA batteries or USB. It features three brightness levels to find the perfect level for each shot. You can easily attach it to a tripod or a selfie stick to keep it in place while you take your shots. The adjustable design also allows you to change its focus depending on how far away from the subject you are so that you can easily capture close-ups or follow-up shots.
If you’re looking for an easy way to improve the quality of your muscle selfies, I highly recommend investing in the MOON UltraLight – it won’t disappoint!
Set up the perfect backdrop
If you want to take your muscle selfies to the next level, you should set up a good backdrop for yourself. This can be as simple as using a bedsheet or a white wall. The aim is to get a clear, uninterrupted shot that is not overly cluttered in the background. Find some solid colors, like one or two pastel shades, that will complement your body type and clothing choices. You could even set up some props around you – like weights – to bring out what you’re trying to show off with the picture.
Take some time getting the backdrop right before moving on to taking the actual picture with your phone.
Posing
Taking the perfect muscle selfie can be daunting, but with the MOON UltraLight, you can easily capture the perfect shot. From the angle of your body to the position of your arm, your pose can make or break your #gainz pic. With the help of the MOON UltraLight, you can perfectly position yourself for the ultimate selfie.
Let’s take a look at some tips for how to pose for your perfect muscle selfie:
Know your angles
Taking a good bodybuilding or fitness selfie can be tricky – you don’t want to look goofy or vain, but you still want to show off the hard work you’ve put into transforming your body. Knowing what angles focus on the best parts of your physique and how to move can make all the difference in taking the perfect selfie.
To take a great bodybuilding selfie, start by experimenting with different poses by deciding which muscles you want to focus on. Move your chin and chest up and out so that your neck aligns with your spine while slightly arching your lumbar spine back. This will help bring out upper body muscles, such as those around the shoulder blades and upper lats. To accentuate the shoulders and back shape, try spreading out arms or bending them at 90 degrees with palms facing forward instead of down. To make sure that posture looks symmetrical, take photos from both sides for comparison before choosing which one to post.
Tuck in your core slightly, as this will help spread out any shapes displayed across the abdominal area, making them look bigger than usual. You can also perform small lateral shifts from side to side, or an arched pivot motion to guard against any possible slouching or bending of the image plane if the camera is placed below the torso level instead of above it like most phone cameras do for portrait photography mode.
Overall, remember not to get too focused on details: be sure not just to rely solely on aesthetics but also engage in facial expressions to demonstrate positive feelings so people will recognize it while engaging with content presented through a visual medium. A simple smile will usually do! With this approach, I am sure you’ll be able to find techniques that work best for you when posing for selfies which will help increase overall influence productivity when using social media as a platform showcasing results gained through dedicated hard work towards achieving goals within the fitness domain!
Strike the right pose
The most important aspect to consider when taking a muscle selfie is the perfect pose. To capture a good, flattering selfie, you’ll need to ensure that your body is positioned in the most flattering way. Regarding muscle selfies, your goal should always be to make your body look as large and muscular as possible. The following poses are recommended to achieve this goal:
- The double biceps pose: This is the go-to muscle selfie pose, and for a good reason – it’s one of the best ways to show off your physique. Start by striking a relaxed pose with your shoulders slightly hunched while pressing both fists tightly against each side of your ribcage – as if you were flexing both biceps simultaneously. This will cause them to protrude outward and create an impressive 3-dimensional look that flatters any body shape or size. Ensure your abs are pushed forward and slightly up for maximum effect.
- The wide V-taper: This pose is excellent for anyone with broad shoulders who wants to emphasize their “V-shape” taper from chest to waist – a classic hourglass figure where the shoulders are wider than the hips. To get this pose just right, start by partially extending out both arms straight in front of you at shoulder width apart, then bring them together towards one another until they almost touch before pushing outwards again—creating a “V” shape with both hands on either side of your abdomen—this should give you an even more imposing V shape that accentuates larger shoulder muscles perfectly.
- The yoke: The yoke requires several muscle groups working together at different angles, with each group working on its own while still contributing towards achieving an overall effect – it takes practice! To see if you have mastered it or not, there are two key things involved – firstly, make sure all parts of you’re torso are grabbing onto each other like how two hands would grab onto something top and bottom or left/right, etc. – secondly ensure all poses created by these muscle groups when taken together create an ‘x’ format on either side – allowing full tightens across all areas used in said posture.
Show off your muscles

I’m no expert on taking selfies, but I am an expert in how to show off your muscles with your selfies. If you’re trying to show off your muscles with a selfie, the goal is to create a photo highlighting your best angles and making them look larger than life. Here’s how you can do just that:
- Find the Right Angle – When taking a selfie, you want to make sure that the camera is angled in such a way that it captures your best angles. This means “lifting” the camera slightly higher than your chest to capture more body surface area from top to bottom (especially those biceps!). Generally, taking pictures from slightly below eye level will show off more of your body.
- Lighting – Lighting is one of the most important factors in creating stunning pictures. Blur out any harsh shadows by shooting outside during mid-day when the sun isn’t too strong, or opt for inside lighting where light is coming from all directions (not just from the front). You also don’t want too much light; opt for natural light rather than direct sunlight, which could wash out colors or create heavy shadows. Avoid yellow-tinted lights since they give skin an orange appearance which isn’t ideal when showing off muscles. Use LED lights or reflectors instead!
- Pose – Pose like you mean it! To properly show off your physique in photos, be sure to square up your shoulders, puff out your chest, straighten and tuck in arms, and angle legs away from the camera, so they look longer and leaner—this will draw attention away from any “trouble spots” while pointing out all the things you love about yourself!
Post-Production
After getting the perfect lighting, finding the perfect angle, and selecting the best outfit, it’s time to bring your muscle selfie to the next level with post-production. The MOON UltraLight mobile photography studio lets you take full control of your selfie and touch up any flaws.
Let’s look at the different post-production techniques you can apply to your muscle selfies:
Edit your photos
Once you have taken a few test shots with your phone, it’s time to start editing. I prefer to edit my photos with the Google Photos app, but many options exist. With Google Photos, you can crop the image and adjust the photo’s lighting, color, and contrast. This can be done by selecting “Edit” on the top right corner of an album and choosing any of these customizations under “more.”
Make sure not to go overboard with drastic edits, as too much saturation and brightness can often make an image look “fake.”
Lastly, if you’re looking for that extra boost in sharpness and definition, think about applying a slight vignette effect to your image. This is a great way to add impactful contrast and draw attention to specific areas of the photo. After that, all that’s left is to save the photo, and you now have your very own muscle selfie!
Add filters
When snapping that perfect muscle selfie, filters can add some pizazz to your photo. One filter I use all the time is called “Instant” – it adds a bit of brightness and contrasts to the photo, which helps my coloring stand out. Another popular filter I use is called “Clarendon” – this adds a cool hue that makes shadows look more intense and flattering without oversaturating the image.
With just a few clicks, these filters can make all the difference!
Share your photo
Once you’ve taken and edited your photograph, it’s time to share it with the world. When selecting where to post it, think about how you want people to consume it – on which platform will your audience best react to your work?
Instagram is a great option because of its visually focused culture and expansive network allowing you to reach a wide audience quickly. If your goal is more incisive engagement – if you’re looking for responses and comments – on sites like Twitter, make sure that your loyal followers can stay tuned in to what’s happening with minimal effort. Finally, please don’t discount the power of YouTube or Twitch as platforms; sharing video capabilities can give viewers crisp visuals so they can appreciate all the hard work that went into achieving your physique.
Share what you love: no matter where you decide to upload it, make sure that the final product accurately represents who you are as an athlete and what sets you apart from others. Have fun with it; make sure people know exactly why they should follow along on this journey with you!
Promote Your Selfie

Taking the perfect muscle selfie can be intimidating, but with the right tools and know-how, you can make it look like a professional model. The key to success is having the right lighting. MOON UltraLight is an amazing portable lighting system that will help you get the perfect lighting for your muscle selfie. It is easy to use and set up, so you can promote your selfie in no time!
Use hashtags
When taking the perfect muscle selfie, hashtags are your best friend. Hashtags help attract more people to your post, so using them wisely is important. Start by researching popular fitness-related hashtags that are relevant to your post. You should also consider creating some personalized tags—something catchy that will draw attention and give you a unique hashtag identity!
Next, pick out the top five or six hashtags you’re going to use and make sure they’re visible in your post. If your caption is long, you may need to add them as a separate comment below; make sure they’re there! You don’t want potential fans missing out on finding your content because you didn’t include any tags.
Using fitness-related geotags can also help draw more eyes to your selfies. Whether in the gym’s weight room or outdoors on a beach, geotagging shows people from all over the world where you got such awesome muscle shots. Plus, it helps industry professionals find amazing content that might qualify for future projects!
Tag relevant accounts
I always tag relevant accounts in my muscle selfies when I want to maximize my reach. This means tagging any fitness-related accounts whose viewers might want to see my photo. Reaching people interested in fitness can help me build a community of like-minded followers who will check out what I post daily.
If the brand of clothing or supplements I’m wearing is heavily associated with fitness, it won’t hurt to give them a shout-out as well! These companies have a sizable following. By tagging them, I can greatly increase the number of eyes on my photos—which is great for recognition and building relationships with other brands.
The key is to research tags before you post—make sure you’re using hashtags that will attract an audience consistent with your brand or images you’d like to project. My friends and family members won’t appreciate seeing too many muscle selfies (as much as they love me!), so cast a wide net when promoting your posts and ensure you reach those genuinely interested in what you’re sharing!
Engage with others
After you have perfected the art of taking your perfect muscle selfie, it’s time to start sharing it! Engaging with other lifters on social media has powerful impacts. It helps build relationships with people passionate about sculpting their bodies and pushing their limits. Post your selfies in active weightlifting communities, comment on posts from inspiring athletes, or reach out to a coach for tips and advice. Sharing your progress can be deeply motivating in and of itself and is a great way to stay tapped into new ideas and workout techniques.
Positive reinforcement can help increase confidence in the gym, and social media offers an open space for this support. Keep interacting with these groups long-term, and be sure to lift each other up when embarking on fitness journeys together. This will encourage organic growth within these weightlifting hubs, amplifying motivation and giving way for easier reflection on progress made over time – providing an invaluable insight into goals that were once attainable only through trial-and-error methods.

