The plane touches down, you turn off airplane mode, and within a minute your maps are loading and your bank just texted a verification code to your regular number. No kiosk line. No jet-lagged fumbling with a paperclip and a tiny plastic chip. And no €9.50-per-GB roaming overage waiting on your next statement, that’s what travelers sticking with traditional roaming actually paid on average above the EU cap, per a 2025 European Commission survey, and it’s why over 80% of American travelers now put affordable international data at the top of the packing list. You’ve got three ways to get there, and the setup itself takes about three to five minutes in Settings. Here’s which path fits your trip, and the one toggle that quietly wrecks people’s bills if you miss it.
Key Takeaways
iPhones have supported eSIMs since the XS and XR in 2018, and iPhone 14 and newer can hold two active eSIM lines, so your home number keeps taking calls and texts while the travel eSIM handles data.
The surprise-bill mechanism is Allow Cellular Data Switching: when the travel eSIM signal dips, your phone can silently fall back to home-SIM data. Turn it off, along with home roaming, the moment the eSIM is live.
A moderate-use week needs roughly 3-5 GB, offline maps save 200-400 MB a day, and the whole install-at-home routine takes under ten minutes including the settings pass.
Table of Contents
Why an eSIM for travel
Yes, your iPhone can use an eSIM abroad, and it’s not new tech. Apple introduced it with the XS, XS Max, and XR back in 2018, and iPhone 14 and newer can keep two eSIM lines active side by side. That second line is the whole traveler pitch: home number sitting there handling calls and texts, travel data running on the eSIM next to it.
There’s a security angle too, and it cuts both ways. A thief can pop a physical SIM from a stolen handset in moments; an eSIM stays put, so Find My and activation lock keep doing their jobs. The honest caveat: eSIM doesn’t kill SIM-swap fraud. It just moves the attack to your carrier account through social engineering, so a strong password on your carrier login matters more than it used to.
Practically, there’s nothing to lose, nothing to mail-order, and your phone keeps 8 or more profiles on hand you can swap in Settings without re-scanning QR codes. And in case you’re wondering if this is still early-adopter stuff: the GSMA counted over 1.4 billion eSIM connections worldwide by the end of 2024, projected to pass 3.4 billion by 2030. It’s mainstream.
Before you fly: the three checks and the regional traps
Checking whether your iPhone is unlocked for international travel takes one trip to Settings > General > About > Carrier Lock. If it says “No SIM Restrictions,” you’re good. Do this before you buy a plan from another carrier, because a locked phone will take your money and then refuse the plan.
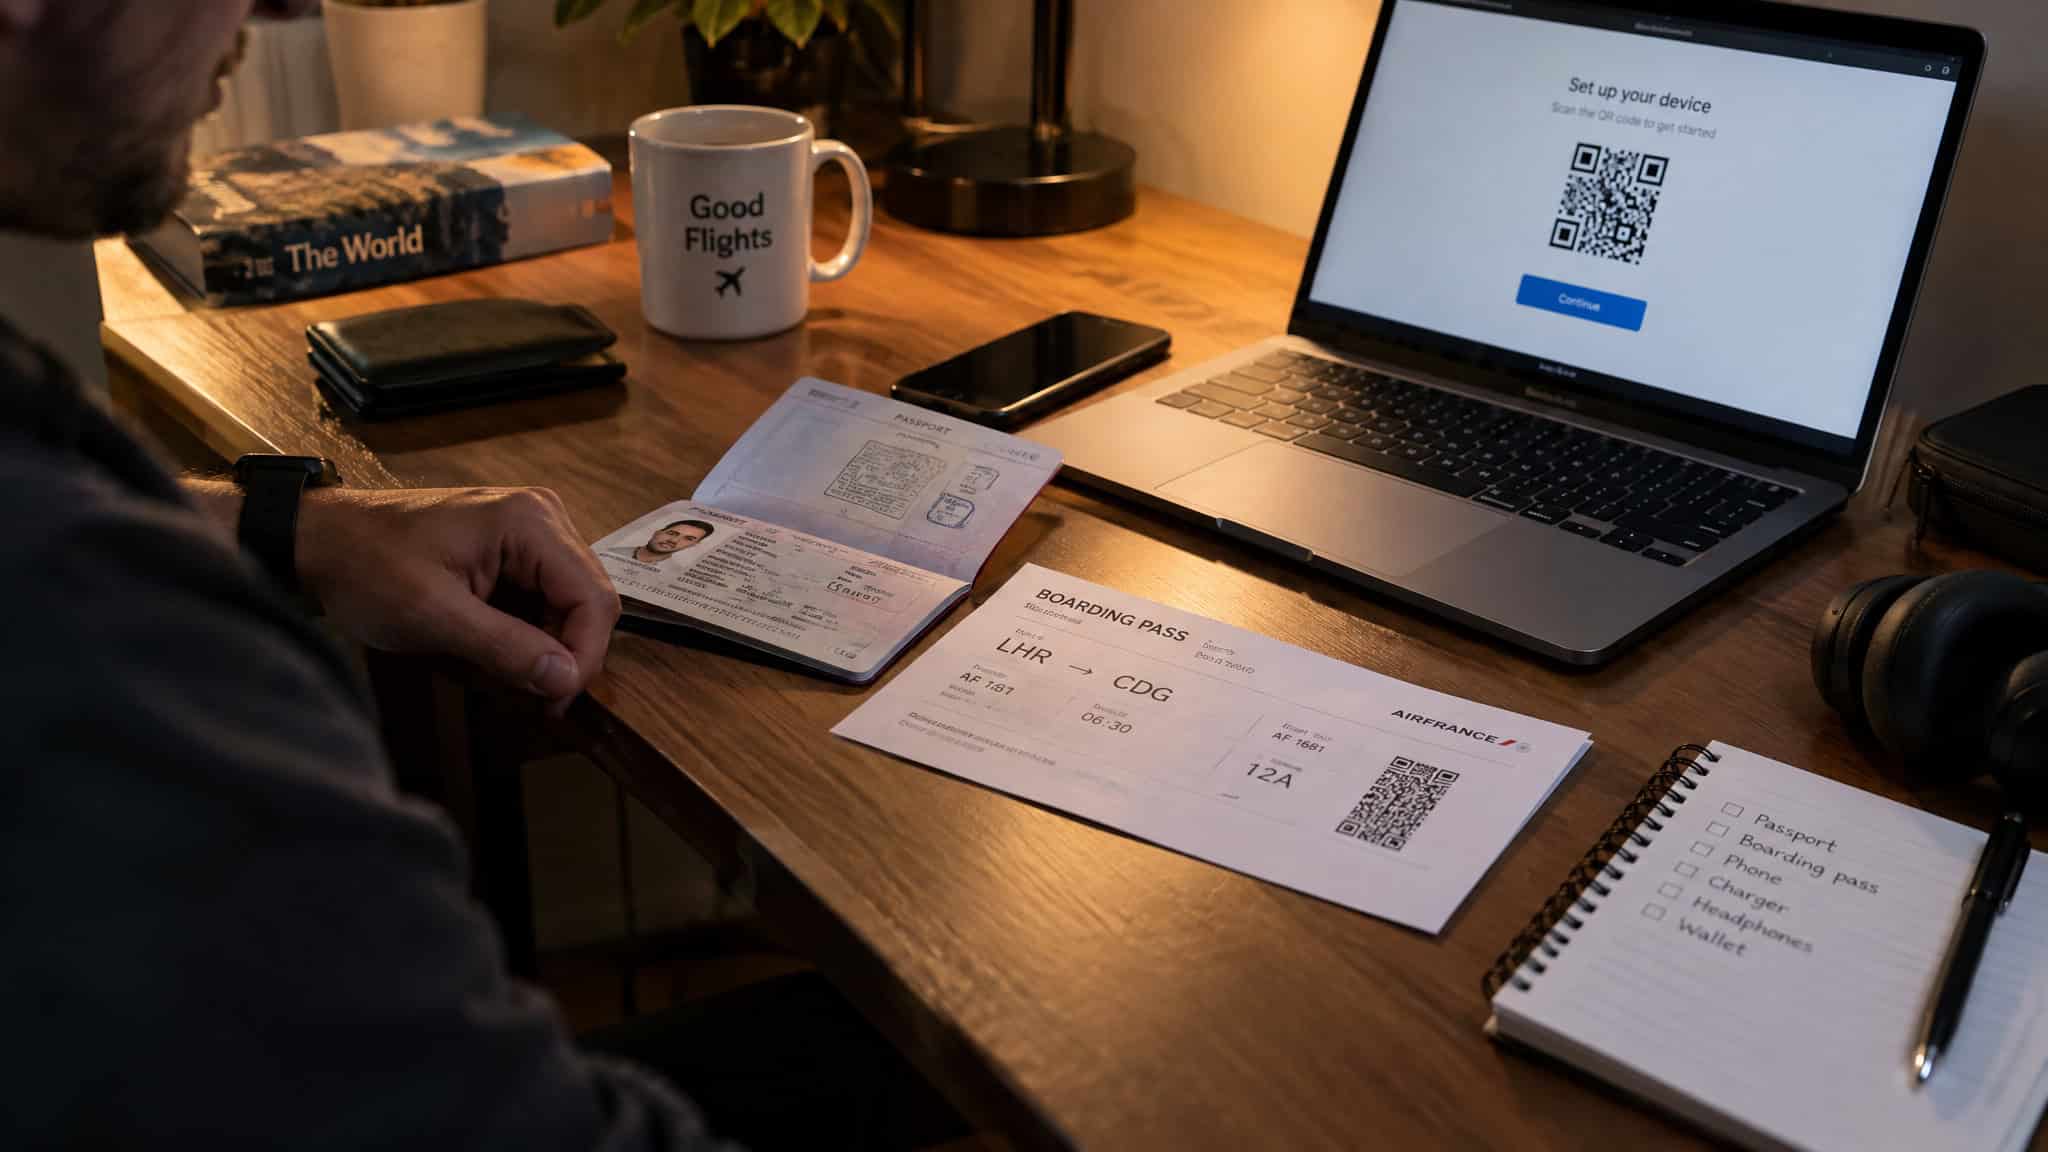
Three gates, in order. First, hardware: you need an iPhone XS, XS Max, or XR (2018) or newer. The iPhone 11, SE (2nd gen), iPhone 12 series and beyond all do eSIM. iPhone 14 and newer handle two active eSIMs, and here’s the split that matters: US and Canadian models from the 14 on have no SIM tray at all, while EU and most other regions are hybrids with one nano-SIM slot plus eSIM. Second, that unlock check above. Third, activation: you’ll want a solid Wi-Fi connection, though some eSIM-only models can activate without one.
If you’re not sure your phone does eSIM at all, three quick checks: look for “Add eSIM” in Settings > Cellular, confirm your model against the list above, or dial *#06#, an EID number means you’re equipped.
Now the traps almost nobody mentions, and they’re all about where the phone was bought, not just what model it is:
| Phone origin | Works with travel eSIMs | Works with mainland China carrier eSIMs |
|---|---|---|
| US / Canada iPhone 14+ (eSIM-only) | Yes | No (bought outside mainland China) |
| EU / hybrid models (nano-SIM + eSIM) | Yes | No (same rule applies) |
| Mainland China iPhone (most models) | No (nano-SIM-first, eSIM limited) | Yes |
| Mainland China iPhone 17e or iPhone Air | Yes | Yes |
| Hong Kong / Macao models | Partial (two physical nano-SIMs, no eSIM) | No |
That middle gotcha is the real one: an eSIM-only iPhone bought outside mainland China cannot load mainland Chinese carrier eSIMs. No workaround. If China’s on the itinerary, a worldwide provider’s prepaid plan is the fix, more on that below.
Your three options: roaming, local carrier, or a travel eSIM
The right choice depends on your trip shape, not on any brand. One country for a week, five countries in two weeks, or six months abroad, each points to a different answer.
Roam on your carrier. The lazy route, and sometimes the fine one. Check your plan first, some include international roaming at no extra cost, and carriers sell travel passes you can buy ahead that are occasionally reasonable. A two-minute look at your plan details, or a call to the carrier, tells you. But get honest about the default: that €9.50 per GB average overage from the 2025 survey is exactly what happens when you just let roaming run.
A local carrier’s eSIM. The live-like-a-local route. Prepaid or postpaid, often with a local number, bought online before you fly or at an airport kiosk or carrier store when you land. Heads up on two frictions: some countries want your passport for a SIM, and postpaid plans may want proof of local residency or a local bank account, basically a dead end for a short trip. Prepaid with an ID and a QR code is the workable version.
A worldwide provider’s prepaid data eSIM. This is the one most readers will actually take. Plans cover 190+ countries, you buy through an App Store app, and there’s a genuinely useful quirk: these plans work in mainland China even where local carrier eSIMs won’t load on your phone. The App Store abundance is a little overwhelming, but it also means competition and plenty of options.
Then the trip-shape call. Single-country trip: a country-specific eSIM, cheaper and simpler. Multi-country trip, a two-week run through France, Italy, Spain, a regional eSIM that hops to the best local network at each border on its own, at slightly higher per-GB pricing. Long stay: local postpaid with the residency paperwork.
And wherever you land, buy and install the eSIM before you fly. The airport kiosk queue is the worst version of this entire decision.
Step by step: installing and configuring the eSIM
Installing a travel eSIM on iPhone takes about three to five minutes here’s how to use an eSIM when travelling, via Settings > Cellular > Add eSIM. Buy the plan before you leave home, the activation code lands in your email, so do it the Sunday night before the Friday flight. Install over stable home Wi-Fi using the QR code, a manual activation code, the carrier’s app, or eSIM Quick Transfer, but hold off turning on data until you land. Label the line “Travel Data” or the destination name so future-you isn’t guessing. Keep your home SIM as the default voice line with data on the travel eSIM, that way your home texts and calls still reach you abroad.
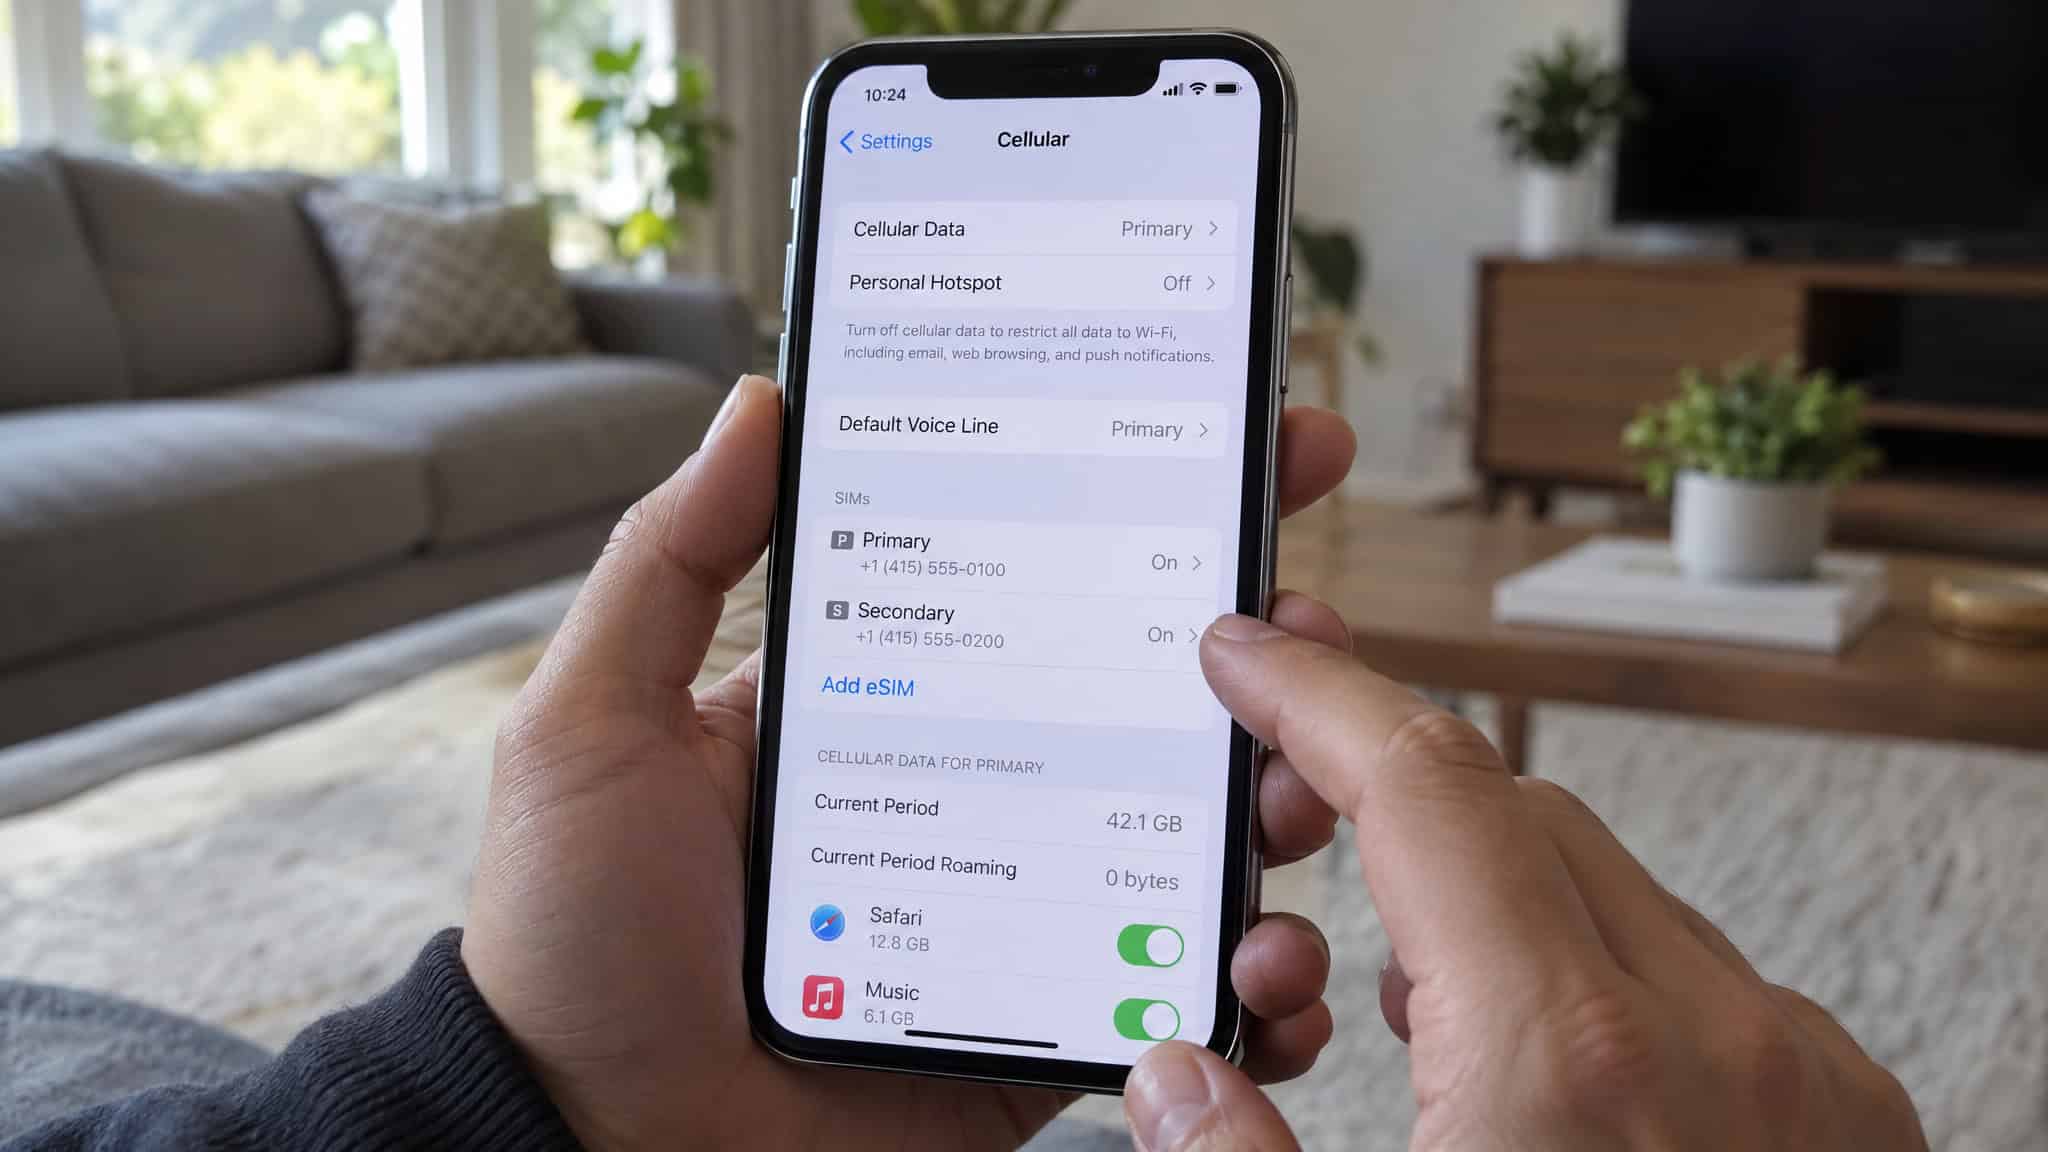
Then set your defaults: voice stays on your home SIM, cellular data goes to the travel eSIM. The part people miss, turn off Allow Cellular Data Switching and your home SIM’s data roaming. Load a webpage off Wi-Fi to verify, and check that both carrier names show in the status bar.
On iOS 26, landing triggers a “Turn On Travel eSIM” notification. Choose Travel eSIM Only, or Travel eSIM and Current eSIM, though keeping both active can still rack up home roaming fees, so think before you tap. Then Continue, and answer the Low Data Mode prompt (worth it if you’re stretching a small plan). If data doesn’t switch on its own, pick the line manually under Settings > Cellular > Cellular Data. Even running travel-eSIM-only, FaceTime and iMessage keep working on your home line.
The setting that prevents surprise roaming bills
Yes, turn off roaming on your home SIM once the travel eSIM is live, and turn off Allow Cellular Data Switching too, because that second toggle is the actual mechanism behind surprise bills, not forgetfulness. When the eSIM signal dips, the phone can quietly re-route data back to your home SIM without telling you. In practice, the most common surprise bill comes from a few minutes of silent fallback roaming, and those few minutes can cost more than a week of travel eSIM data.
The payoff for getting this right: your home number stays reachable for bank one-time passwords while data runs on the eSIM. Reachable but not billable.
Before boarding, do the two-minute once-over: home roaming off, Data Switching off, travel eSIM as default data, iMessage and FaceTime confirmed on your home number, and Wi-Fi Calling considered. That’s the whole insurance policy.
Keeping your home number working abroad
You keep your number. The home SIM stays registered on the network as long as voice roaming is enabled or Wi-Fi Calling is set up, and that second option is the zero-cost fallback most guides skip: with Wi-Fi Calling, calls and texts hit your regular number over any Wi-Fi network, no cellular roaming at all.
The catch is that many travel eSIMs carry no voice service at all, data only. So calls ride the home line, or go through WhatsApp, FaceTime, or Zoom over the eSIM’s data, which is how most people call each other anyway. If you want more smart travel hacks like skipping local SIM cards and roaming fees, an international eSIM is the easiest fix. Some plans throw in local calling minutes, handy for restaurants and taxis. Check the plan details before you fly, not after.
One technical distinction in plain terms: on DSDS hardware, both SIMs are registered but only one is fully active at a time, which is why texts sometimes mysteriously stop. DSDA keeps both fully live, so you can navigate while on a call. It runs on iPhone 13 and later, Galaxy S21 and later, and Pixel 6 and later. From your contacts’ side, none of this changes anything. They dial your number, it rings.
How much data you actually need
A moderate-use week needs roughly 3-5 GB. Most readers live in that middle band and buy bigger than they need, because data feels abstract until you’ve watched the numbers. Here’s the honest sizing:
| Use | Per day | A week |
|---|---|---|
| Light (maps, messaging, email) | ~150-300 MB | 1-2 GB |
| Moderate (social, some video) | ~500 MB-1 GB | 3-5 GB |
| Heavy (streaming, remote work) | 1.5-3 GB | 10 GB+ |
| Nomad | 3-5+ GB | 20 GB+ or unlimited |
To make a cheaper plan work: download offline maps before you leave. Google Maps or Maps.me, and save 200-400 MB a day right there. Set streaming apps to Wi-Fi-only downloads. Keep the big uploads and video calls on accommodation Wi-Fi.
And reset the data counter in Settings > Cellular when the travel eSIM goes live, so you’re watching real trip usage instead of last month’s. In practice, the numbers above mean a mid-tier plan covers the week with headroom.
Landing, during the trip, and switching back home
On arrival, the iOS 26 notification handles activation, tap it, pick your line setup, and you’re online. Verify by loading a webpage off Wi-Fi, then stop thinking about it.
Coming home, iOS 26 switches the travel eSIM off and brings your home SIM back automatically, depending on your country or region. If the home line doesn’t come back on its own, check Settings > Cellular > “Turn On this Line” for your primary eSIM, and switch off any travel lines you’re not using.
As for cleanup: an expired travel profile is dormant. No data use, no charges. Deleting it is optional tidiness, and honestly, keeping it means it’s already there next trip.
Troubleshooting: why your travel eSIM isn’t working
A travel eSIM that isn’t connecting after landing usually means one of two boring things: the plan isn’t activated yet, or the phone hasn’t registered on the local network. Not a broken SIM. Here’s the calm version of each failure.
No connection at all
Airplane Mode on for 30 seconds, then off. Works more often than it should. Still nothing: Settings > Cellular > your travel eSIM > Network Selection > Automatic. Some plans need manual network selection in certain countries, so check the provider’s setup notes if automatic doesn’t stick.
Surprise home-SIM charges
Cellular Data Switching was still on, or home roaming never got disabled. Turn off home roaming immediately, every minute is money, then call the carrier. Most will reverse an accidental first-time charge when you can show timestamps, though that’s typical practice, not a guarantee.
Texts not arriving on your home number
The home SIM is sitting in DSDS standby. Toggle it off and back on in SIM settings. On some phones you may need to briefly make the home SIM the active data line to wake it up, then switch back. Weird, but real.
“Already Used” QR error
Those codes are single-use, and they burn after a factory reset. Ask the provider for a reissue, which typically takes only a few hours. Prevention: keep the original activation email until the trip’s over.
Slow speeds
Either you’ve hit a soft cap and gotten throttled, check your balance in the provider’s app and top up, or you’re stuck off 5G. Settings > Cellular > travel eSIM > Voice & Data, and pick 5G Auto or LTE.
iPhone vs Android dual SIM: where the two differ
The one difference that matters: iPhone has a single Allow Cellular Data Switching toggle to get right, while Android makes you disable data roaming per SIM individually, and it’s easy to miss one. Otherwise they’re close. iPhone (iOS 18) stores 8+ eSIM profiles against Android’s 5-10, both run two active lines, and Android setup runs through SIM Manager (Samsung buries it under Connections, stock Android under Network & Internet). Two lines cost roughly 5-10% daily battery, negligible on modern flagships. If you’re on Android, the full walkthrough lives in our Android eSIM travel guide.
Edge cases, FAQ, and the eSIM-only future
The honest downsides: SIM-swap fraud doesn’t disappear, it shifts to attacks on your carrier account. Two active lines cost a few percent of battery. Most travel eSIMs are data-only, so calls need VoIP or your home line. And regional hardware restrictions are real, especially around China.
Registration laws. Most travel eSIMs come pre-registered by the provider, so no in-person ID. But some countries in South Asia and the Middle East require in-country registration regardless, and where eSIM plans are scarce, a cheap local physical SIM is still the fallback.
Quick hits. Battery: covered above, real but modest, and Low Power Mode covers the gap. Moving phones: eSIM profiles are tied to your phone’s hardware ID (the EID), so they don’t hop devices, a broken or stolen phone means asking the provider to reissue, usually within hours. Keep the plan confirmation email somewhere you can reach without the phone.
The eSIM-only future. Losing the SIM tray frees internal space for battery, antennas, and cooling, the iPhone Air is the existing example. Apple hasn’t confirmed SIM specs for its first foldable (reported name: iPhone Duo); eSIM-only is plausible for a thin foldable, but explicitly unconfirmed. The measured take: eSIM-only removes the airport-kiosk fallback and locks profiles to one device, so buyers on small carriers, prepaid, and business plans lose the most flexibility. Our broader beginner’s eSIM guide covers the basics if you’re starting from zero, and the activate-before-you-travel question has its own timeline worth reading before a big trip.
Bottom line: your pre-flight checklist
Five things, all doable in under ten minutes: confirm eSIM support and unlock status before buying anything. Install the profile at home over Wi-Fi. Set the travel eSIM as default data and turn off home roaming. Turn off Allow Cellular Data Switching.
Download offline maps and set streaming to Wi-Fi-only before boarding. Then get on the plane.
Frequently Asked Questions
How do I check if my iPhone is unlocked for international travel?
Go to Settings > General > About > Carrier Lock. If it says “No SIM Restrictions,” you’re good to buy a plan from another carrier. Do this check before purchasing, because a locked phone will happily take your money and then refuse the plan.
How much eSIM data do I need for a two week trip abroad?
A moderate-use week needs roughly 3-5 GB, so figure around 6-10 GB for two weeks of social media and some video. Light use (maps, messaging, email) runs about 150-300 MB a day, while streaming or remote work can push past 1.5-3 GB daily. Download offline maps to save 200-400 MB a day, set streaming apps to Wi-Fi-only, and reset your data counter when the travel eSIM goes live so you’re tracking real trip usage.