It’s the night before a flight. Phone’s on the kitchen counter, hooked up to the home Wi-Fi, QR code open on your laptop. Here’s the actual answer: install the eSIM before you travel, and activate it when you land, unless your provider’s rules say otherwise. Most guides mush three separate events, buying, installing, and activating, into one step, and that mush is what causes both of the disasters you’re afraid of: landing with no data, or burning paid plan days while you’re still on your own couch.
The split matters because installation is a one-time download that needs solid Wi-Fi, and activation is just the quick network handshake that starts your validity clock. Those are two different jobs in two different places.
Key Takeaways
Install your eSIM one to three days before departure on stable home Wi-Fi; activation itself can wait until departure day or landing, and it takes about a minute.
Most eSIM plans start their validity clock when the eSIM first connects to a network inside its coverage area, not when you install it, and activation windows typically run one month to a year after purchase.
Never delete an eSIM before you’re done with it. It becomes permanently unusable, and there’s no undo.
Table of Contents
Three stages: why “activate early?” is the wrong single question
The safest timeline looks like this: buy whenever you like, install one to three days before departure, and activate on departure day or when you land. That’s it. Everything else is detail, so let’s break down the three stages.
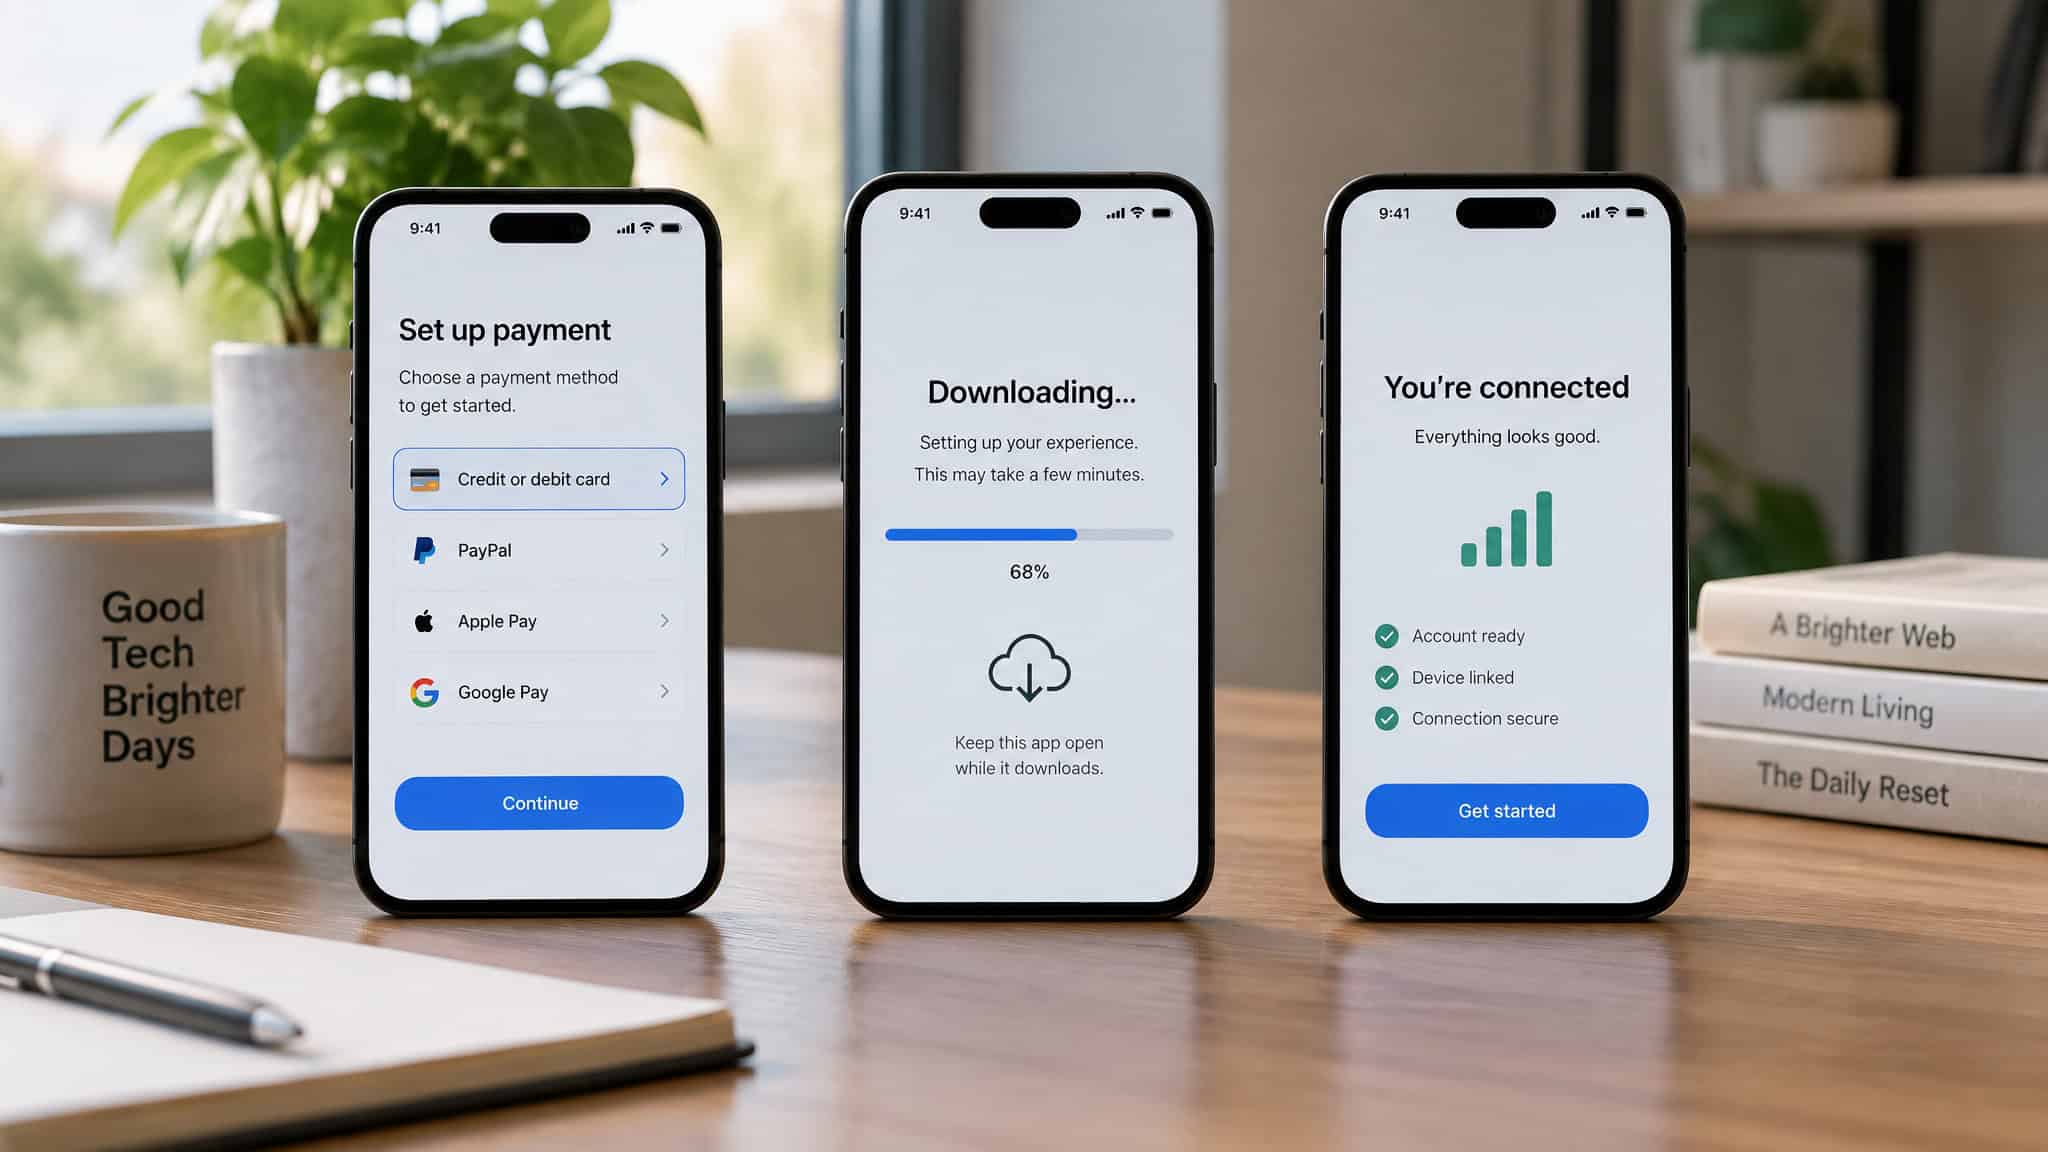
Purchase is just a transaction. You pick a plan, pay, and the provider sends you a QR code or an in-app install prompt. Timing barely matters here, except for one thing: how fast the QR code shows up. That’s the only real timing difference between providers, because once you have the code in hand, the install and the post-landing connection take the same time across the board. Those steps depend on your phone’s hardware and the destination carrier’s network, not the brand on the box.
Installation is the one-time download of the eSIM profile onto your phone. It needs stable Wi-Fi, takes roughly one to three minutes, and can fail permanently if the connection drops mid-install. That’s why it belongs at home, on your own network, days before you’re standing in an airport fighting sixty other travelers for congested Wi-Fi.
Activation is the network handshake that starts your plan’s clock. It needs no Wi-Fi at all. Connecting after you land takes about a minute.
Here’s how QR delivery stacked up across the major providers as of the April 2026 data:
| Provider | QR code delivery |
|---|---|
| Airalo | Near-instant |
| Nomad | Usually within 15 minutes |
| Holafly | Minutes to a few hours |
| eSIMKitStore | As fast as 1 hour, up to 24 hours |
Notice what that table doesn’t change: your install time and your connection time. So the provider decision isn’t really a timing decision at all. It’s a shopping decision, and the timing question stays simple no matter who you buy from.
Why some eSIMs only activate when you connect locally
For most travel eSIMs, the validity clock starts the moment the eSIM first connects to a network inside its coverage area, not when you install it. That’s deliberate. It exists so you can set everything up at home without torching paid plan days before the plane leaves the gate. Buying early is safe because activation windows run one month to a year after purchase.
The catch is the minority of plans that start validity at installation instead. Check the package details before you buy so you know which kind you’re holding.
What happens if you activate too early
It depends on the plan. Arrival-based destination eSIMs are exactly what they sound like: install early, connect on landing, clock starts when you land. No problem. But a global eSIM, or a regional plan that happens to include your home country, can connect right there in your living room and start the clock before you’ve packed. The “let me just test it” instinct is fine for installation and genuinely dangerous for activation on those plans.
When early action is required
Some T-Mobile USA and Australian plans flip the script: you have to submit a manually chosen activation date at least 24 hours before departure, or the eSIM won’t connect when you land. Most other destinations, Europe, Japan, Korea, Southeast Asia, China, the Middle East, are arrival-based with no extra steps.
The safest pre-trip timeline: a T-minus checklist
A week out, check that your phone is carrier-unlocked (Settings > General > About > Carrier Lock on iPhone) and eSIM-capable by dialing *#06#. Buy only after that’s confirmed, the whole process is covered in how to use an eSIM when travelling. One to three days before departure, install the eSIM on your home Wi-Fi and label it during setup, something like “Japan Trip,” so it doesn’t get lost among your other lines. Activate on departure day or when you land, and sort your dual-SIM settings before boarding, not at the arrival gate.
What makes buying early safe is that one-month-to-one-year activation window. You’re not racing a clock by purchasing a week ahead.
The most common way people blow this? They activate at home “just to test it,” the eSIM connects to a covered network, and their paid days quietly start ticking while they’re still doing laundry. It’s a pattern support teams see constantly, and it’s entirely avoidable.
Check your phone is unlocked and eSIM-compatible before buying
You can verify whether your specific phone supports eSIM in under two minutes. Check carrier lock in Settings, then dial *#06#. Four ways to do it:
- Settings: look for “Add eSIM” or “Download SIM” in your SIM settings.
- Dial *#06#: a 32-digit EID means eSIM support. Two IMEIs suggest dual-SIM. Android only: ##4636## > Phone Information shows eSIM status.
- Carrier lock: on iPhone, Settings > General > About > Carrier Lock. “No SIM restrictions” means unlocked. On Android, check the SIMs or Mobile Network settings, though calling your carrier to confirm is the reliable route.
- Paperwork: original packaging or the provider’s compatibility list.
Here’s the nuance most guides miss: compatibility depends on where the phone was sold, not just the model. iPhone XR and later are eSIM-ready; the 6S, 7, and 8 are not. US iPhone 15 models are eSIM-only. The Galaxy S20 is compatible. But the same-name phone bought in different markets can differ, so the real question is whether this specific unit was sold in an eSIM-enabled market.
Two more things worth knowing. An eSIM installs only once, and unstable Wi-Fi can make that one install fail, which is exactly why the install happens at home on your own network. And if your phone turns out to be incompatible, you’re not stuck: you can still buy and share an eSIM to another device, following a guide that covers compatibility across iPhones and Android phones.
Buying your eSIM: plan type, data size, and payment
Local, regional, or global. Plan type is your first timing decision, not just a shopping one. A global plan or a regional plan that includes your home country changes your whole activation strategy, because it can start its clock while you’re still home. Local destination plans usually don’t have that problem.
Data sizing. One to five GB covers short or basic trips. Ten GB handles heavy social media use. Twenty to fifty GB is for video-heavy extended trips, and unlimited plans exist if you’d rather not think about it. Most eSIMs are data-only, though some include calls and texts, and you can top up anytime.
The buying flow itself is painless. Using Airalo as the example: buy on the website or in the app, verify your email, pay by card, PayPal, or Airmoney, and discount codes work if you’ve got one. Hushed is another provider worth a look when you’re shopping around.
Installing your eSIM: QR, manual, and in-app paths
An eSIM installs exactly once. That single fact should shape how you approach the whole thing: know all three installation paths before you start, and for step-by-step coverage of QR code versus manual activation on Samsung Galaxy and Pixel devices, see this Android eSIM setup guide, save the manual codes first, not after something goes wrong.
Direct or in-app install is the easiest when it works. The Airalo app prompts you straight through installation, and you can also kick off the install from another device under the Install/share options. Handy if your laptop is more cooperative than your phone.
QR code scanning is the classic route. Holafly, for instance, sends the QR by email. Open that email on a separate device, then scan the code with your phone’s camera, or head to Settings > Mobile Data > Add Data Plan. On iOS 16 and later, the path is Settings > Cellular > Add eSIM > Use QR Code.
When it asks you to label the line, do it, “Japan Trip” beats “Cellular 2” every time. Keep your local SIM as the default for calls and set the travel eSIM as your data line. iOS 17 even supports installing from a QR screenshot, which saves you from juggling two devices if your email arrives as an image. On Samsung, it’s Settings > Connections > SIM Card Manager > Add Mobile Plan, then scan.
Manual install is your recovery path when the QR scan fails, and this is where saving codes first pays off. Holafly emails you the SM-DP+ address and Activation Code, and texts them too, so a dead inbox doesn’t leave you stranded. In Settings, go to Mobile Data > Add eSIM > Use QR Code > Enter Details Manually, punch in those codes, and follow the prompts.
The why behind all this caution: because the install is one-shot, the manual route is your insurance policy. But insurance only works if you bought it before the crash. Save the codes before you attempt anything.
And label the line. Thirty seconds now, zero confusion in an airport later.
Activating on arrival: verification and dual-SIM hygiene
Activation on landing takes about a minute. The settings around it determine whether your real number keeps working, and that’s where people get burned.
Verify it’s active
For Holafly, look for at least one signal bar and confirm Data Roaming is on under the Holafly profile in Settings. On iPhone with Airalo: Settings > Cellular, select the eSIM, turn on the line, enable Data Roaming, and set the eSIM as your Cellular Data line. On Android with Airalo: Settings > Network & Internet > Mobile Network, turn on the eSIM, Mobile Data, and Data Roaming.
Keep your number alive
Here’s the setup that keeps everything working: voice, iMessage, and 2FA texts stay on your primary line. Cellular data goes to the travel eSIM. Toggle off “Allow cellular data switching.” Data Roaming goes off on the primary line, on for the eSIM. Rename the eSIM to something obvious like “Holafly-France” so you’re never guessing which line is which at a customs desk.
The failure this prevents is a common one in support queues: travelers land connected, then discover their bank’s 2FA texts and iMessage quietly stopped arriving because data switching moved things around behind their backs. That toggle is the fix.
If it doesn’t work: troubleshooting, the no-delete rule, and refunds
Restart first, or toggle airplane mode for ten seconds. That fixes most connection problems before you get clever. If neither works and your eSIM supports multiple networks, try manually selecting a different one. Whatever else happens, do not delete the eSIM. Deleting one before you’ve finished using it makes it permanently unusable, it’s irreversible, and it’s easily the most expensive tap in the entire process.
On refunds: If your device turns out to be incompatible or carrier-locked, Holafly will refund you in full, and it also refunds in full if your plans change, and full or partial refunds for connection issues caused either by Holafly or by unstable destination networks. That’s Holafly’s policy, not an industry standard, so don’t assume your provider matches it. Check before you buy.
Provider activation models: when your plan actually starts
Saily auto-activates on arrival, which erases the timing decision entirely. Airalo uses an activate-on-departure-day model you control. Holafly activates when you connect.
| Provider | Activation behavior |
|---|---|
| Saily | Auto, activates on arrival |
| Airalo | Settable, activate on departure day |
| Holafly | Activates on connection |
| T-Mobile USA / some Australian plans | Scheduled, submit an activation date 24+ hours before departure |
On pricing architecture, the brands split a few ways. Airalo and Nomad run tiered data plans. Holafly, GigSky, and aloSIM sell unlimited plans with throttling on heavy use. Roamless does pay-as-you-go with credits that never expire. BNESIM offers lifetime plans that don’t expire at all.
One network reality worth knowing: these brands largely ride on the same handful of Hong Kong carriers, HKT/CSL, SmarTone, Hutchison (3 Hong Kong), and China Mobile HK (Peoples). That’s why two similarly priced eSIMs can perform very differently the moment you land. Nomad, for example, runs on dual networks (HKT/CSL and Peoples/China Mobile HK), while Holafly connects to HKT and Hutchison, so where you get coverage and how fast it runs can differ between two plans at the same price. Some plans include mainland China roaming, depending on the provider. For what it’s worth, Cybernews weights coverage and network quality at 25% each in its reviews, more than price gets, and there’s a reason for that.
Why an eSIM beats a physical SIM for this trip
Prepaid, no surprise roaming fees, no airport SIM kiosk line, and you can buy it from your couch. The payoff is immediate: land in Hong Kong and you’ve got data before you’ve cleared immigration, enough to film Victoria Harbour that evening and video-call from the Peak without hunting for Wi-Fi.
Choosing a provider: what actually matters before you buy
A Holafly unlimited plan in Hong Kong runs from $6.90 for a single day to $139.90 for 90 days. That’s premium pricing, and a 20-day plan works out to just over $3.70 a day. Throttling on heavy usage is the known trade-off. If you’d rather pay for data than convenience: Saily starts at $1.79 a week, Airalo at $4.00 for three days, and Roamless runs pay-as-you-go at $2.45 a GB. All of these are from April 2026 pricing data, and they can move, so treat them as ballpark.
For choosing between providers, here’s the order I’d use, reordered around the timing question: activation process and validity period first, then coverage, then how well the data package fits your trip, then device compatibility, then price. That ordering comes partly from Cybernews’s methodology, which weighs ten providers across five criteria (25/25/15/10-style weighting with plans and price at 25%), with an affiliate disclosure on top. Reasonable framework, even if you should know who’s paying for it.
Closing: install at home, activate on arrival
Installation is the home job: stable Wi-Fi, one shot, do it a few days out. Activation is the destination’s job, by design. Two exceptions can bend the rule: check the package details for when validity starts, and if your provider requires a scheduled activation date, submit it early. Otherwise, install, fly, land, connect.
Frequently Asked Questions
Should you activate your eSIM before you travel or wait until you land?
Install the eSIM at home, then activate it on departure day or when you land. Activation is just the quick network handshake that starts your validity clock, and for most travel eSIMs that clock only starts when the eSIM first connects to a network inside its coverage area. The two exceptions are plans that start validity at installation and providers that require a scheduled activation date submitted 24+ hours before departure.
How do I check if my phone is unlocked and eSIM compatible before buying a travel eSIM?
On iPhone, go to Settings > General > About > Carrier Lock — ‘No SIM restrictions’ means unlocked. Then dial *#06#: a 32-digit EID confirms eSIM support, and two IMEIs suggest dual-SIM capability. Keep in mind compatibility depends on where the specific phone was sold, not just the model — iPhone XR and later are eSIM-ready, the 6S, 7, and 8 are not, and US iPhone 15 models are eSIM-only.
What happens if you activate your eSIM too early before your trip?
It depends on the plan. Arrival-based destination eSIMs are fine — the clock starts when you connect on landing. But a global eSIM or a regional plan that includes your home country can connect in your living room and start burning paid plan days before you’ve packed. Testing is safe at the installation stage and genuinely dangerous at the activation stage on those plans.
How do I switch cellular data to my travel eSIM without losing calls and two-factor texts?
Keep voice, iMessage, and 2FA texts on your primary line and assign cellular data to the travel eSIM. Then toggle off ‘Allow cellular data switching,’ turn Data Roaming off on your primary line, and leave it on for the eSIM. That toggle matters because data switching can quietly reroute things behind your back, which is how travelers discover their bank’s 2FA texts stopped arriving after landing.