You land, plane mode goes off, and the airport Wi-Fi is a pile of everyone’s phones fighting for the same signal. Your travel eSIM is supposed to save you: data abroad with no roaming fees, and your home number still getting calls and bank texts. The fear is the other ending. You paid for the eSIM, installed it in the airport queue, and it never connects. Silent phone, dead navigation, first morning wasted.
Here’s the part most guides skip: the most expensive mistake usually happens before you spend anything. An eSIM can install fine and still never register because your phone is carrier-locked or a regional variant without the right hardware. Both get caught by a five-minute check at home. That’s the spine of this article: verify first, then buy, install per your device, set up your lines, and know what to do when things go sideways.
Key Takeaways
Each travel eSIM installs exactly once. Delete it or botch the install and you’re buying the plan again.
“Dual SIM” on a spec sheet proves nothing about eSIM support; carrier-locked phones can install an eSIM and still never register it.
Install at home over Wi-Fi, toggle the travel plan off until you land, then flip it on and enable data roaming on the eSIM only.
Table of Contents
What an eSIM is (and why dual SIM doesn’t guarantee eSIM support)
An eSIM is a SIM built into the phone itself. Changing networks means re-registering a profile, not swapping plastic. No tray tool, no paperclip, no store visit. Most eSIM phones also keep a physical slot, which means your home number and travel data can run side by side. That’s the whole travel use case in one sentence.
Now the trap. Three dual-SIM setups exist: two physical slots, physical plus eSIM, and dual eSIM. “Dual SIM” on a spec sheet tells you nothing about which one your phone has, and plenty of dual-SIM phones are just two trays. And if the eSIM hardware isn’t there, no software update adds it.
Check eSIM compatibility and carrier unlock before you buy
A phone is travel-eSIM ready when it shows an Add eSIM option, has an EID, matches an eSIM-capable model number, and is carrier-unlocked. That’s a five-minute check before you spend a cent. The pattern that burns people: install at the airport, get no service, and it turns out the phone was locked or the wrong regional variant. Both caught at home.
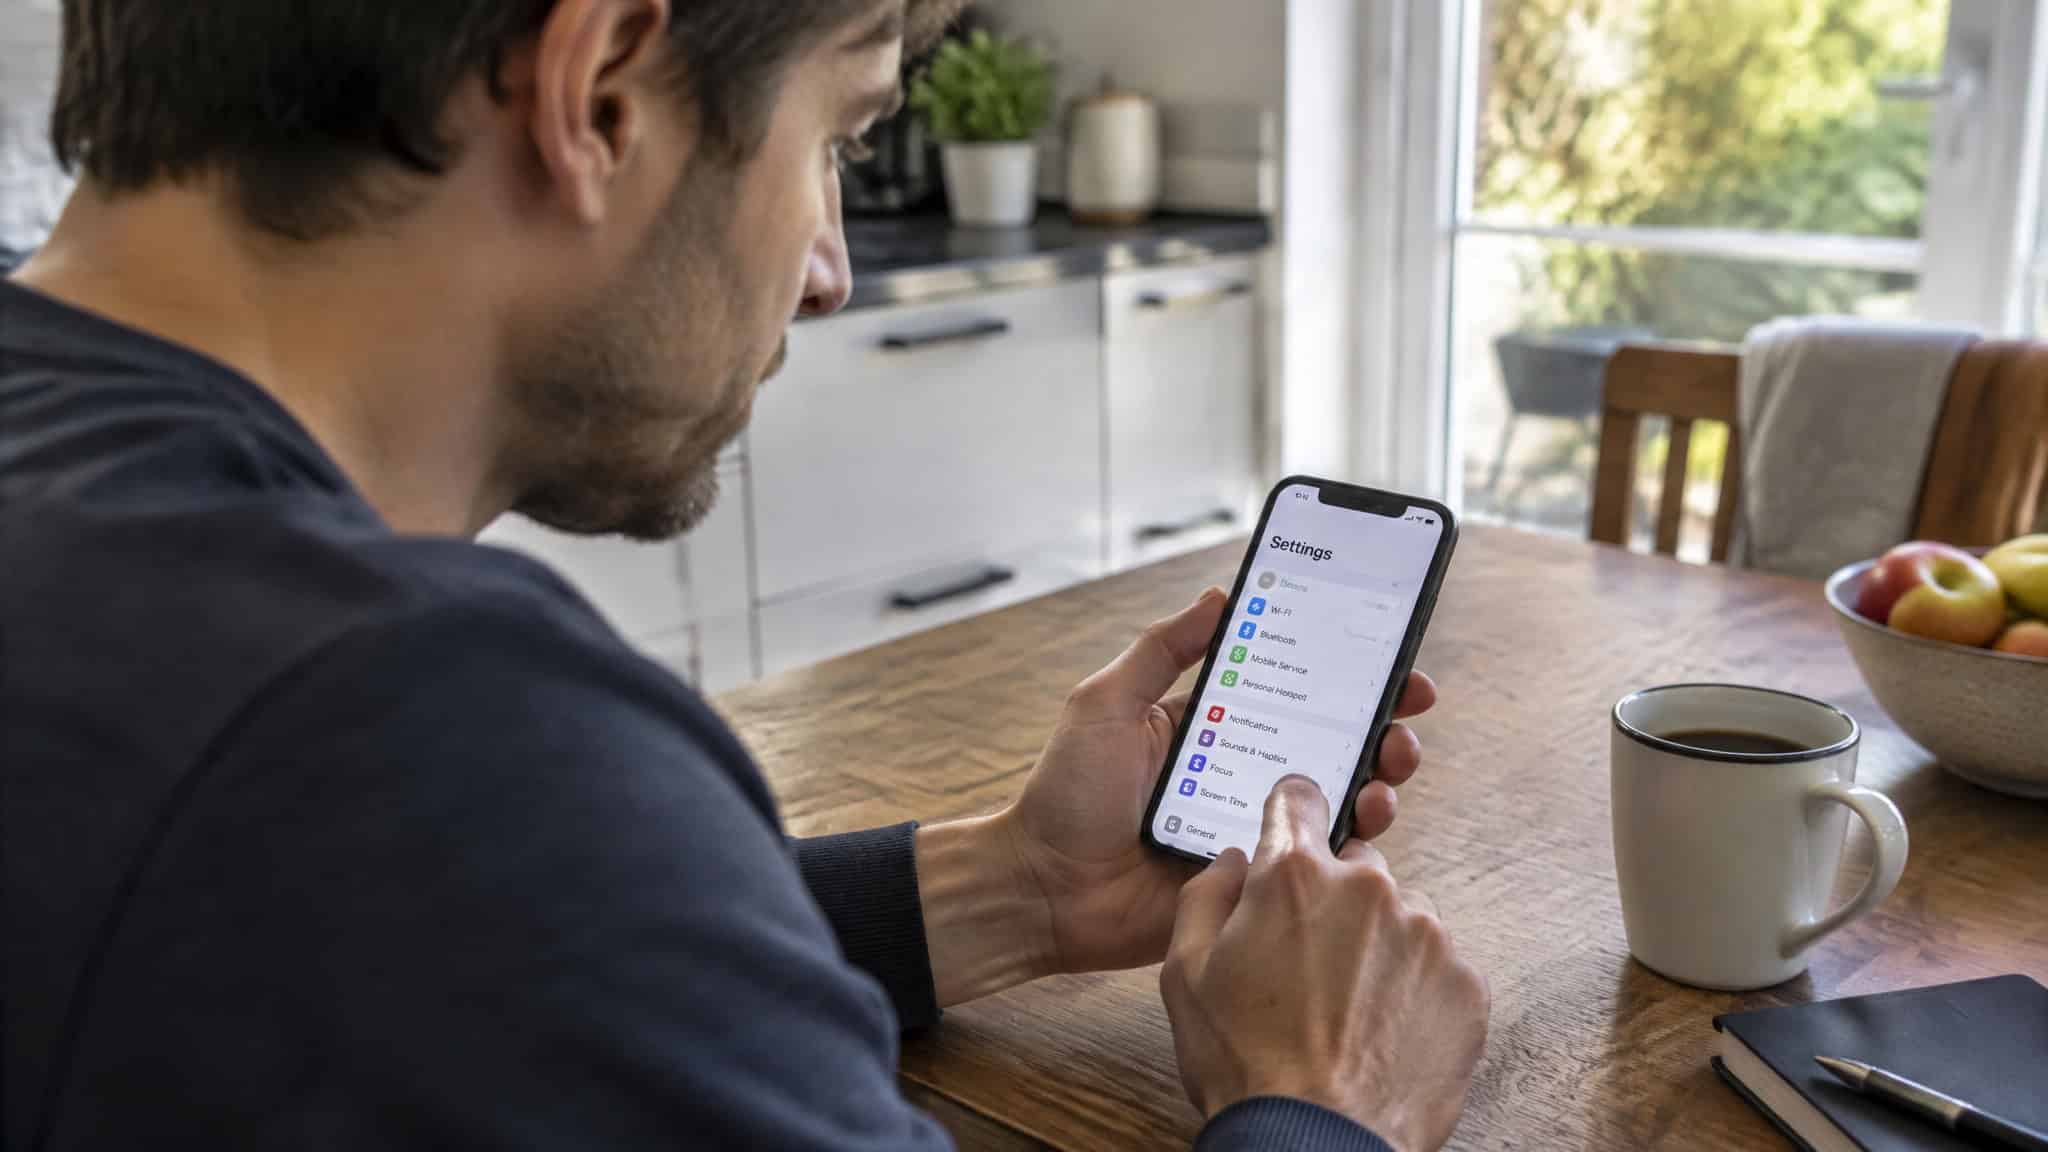
Run it in this order:
- Open Settings and look for Add eSIM or Add Cellular Plan. Not there? That’s your answer.
- Confirm the EID under Settings > General > About. It’s a number, and if it’s there, the hardware’s there.
- Get the exact model number from Settings > About Phone. “Galaxy S23” alone doesn’t pin it down. A European-market Galaxy may include eSIM while other regional versions of the same phone are physical-SIM only, and some mainland-China iPhones differ from the North American and European versions too.
- Verify carrier unlock. On Android: ask your carrier, look at your account, or test with a SIM from a different carrier. If you’ve got an iPhone in the mix, the shortcut is Settings > General > About > Carrier Lock, where you want to see “No SIM Restrictions.” Locked phones, usually financed or under contract, can reject a travel eSIM even after a successful install. You paid for a plan you can’t use.
- Before buying, check destination coverage, data allowance and validity, your current OS, hotspot support, and which networks the plan rides on. eSIM Intel is a straightforward resource for checking compatibility.
Quick test: Before spending a cent, confirm all four: Add eSIM option exists, EID is present, model number is eSIM-capable, and Carrier Lock shows no restrictions.
The three terms people mix up
Blunt version. eSIM-compatible means the hardware’s built in. Carrier unlocked means the phone takes SIMs and eSIMs from anyone. Carrier locked means original carrier only, until you get it unlocked, and what you still owe usually decides whether they’ll allow it.
Which phones have eSIM
Quick rundown: iPhones from the XR/XS onward, covering the 11 through 17 ranges. Pixels from the Pixel 3 onward. Samsung’s messier: the Galaxy S26 range, selected S, Z Fold, Z Flip, and Note models, and some A phones. “Selected” is doing real work there.
Sony, OnePlus, Xiaomi, Huawei, Motorola, Fairphone, Nokia, Microsoft, Oppo, and Honor support eSIM on selected handsets as well. And support varies by country, carrier, and firmware, so check your exact model. One aside for the travelers who leave the phone at the hotel: the Apple Watch 11 includes eSIM.
Buying a travel eSIM: Airalo plans and install methods
Airalo is the most familiar travel eSIM provider, and it works as a clean example: data plans covering more than 200 countries, all digital and free of roaming charges. Land, toggle on, you’re online.
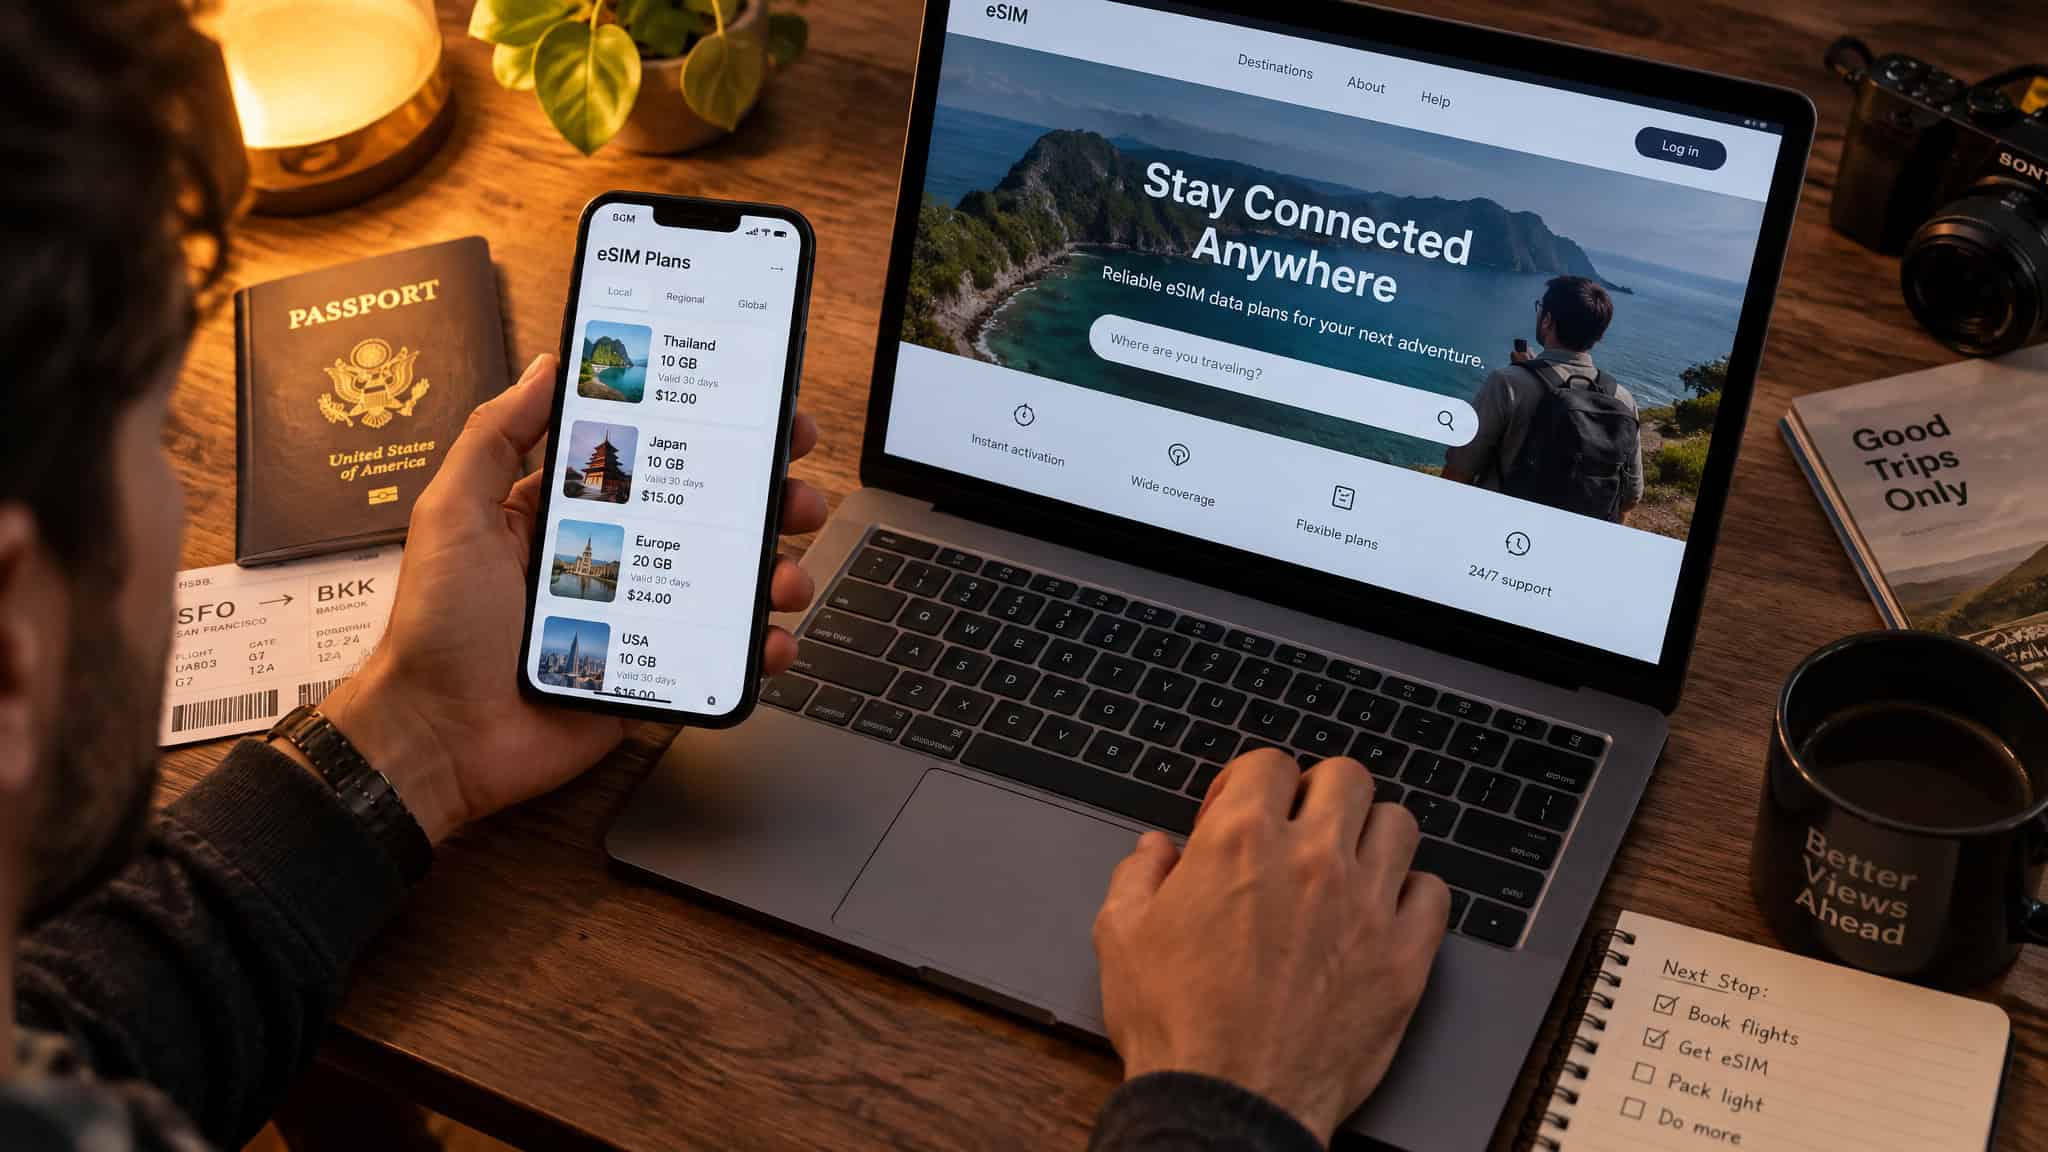
Three plan types. Local covers one country. Regional covers a chunk of them, good for a multi-stop trip. Global covers basically everywhere, for the person who doesn’t want to think about it.
Three install methods: direct in the app, QR code, or manual entry, where you type in the SM-DP address plus the activation code your email contains. Most people use QR.
And the number that costs people money: each eSIM installs once. Delete it, botch it, install it twice by accident, and you’re buying again. Read that twice before you tap anything.
Buyer rule: Decide whether you need calls and bank texts before you pick a plan. Local and regional plans are data-only; only global plans come with a number.
One thing to know before you pick: phone numbers, texting, and calling only come with global plans. Local and regional are data-only. That’s fine if you live on WhatsApp and similar apps, but if your bank sends verification texts, know that before you buy, not after. And on the “free” angle: there’s no free travel data. Free realistically means Wi-Fi calling and VoIP over Wi-Fi.
Worked example, buying a Spain eSIM in the Airalo app: download the app from the Play Store, pick the Spain plan, pay, and it lands in My eSIMs. Tap details, view instructions, and install it through the steps below.
Install a travel eSIM on a Samsung Galaxy
On a Galaxy, you install through Settings > Connections > SIM Manager > Add eSIM (or Add Mobile Plan), scanning the QR code. When the scan fails, there’s an “Enter activation code” fallback in the same place. Two paths, both from the same screen.
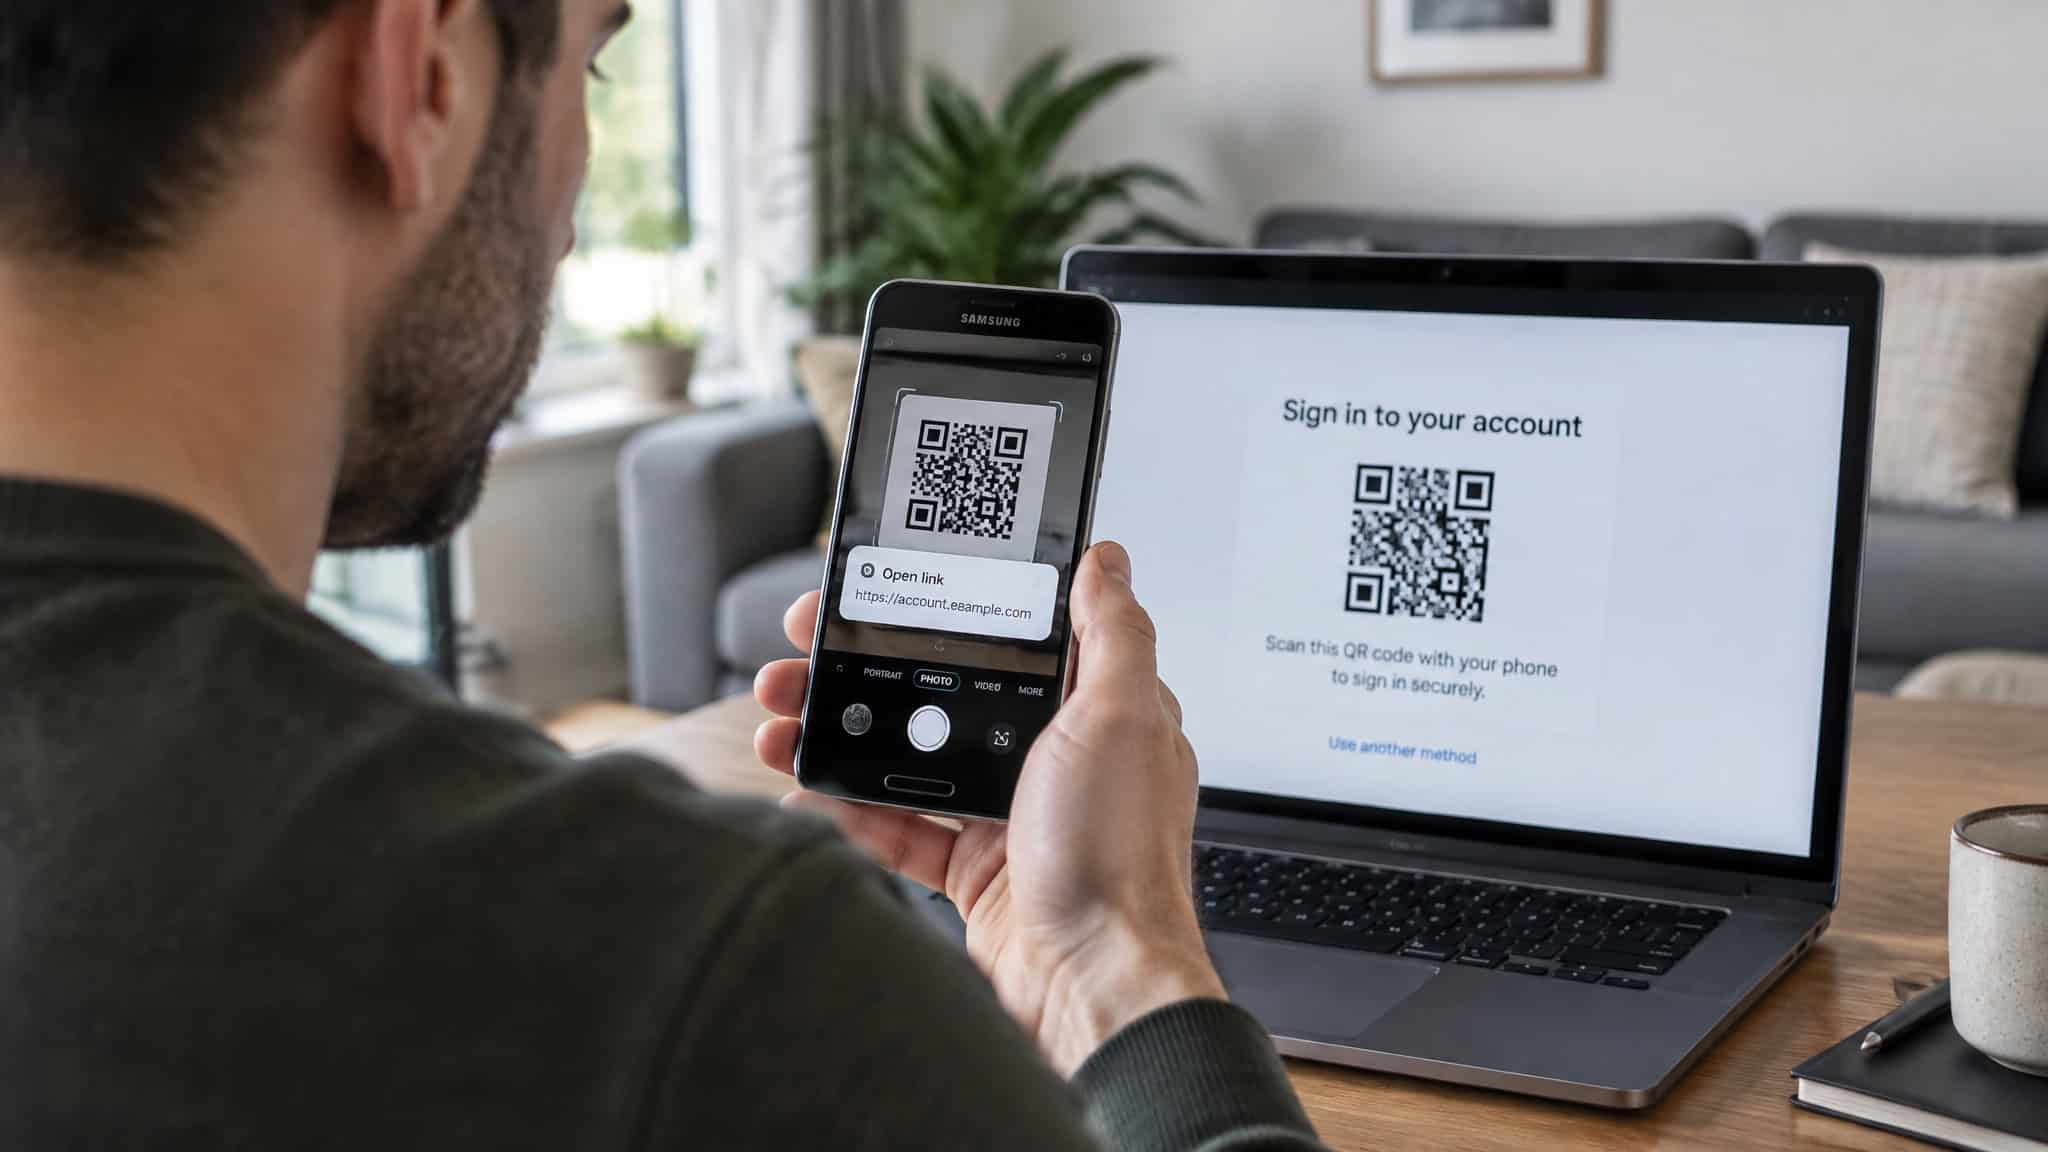
QR path:
- Settings > Connections > SIM Manager
- Add eSIM or Add Mobile Plan
- Scan QR code
- Enter the confirmation code
- Confirm
Manual fallback:
- Same path: Settings > Connections > SIM Manager > Add eSIM
- Enter activation code, using the code from the provider’s email
- Done
- Enter the confirmation code
- Confirm
Then wait. You’ll see an “Adding plan to your phone” message. Let it finish. And if the wording on your screen looks slightly different from any walkthrough, that’s normal; it varies by handset and software version, so don’t panic.
To see this as a full run-through: follow this guide to using an eSIM when travelling, grab Airalo from the Play Store, buy the plan (the Spain eSIM on a Galaxy S25 Ultra is the classic worked example), open My eSIMs, tap details, view instructions, and then do the SIM Manager install above. Afterward, give the line a custom name and icon. Rename the travel plan to something like “Airalo” so it’s recognizable later, because “eSIM 2” tells you nothing when you’re jetlagged.
US Mobile’s Samsung flow works the same way: scan the QR via the camera, tap Show options > Add plan to phone > Confirm, then toggle the plan off until you land and name it in Settings > Connections > SIM Card Manager, just like the iPhone eSIM setup for international travel, where you install the plan in Settings, label your lines, and set defaults for data, calls, and texts.
Install a travel eSIM on a Google Pixel
On a Pixel, you install through Settings > Network and Internet > SIMs > Add eSIM, scanning the QR code and entering the confirmation code, though keep in mind that installing isn’t the same as activating, since some eSIMs only come alive when they connect to a local network. If the scan fails, the manual path exists, but it’s hiding behind a “Need Help” link, which is exactly where a stranded traveler never thinks to look. Before you go, it’s worth sorting out when you should activate your eSIM before you travel, because the safest timeline is usually installing a day or two ahead and activating only once you land.
QR path:
- Settings > Network and Internet > SIMs
- Add eSIM
- Scan the QR code
- Enter the confirmation code
Manual path:
- Open Settings > Network and Internet > Mobile Network
- Choose Download a SIM instead, then tap Next
- Tap Need Help, then choose Enter it manually
- Type in the activation code
- Activate, then enter the confirmation code
- Done
Pixel owners already on a physical SIM can skip the QR entirely: Network and Internet > SIMs, select the SIM, tap Convert to eSIM. Whether that’s available depends on your carrier, device, and region, but when it works it’s two minutes that save the airport-SIM scramble later, and once you understand how to use eSIM when travelling, you’ll see why phones can hold so many profiles.
The step order here genuinely differs from Samsung’s, which is why they get separate walkthroughs. Same idea, different maze.
Every Android phone: generic flow, prerequisites, and timing
If you’re not on a Pixel or Galaxy: Settings > Connections (or Network and Internet) > head to SIM Card Manager or Mobile Network, pick Add Mobile Plan or the option to download a SIM instead, scan the QR, and punch in the confirmation code. Menu names drift by brand, so don’t assume you’re lost when yours looks different.
You need stable Wi-Fi or good 4G and an unlocked, compatible device. Install at home, not on hotel Wi-Fi at 11pm, and let it run. Don’t lock your phone and wander off mid-install.
Two clocks, kept separate: third-party travel eSIM installs can take up to 10 minutes on Android, so a phone that’s still silent at minute four isn’t bricked. Carrier provisioning is the other clock, usually instant but can take up to 7 hours.
When the QR code won’t scan: manual activation as the safety net
When the QR won’t scan, every Android phone offers a way to enter details by hand: Pixel’s “Enter it manually,” Samsung’s “Enter activation code,” both drawing on the SM-DP address and activation code your provider emailed. That’s the standard plan B, not a failure.
The discipline part matters because each eSIM installs once. The classic mess is standing in an airport queue scanning a code repeatedly in bad light on a garbage connection, burning attempts. Get good lighting and solid Wi-Fi first, try the scan once, then go manual.
Set up your lines: data routing, roaming, and the primary-SIM tradeoff
Yes, turn on data roaming, but on the travel eSIM profile only. Home line stays roaming-off. Then the routing: keep calls and messages on your primary SIM, point mobile data at the eSIM, and if both lines are live, make sure the primary isn’t carrying mobile data. That’s how surprise roaming bills happen.
The tradeoff to name: toggling your primary line off kills roaming charges, but it also kills its incoming calls and texts, including bank verification codes. The fix most people land on is keeping the primary line on with data routed away, plus Wi-Fi calling to cover lost SMS. It trips up plenty of people, so decide before you fly.
Timing works like this: install at home over Wi-Fi, toggle the eSIM plan off until you land, then flip it on and set data roaming to all networks. On Samsung that’s Settings > Connections > Mobile Networks. Samsung’s custom names and icons earn their keep here. “Airalo” versus “eSIM 2” is a different experience when you’re jetlagged in an arrivals hall.
Why your travel eSIM isn’t working: symptom-to-cause diagnosis
Most of the time it’s one of three causes: a carrier lock, a regional variant lacking eSIM hardware, or a weak connection during the install. Each symptom points to a different fix.
- Installs but never registers: almost always a carrier lock, most often on a financed phone or one under contract. No restart fixes this.
- No Add eSIM option: missing hardware or a regional variant. A software update won’t add the chip.
- Weak Wi-Fi or 4G while installing: the install fails or comes through unreliable.
- Installed and still nothing: check the clock. Third-party installs can take 10 minutes, carrier activation up to 7 hours.
- Deleted or lost the eSIM: request a replacement code from the provider. On Three, get a new QR online or by phone: 333 from a Three phone, 0333 338 1001 from anything else. Old codes aren’t recoverable.
Carrier eSIMs, removal, and end-of-trip management
Three’s carrier activation is the easy path if you bought your phone from them: Wi-Fi on, follow the prompts, and it works on new iPhones and Pixel 11 devices. Other iPhones convert via Settings > Mobile Service > Convert to eSIM. Removing an eSIM is simple everywhere: Pixel’s “Erase eSIM” (Network and Internet > SIMs), Samsung’s “Remove” (Connections > SIM manager), iPhone’s “Delete eSIM.” But wait until you’re home. Deleting forfeits the profile unless you get a replacement code. Transfers exist: iPhone-to-iPhone via “Transfer from Nearby iPhone,” and Pixel 11-to-Pixel 11 only, which older-Pixel owners should know before wasting an evening.
If your Android has no eSIM: fallbacks and budget eSIM phones
No eSIM doesn’t leave you stranded: prepaid physical SIMs are available at airports, carrier stores, convenience stores, and electronics retailers, and pocket WiFi rental suits families, groups, and laptop users. If you want the upgrade path anyway, request a carrier unlock or look at budget eSIM phones: the Galaxy A36 starts around $279.86, the Moto G Power 2026 is $299.99 with nano-SIM plus eSIM (prices may vary), and the Motorola Edge 60 Pro sits at $479.50 (normally $535) with a 6,000mAh battery, 512GB of storage, IP68/IP69 ratings, MIL-STD-810H durability, and no 4K60. The A36’s oddball trick is the multi-country hook: it runs two eSIMs at once, though the nano-SIM slot disables when both are active. And if you’d rather be on stock Android, the Pixel 10a is $499 with 45W charging that gets you 50% in 30 minutes, updates promised through 2033, and satellite emergency SOS.
The honest limits of travel eSIMs
The real downsides, stated plainly: each eSIM installs once, so a botch costs money. Data-only plans have no number, which means no calls and no bank verification texts unless you’re on global plans or VoIP. Deleting an eSIM is irreversible without a replacement code. No software update adds missing hardware, and a carrier lock can void the whole thing after you’ve paid.
None of that makes eSIMs a bad idea. It makes the five-minute pre-flight check the most valuable step in this entire article. Run it before you buy anything, and the rest of this becomes a ten-minute install instead of an arrivals-hall disaster story.
Frequently Asked Questions
Do you turn roaming on when using an eSIM?
Yes, but only on the travel eSIM profile. Enable data roaming on the eSIM after you land, and set it to all networks if both lines are live. Keep your home line’s roaming off and make sure it isn’t carrying mobile data — that’s how surprise roaming bills happen.
Why won’t my travel eSIM work even after installing it on my Android phone?
The most common cause is a carrier lock, usually on a financed or contract phone — no restart fixes that. Other culprits: a regional variant without eSIM hardware (a software update won’t add the chip), or a weak Wi-Fi/4G connection during install. Also check the clock: third-party eSIM installs can take up to 10 minutes, and carrier activation can take up to 7 hours, so a silent phone at minute four isn’t dead.
How do I install and activate a travel eSIM on a Google Pixel before going abroad?
Go to Settings > Network and Internet > SIMs > Add eSIM, scan the QR code, and enter the confirmation code. If the scan fails, tap ‘Need Help’ and choose to enter the code manually. Pixel owners on a physical SIM can skip the QR entirely with ‘Convert to eSIM’ under the SIM settings, depending on carrier and region — then toggle the plan off until you land.
How much does a budget eSIM phone cost?
The Galaxy A36 starts around $279.86 and can run two eSIMs at once (the nano-SIM slot disables when both are active). The Moto G Power 2026 is $299.99 with nano-SIM plus eSIM, and the Motorola Edge 60 Pro sits at $479.50 (normally $535) with a 6,000mAh battery, 512GB of storage, and MIL-STD-810H durability. Prices may vary.

