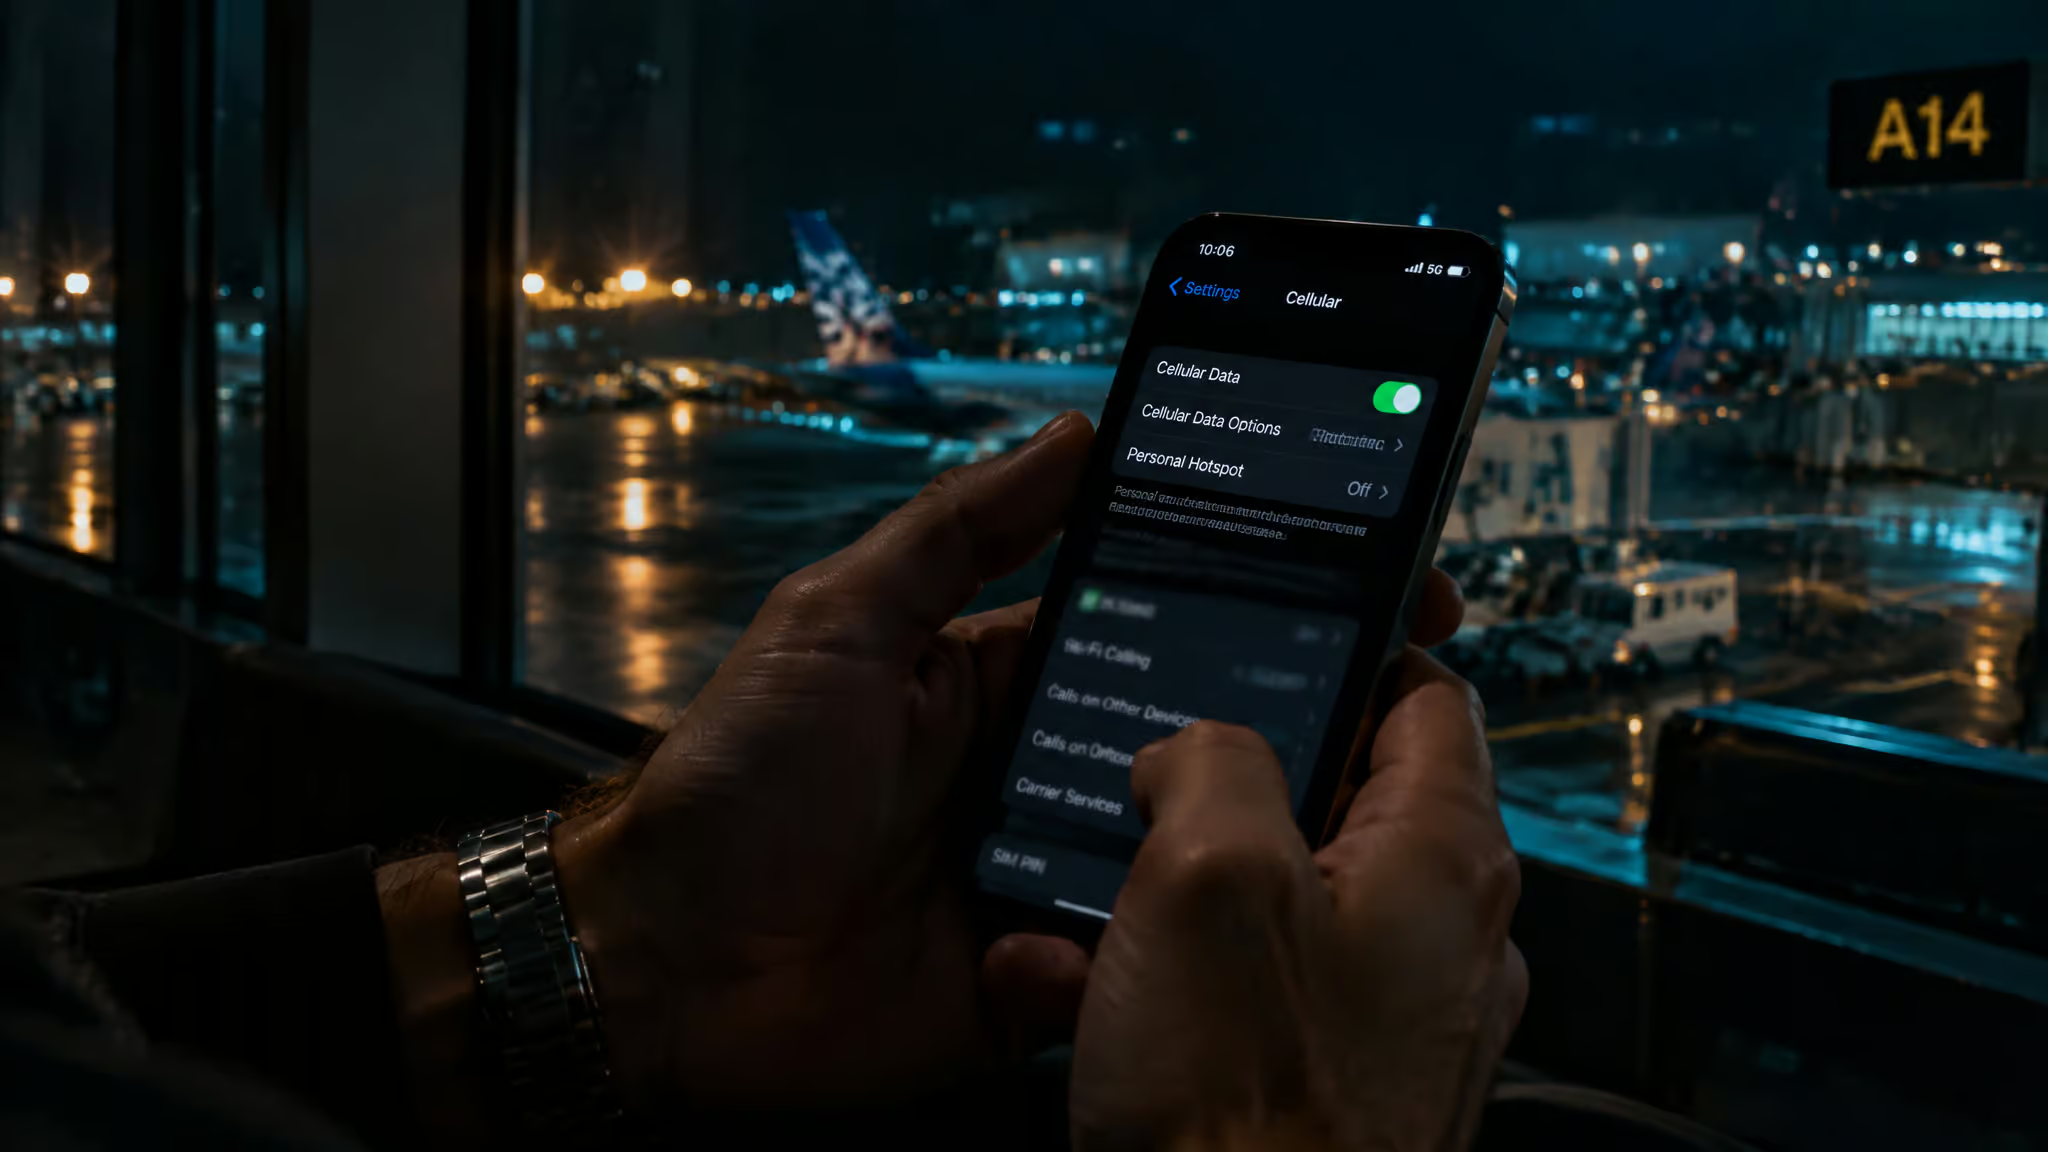
Most eSIM failures abroad aren’t hardware failures or provider screwups. They’re toggles. The line is off, roaming is on the wrong SIM, the phone is sitting on 3G. Work the fixes in order and you’re usually back online in under ten minutes. An eSIM, if you’re new to this, is just a SIM chip already built into your phone. No plastic card, and one phone can hold several plans at once, so you can keep your home number alive while running travel data on top of it.
But there’s one rule worth tattooing somewhere before you touch anything: never delete a profile to “fix” it. The original QR code generally can’t reinstall a deleted eSIM profile. Providers have to reissue, sometimes for a fee, and that’s the one mistake in this whole guide with no undo button.
Scope, stated plainly: this covers iPhones running iOS 13.3 or later (most fixes assume iOS 16+) and Android 10+. The underlying provider guidance behind this was updated June 2026.
Key Takeaways
The most common fix is three settings: turn the travel line on, set it as the default data line, and switch Data Roaming on for the travel eSIM only (off for your home SIM).
Most activations finish in 5-15 minutes; toggle airplane mode at the 30-minute mark, call the provider at 60. Never delete a stuck profile.
Deleted eSIM profiles generally can’t be restored from the original QR code, so back up that QR email before deleting anything.
Below 1 Mbps usually means throttling (sometimes down to 128 kbps), which no setting fixes; stuck on 3G, force LTE or 5G.
Table of Contents
The two-minute checklist before anything else
Work these in order and check the status bar after each step before moving on. Carrier name showing up? Done, stop there.
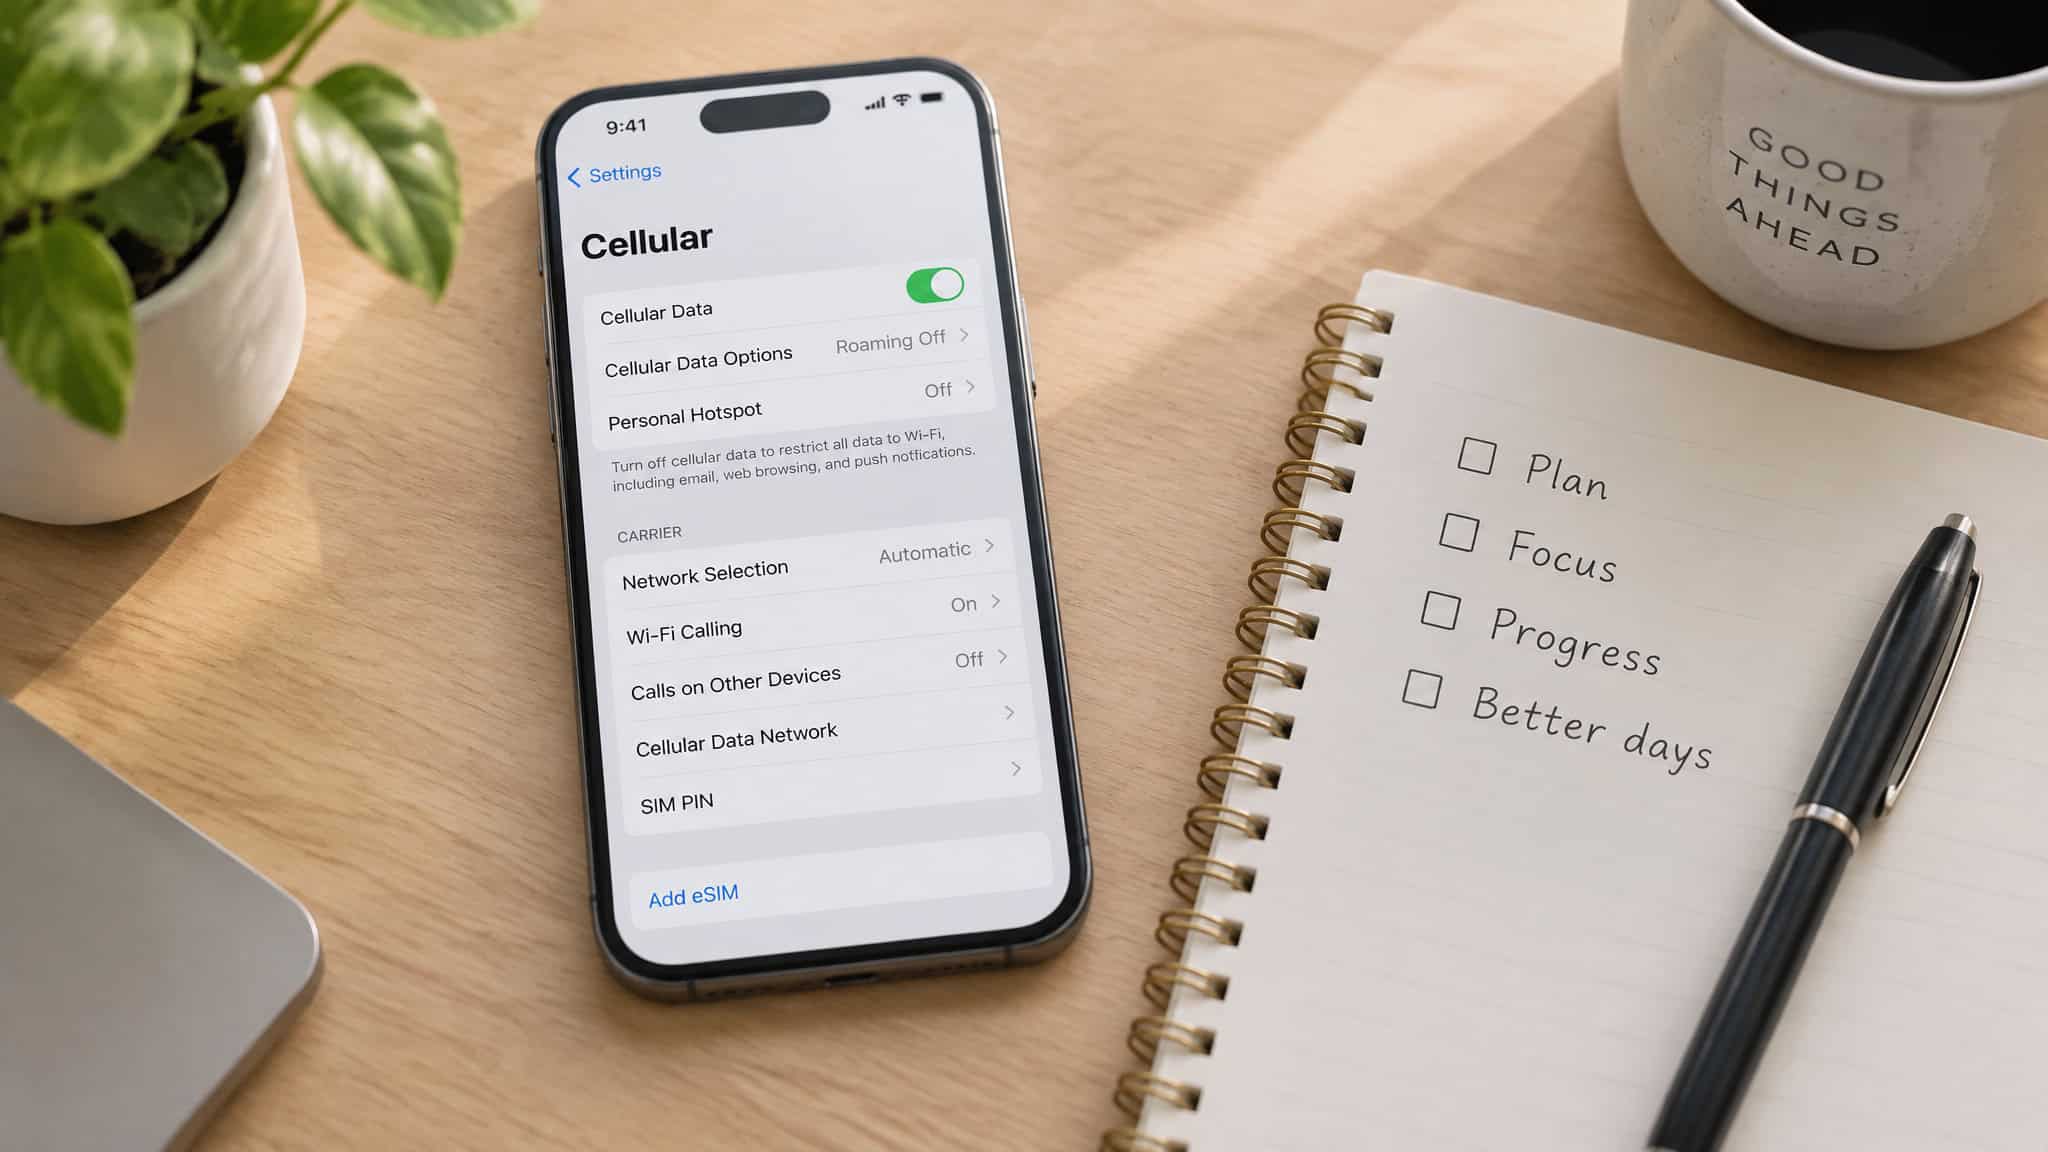
First, make sure the line is actually on. In Settings > Cellular, tap the travel plan and flip Turn On This Line. Half the time this is the whole problem. Second, set the travel eSIM as your default data line: Settings > Cellular > Cellular Data, pick the travel plan.
Skip this and your phone quietly keeps burning your home SIM’s data instead of the travel data you paid for. Third, turn Data Roaming on for the travel eSIM. Counterintuitive, but that’s how travel eSIMs work, and providers don’t charge extra for it. Phones ship with roaming off by default, so if you never touched the setting, that’s probably your bug. Keep it off on the home SIM, though. That’s the roaming-bill guard.
Still nothing? Airplane mode on for 15 seconds, brief pause, back off. Then a real restart: hold power off a full 10 seconds. A restart wipes the phone’s cached network state and forces a fresh scan, which is why it earns its keep.
Before you fly (or before you panic): the compatibility and lock gate
None of the fixes below matter if the phone can’t run an eSIM at all, and this gate takes two minutes to clear.
Confirm the hardware
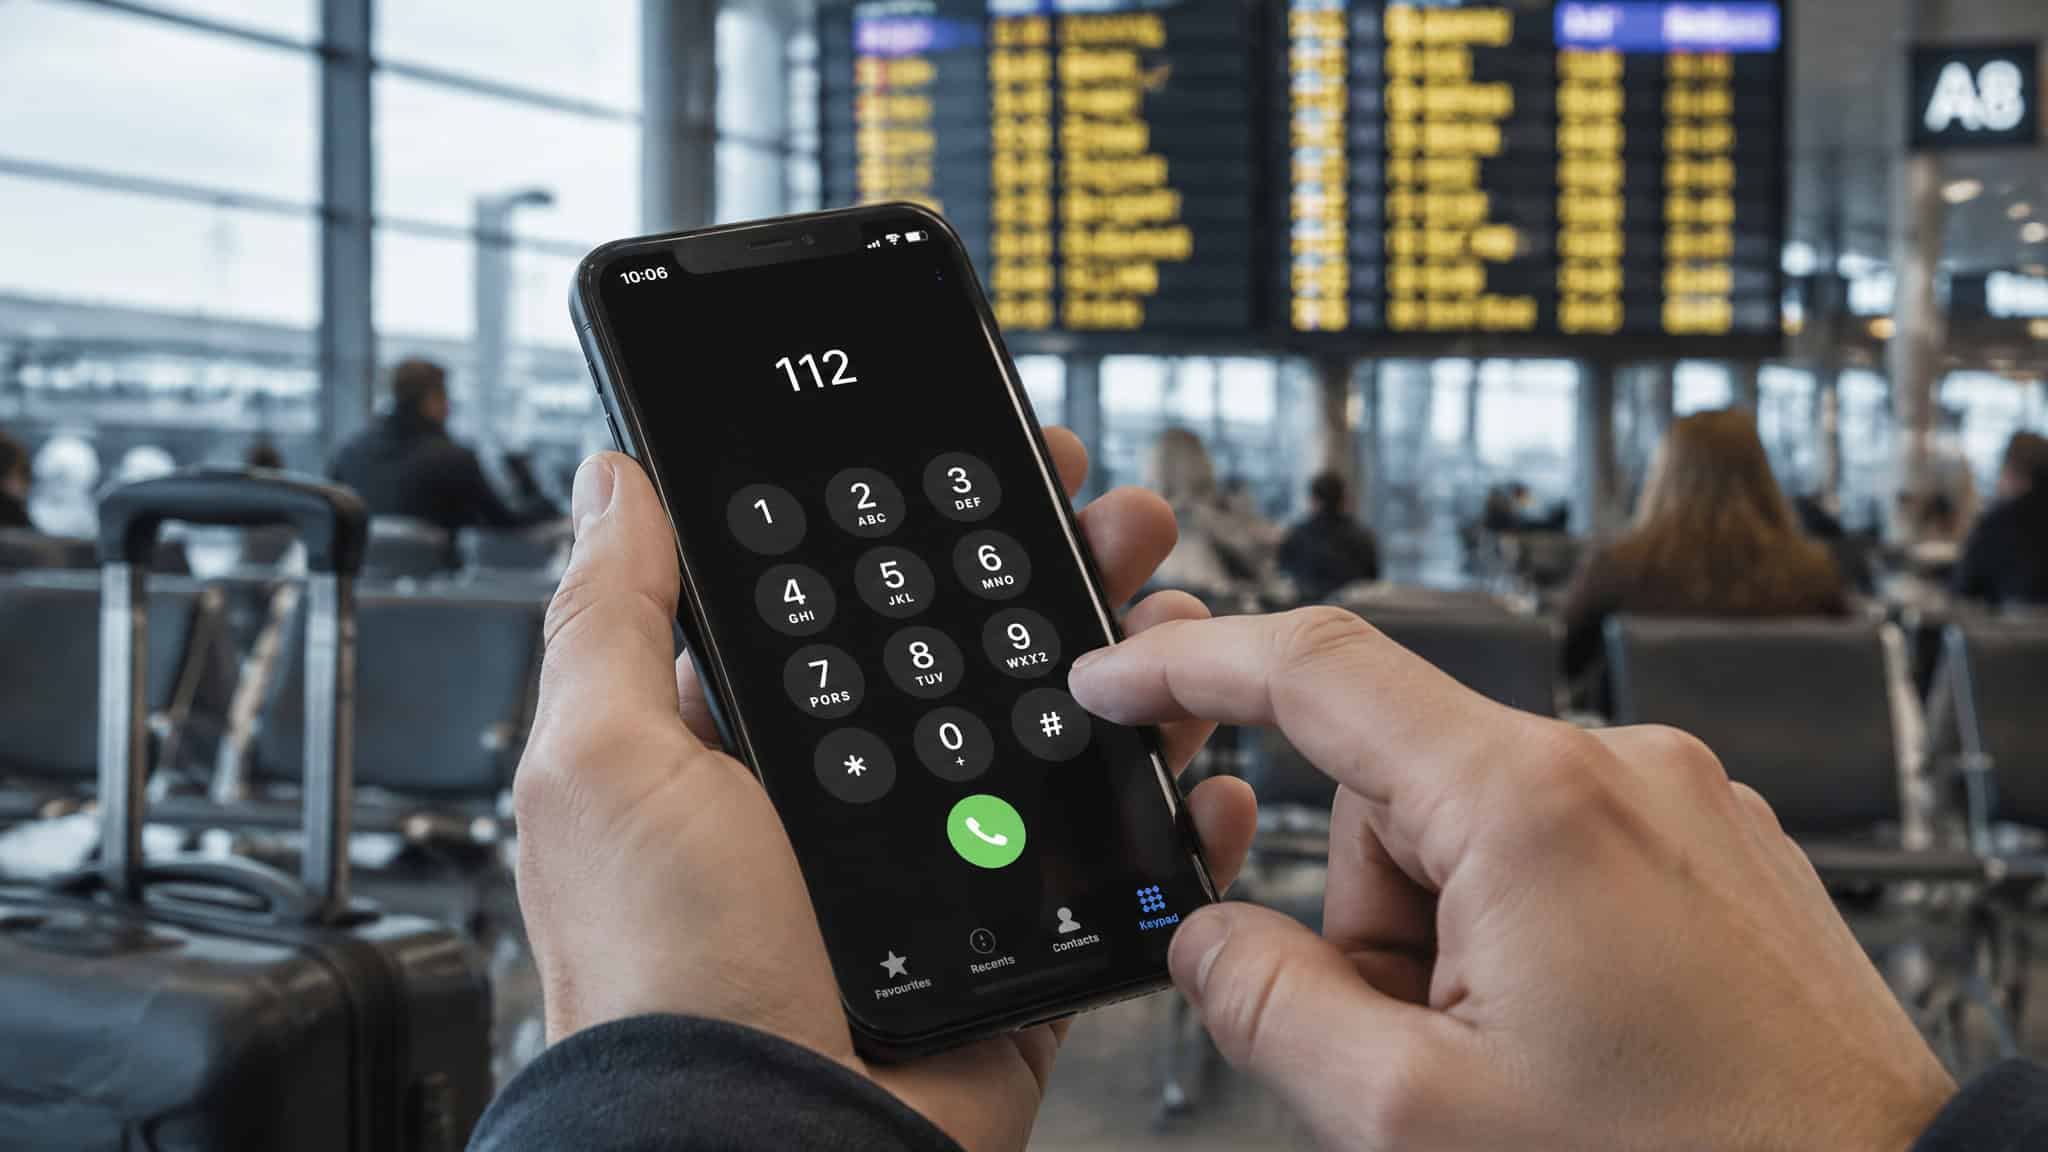
Any iPhone from 2018 onward has eSIM built in: XS, XS Max, XR, and everything newer. Not sure? Dial #06#. An EID number* appearing confirms the hardware. No EID anywhere means the phone likely can’t do eSIM, and that’s a conversation with Apple, not another hour of retrying the QR code.
Check the carrier lock
Under Settings > General > About, look at Carrier Lock. If a carrier name shows up, the phone is locked and needs an unlock before most travel eSIMs will work. Locked handsets can flat-out refuse third-party eSIMs even when the hardware is fine. That’s why “eSIM not compatible with this iPhone” and “Unable to add eSIM” errors almost always come down to a lock or missing hardware, not a broken download.
The pre-departure sweep
Three things worth confirming before you’re in an arrivals hall. First, make sure the phone itself is eSIM-capable, iPhone XS and newer are, and dialing *#06# will show an EID only if the hardware supports it. Second, check that the phone is unlocked: go to Settings > General > About and look at Carrier Lock, if a carrier name shows up, the phone is locked and you’ll need to request an unlock, because locked handsets can flat-out refuse third-party eSIMs even when the hardware is fine. Confirm your carrier actually activated the eSIM, especially after a plan or carrier switch, because activation can just fall through the cracks. Update iOS, since old versions bug out eSIM support. And check coverage and band support: some countries have their own eSIM rules, and a phone that’s flawless in the UK can stumble in parts of Asia or the Americas if the plan doesn’t cover the right bands.
New to all this? Our beginner’s guide to using an eSIM when travelling walks through setup from scratch.
How to install and activate correctly
The standard route is Settings > Cellular > Add eSIM, then scan the QR code from the provider’s email. One thing to know before you start: most iPhones need Wi-Fi for setup. Activating over mobile data often just stalls, and sketchy hotel Wi-Fi can do the same. Get on a real network first.
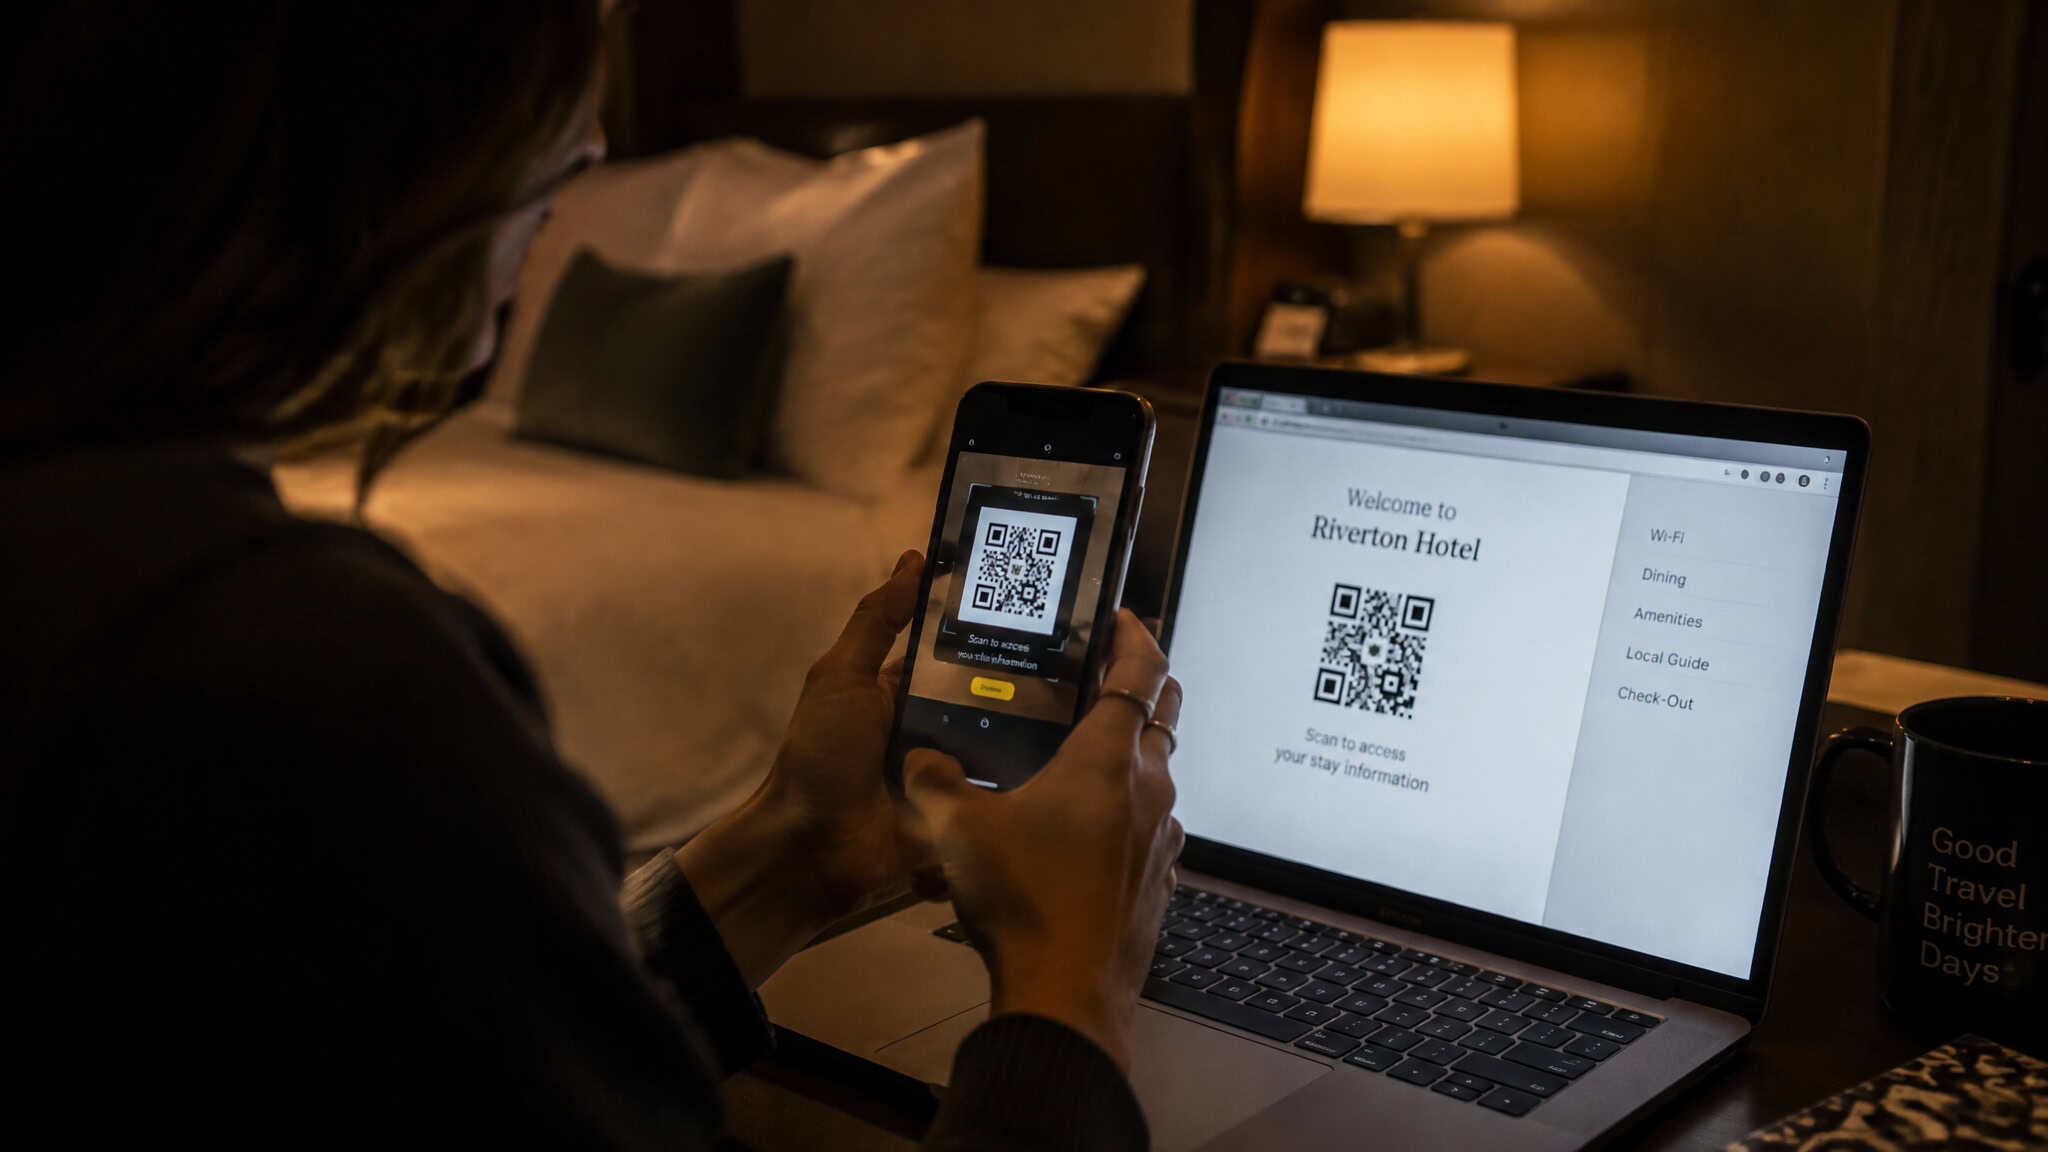
QR code won’t scan? Boring fixes first: crank the screen brightness, wipe the camera lens, back the phone up or move it closer, check alignment. Still no? Use the manual route: Enter Details Manually, then type in the SM-DP+ Address and Activation Code from the provider’s email, exactly as written, and double-check the carrier name and activation date before you confirm, since that’s the step that keeps manual installs from erroring out. The QR is a convenience, not a requirement.
Since iOS 17.4, the camera is optional: you can add the eSIM from the carrier’s app, your inbox, or a browser, though on iOS that means Safari; Chrome won’t do it. Two other flavors exist: Quick Transfer from a previous iPhone, and carrier-assigned eSIMs that switch themselves on during setup. Features vary by region.
Stuck on “Activating”: the minute-by-minute ladder
If your eSIM is stuck on Activating, the answer is mostly patience with a timer attached: most activations finish within 5-15 minutes, so give it a quarter hour before touching anything.
At the 30-minute mark with still nothing, one airplane mode toggle. On 15 seconds, back off. Then keep waiting. At about 60 minutes, it’s the provider’s problem.
Call them. That’s practical guidance, not a carrier guarantee, but the pattern is common enough to be copyable.
If the status reads “Inactive” or “Not provisioned,” that means the carrier hasn’t finished its side yet. Not your fault, not your phone. Wait, and whatever you do, don’t delete the profile while you wait. In practice, this is often just someone assuming the eSIM is broken, and deleting turns a wait into a real problem, because deleted profiles generally can’t be restored from the original QR. The provider has to reissue, sometimes for a fee, though some allow one free re-download.
Red flag: A profile stuck on “not provisioned” is a wait, not a defect. Deleting it converts a delay into a paid reissue.
When you do escalate, work the fallback in order: confirm the network and provider actually support eSIM, check the QR is valid, restart, then reset network settings, then call the provider.
“Unable to Activate” before departure can be normal
Install your eSIM at home and get hit with “Unable to Activate”? Leave it alone. Most travel eSIMs only wake up once the phone touches a supported network in the destination country, so at home it just sits there, and that’s expected.
The play: install it before you fly, let it sit, then enable roaming when you land. Escalate only if the profile is missing entirely, or it’s still inactive after you’re standing in the country with a signal. And be honest with yourself about one thing: provisioned-status errors can genuinely be provider-side, so if you’ve done everything and the clock has run, it’s not always your phone.
No service after landing: the network-level fixes
If your eSIM shows No Service after landing, the tell is usually roaming enabled on the wrong line, or the phone camping on a partner carrier the plan doesn’t cover. That second one is why arrivals-hall airplane-mode cycling never helps; the phone keeps re-registering onto the same wrong network.
So the landing fix, in order. First, Data Roaming on for the travel eSIM. Second, manual network selection: Settings > Cellular > Network Selection, switch Automatic off, let it scan, pick the carrier your provider recommends, then flip Automatic back on. This is the one that wakes up a sulking eSIM. Third, for mystery No Service with no apparent cause, flip Turn On This Line off and on.
If that fails, run the full sequence: compatibility check, restart with a real minute of power-off, iOS update, coverage check, line toggle, manual network pick, then the carrier. Persistent failure at that point may genuinely be provider-side.
Dual SIM abroad: switching data lines without the roaming bill
Here’s the money trap: “turn on roaming” is only half the fix. Do it on your home SIM line and you get data and a bill, which is the pattern dual-SIM travelers report over and over: a silent switch onto the home line, and charges arriving later.
The three-toggle matrix
Travel eSIM as the default data line (iPhone: Settings > Cellular > Cellular Data; Android: Settings > Network > SIMs > Preferred data SIM). Data Roaming ON for the travel line, OFF for the home SIM. And Allow Cellular Data Switching OFF unless you genuinely use both lines. That last setting lets the phone hop between lines whenever one has better signal, which can quietly run charges on the wrong one. Providers typically charge nothing for roaming-on on a travel eSIM. The fear is left over from the old carrier-roaming days, and it’s one part of how to use an eSIM when travelling worth relearning.
Some travelers just switch the home line off overseas entirely, which ends the debate. Rename the eSIM “Travel eSIM” while you’re in there, so you’re not squinting at “Secondary” in two weeks.
Switching mid-trip and fighting lines
Moving data to the eSIM halfway through a trip is just the same settings, no reinstall. If your lines start fighting over which is primary, work through it: check the Cellular settings, confirm the right profile is primary, toggle Automatic off and on, flip the eSIM line, and only if nothing else works, remove and re-add the plan, with a new QR and that QR email backed up first.
Connected but no data: APN and line configuration
On Android, if some apps fail while others load fine, fix the APN: Settings > Network > Mobile networks > Access Point Names, and copy the values straight from your provider’s documentation. Don’t guess; one wrong letter and nothing works. iPhones usually sort the APN themselves. A wrong or missing APN blocks data completely even at full bars, because the phone doesn’t know where to send traffic. The sources confirm the APN fix but don’t supply per-provider values, so the provider’s docs are the authority here.
Before any of that, though, check the two settings that fix this more often than anything: roaming on and the eSIM actually set as the data line. Thirty seconds. Then the ordered run: confirm activation, toggle the eSIM off and on, airplane toggle, test the signal, restart. Reset Network Settings is covered fully below; it comes after the easy stuff, not before.
Slow eSIM data abroad: throttled or misconfigured?
If your eSIM is crawling along on 2G or 3G, force LTE or 5G. On iPhone, that’s under the travel line’s Voice and Data setting; on Android, it’s Preferred network type under the SIM settings. Phones on a brand-new connection often grab the slowest available network first, and a nudge up a gear fixes it.
If that’s not it, run the numeric triage. Run a speed test and let the number decide:
- Stuck on 3G? That one’s a settings fix, force LTE or 5G as above.
- Below 1 Mbps? That’s likely throttling or congestion, not your phone. Throttled plans can drop to 128 kbps or lower, which is dial-up territory, and no setting undoes it.
- Data remaining but still slow? Manually pick a different local carrier from the network list, a faster one, ideally.
The honest part of the triage: throttling is plan-side. Check how much data you actually have left in the provider’s app or dashboard first, because unlimited plans are where fair-use throttling lives, and you can’t settings-toggle your way out of it. Our deep dive on unlimited travel eSIM plans breaks down how those caps really work.
When data drains too fast instead
Sometimes the problem is the opposite: full-speed data vanishing. Background App Refresh is the usual eater; kill it under Settings > General on iPhone, or per-app under Data usage on Android. Stop app updates over cellular too. A surprise 2GB update over travel data is an expensive way to learn this lesson. Wi-Fi calling, where available, keeps calls off your travel data entirely.
One battery note while we’re here: weak signal makes the radio climb to full power hunting for bars, so move or switch networks if your battery is tanking. Low Data Mode is the easy win, less background chatter and more battery left at dinner.
Connection drops and post-update failures
Connection keeps dropping? The usual lineup: restart with a real minute of power-off, airplane toggle, confirm the right carrier is selected, iOS update, toggle the eSIM line, then try manual network selection before going back to Automatic. If it still keeps dropping after all that, it may genuinely be on the carrier’s end, and walking away for an hour is sometimes the right move.
eSIM vanished after an iOS update? Usually recoverable, and usually it hasn’t gone anywhere. Restart first, since updates clear cached network state. Before assuming it’s gone, check whether the profile is still there but disabled. Settings > Cellular on iPhone, Settings > Network > SIMs on Android.
Then check for a carrier settings update under Settings > General > About: tap the version, tap Update if prompted. Carrier updates ride separately from iOS updates, and this one quietly fixes a lot of connection problems.
If you get to Reset Network Settings, know the cost first. It wipes saved Wi-Fi passwords, VPN settings, and APN entries. The eSIM profile survives.
Device-specific fix paths: Samsung, Pixel, iPhone
Some failures live in manufacturer-specific corners, and the menus don’t match. Android paths here assume Android 10 or newer; older than that, expect differences.
Samsung
The odd one that works: clear the SIM Toolkit cache, under Settings > Apps > SIM Toolkit > Storage > Clear Cache. It fixes some activation failures outright, which sounds ridiculous until it works. One UI 3.0 and later also handle eSIMs noticeably better, so old Samsung software is its own problem. Network reset lives at Settings > General Management > Reset.
Pixel
Updates live at Settings > System > System Update. To re-enable a sulking line: Settings > Network & internet > SIMs, tap the eSIM, toggle Enable off and back on. The same menu holds the APN, so check it against the provider’s docs while you’re in there.
iPhone extras
Beyond the carrier settings update under About, iOS 18 has a tool most people miss: download the Apple Support app and run its diagnostics on the device. It catches what the settings menus can’t.
The safe-deletion protocol
Before you delete any eSIM profile, for storage limits or cleanup or anything, save the QR email first. Star it, screenshot it, whatever. Phones hold somewhere between 8 and 20 profiles depending on the model, so “Too many SIM profiles” happens to frequent travelers; delete via Remove Cellular Plan on iPhone or Settings > Network > SIMs on Android, but the backup comes first, because a reissue can cost money and time you don’t have mid-trip.
When to escalate, and what to have ready
Call the provider when the failure is provably theirs. Five conditions make that obvious, and any one of them is enough: you deleted the profile; “not provisioned” has run past 60 minutes; your data ran out early; the “profile failed” error keeps repeating; or the app says the plan is active but the phone has nothing. That last one ties to the provider-side causes worth knowing about: partner-network issues, throttling on unlimited plans, sloppy instructions. You can’t settings-toggle your way out of any of those.
Before you dial, gather the kit, because it separates a five-minute fix from a five-email back-and-forth. Screenshot the exact error. Pull the order number from the confirmation email. Have your number, your account PIN, your IMEI or EID (Settings > General > About, or dial *#06#), your phone model and OS version, and the country plus target carrier. That’s the whole list, and it’s two minutes of prep.
Support speed is also a real selection variable, not a nice-to-have. Airalo and Saily run 24/7 live chat, and if you land at 3 a.m. with no data, that gap matters. Holafly’s chat typically answers within about two hours. Nomad is email-only with 4-8 hour responses, workable for planning, painful mid-trip.
Want a sense of which providers actually work for real travelers? The pattern from r/travel and r/digitalnomad is simple: if the eSIM has to work mid-trip, pick a provider with live chat. Email-only support is fine for trips that aren’t on fire.
The ladder, in one page
Gate check first: *#06# and Carrier Lock. Then the two-minute checklist: line on, roaming on the travel eSIM only, right data line. If you’re stuck on Activating, run the clock: 5-15 minutes of patience, airplane toggle at 30, provider call at 60. No service after landing means roaming plus manual network selection.
Slow data is a fork: 3G gets an LTE/5G force, sub-1 Mbps means throttling, check the app for remaining data. Then the device-specific paths, then escalation with the kit ready.
Most failures are toggles. The one irreversible mistake is deleting without a QR backup.
Frequently Asked Questions
How can I troubleshoot an eSIM that isn’t working?
Start with the two-minute checklist: confirm the line is on under Settings > Cellular, set the travel eSIM as the default data line, and switch Data Roaming on for the travel eSIM only. Then toggle airplane mode for 15 seconds and do a real restart with a full 10 seconds of power-off to wipe cached network state. If it’s stuck on Activating, give it 5-15 minutes before touching anything.
How do I fix my eSIM if it’s not working?
Work the fixes in order and check the status bar after each step. Line on, roaming on the travel eSIM only, correct default data line, then airplane mode toggle, restart, and manual network selection if you have No Service after landing. If the profile is stuck on ‘not provisioned,’ that’s the carrier’s side — wait, and never delete the profile, because deleted eSIM profiles generally can’t be restored from the original QR code.
What would cause my eSIM to not work?
The usual causes are a locked phone, missing eSIM hardware, roaming switched on for the wrong line, or the phone camping on a partner carrier your plan doesn’t cover. Dial #06# — if no EID number appears, the phone likely can’t do eSIM at all. Check Carrier Lock under Settings > General > About, since locked handsets can refuse third-party eSIMs even when the hardware is fine.
Do I need to turn on data roaming for my travel eSIM?
Yes, and it’s counterintuitive: Data Roaming must be ON for the travel eSIM to work abroad, and providers typically charge nothing extra for it. Phones ship with roaming off by default, which is why so many travel eSIMs appear broken on arrival. Keep roaming OFF on your home SIM, though — that’s the guard against surprise roaming bills.
My eSIM shows No Service after landing abroad — what should I do?
The tell is usually roaming enabled on the wrong line, or the phone registered onto a partner carrier the plan doesn’t cover — which is why repeated airplane-mode cycling doesn’t help. First, confirm Data Roaming is on for the travel eSIM. Then manually select a network: Settings > Cellular > Network Selection, switch Automatic off, pick the carrier your provider recommends, and flip Automatic back on.
‘This eSIM is not compatible with this iPhone’ — what does that mean?
That error almost always comes down to a carrier lock or missing eSIM hardware, not a broken download. Check Carrier Lock under Settings > General > About — a carrier name there means the phone needs an unlock before most travel eSIMs will work. Also dial #06# to confirm an EID number appears; no EID means the phone likely lacks eSIM support entirely.
How do I switch data from my primary SIM to my travel eSIM mid-trip?
It’s just settings, no reinstall needed. Set the travel eSIM as the default data line, keep Data Roaming on for the travel line and off for the home SIM, and turn Allow Cellular Data Switching off unless you genuinely use both lines — that setting lets the phone hop between lines whenever one has better signal, which can quietly run charges on the wrong one.