That heart-sink moment when you spot the puddle. The drip. The stain spreading across the ceiling. Your first thought is probably a dollar figure, and your second is panic.
Most AC leaks aren’t a disaster. They come from three main causes, and two of them you can handle yourself in under an hour with stuff you probably already own. A typical AC pulls 5 to 20 gallons of water out of the air every day, so some moisture is normal. The problem is when that water doesn’t dry up within 24 hours. That’s when you’ve got a real leak on your hands.
The good news? Understanding the chain reaction behind most leaks turns a potential $500 service call into a $20 fix. Here’s how to figure out which one you’re dealing with.
Key Takeaways
A clogged condensate drain line is the #1 cause of AC leaks, and clearing it yourself with a wet/dry vacuum often costs under $150 if you call a pro, or about the price of a vinegar bottle if you DIY.
The dirty filter → frozen coil → melted water chain reaction is the second most common leak path, and the fix is usually just replacing the filter and letting the ice thaw completely.
If your unit is still cooling but leaking, it’s almost certainly a blocked drain line or cracked drain pan; if it’s leaking and not cooling well, suspect a frozen coil or low refrigerant.
Table of Contents
Turn it off first
Before you do anything else, kill the power. The thermostat, and the breaker too. This stops water production immediately and keeps you safe from electrical hazards. Running a leaking unit while you investigate is how a $20 fix becomes a $500 repair.
Water damage to flooring, drywall, insulation, and ceilings can cost more than the repair itself. Continued operation risks mold growth and system failure.
There’s a reason HVAC pros are cautious here. Samantha Houchin, owner of The Weather Changers in Denver, puts it plainly: there are some pretty dangerous elements to an HVAC system. If you don’t know what you’re doing, you could damage the system or put yourself in harm’s way. So flip the switches, grab a flashlight, and take a breath. The next ten minutes are about looking, not fixing.
How to diagnose the problem
You don’t need to take the system apart to figure out what’s wrong. You just need to check a few things in the right order.
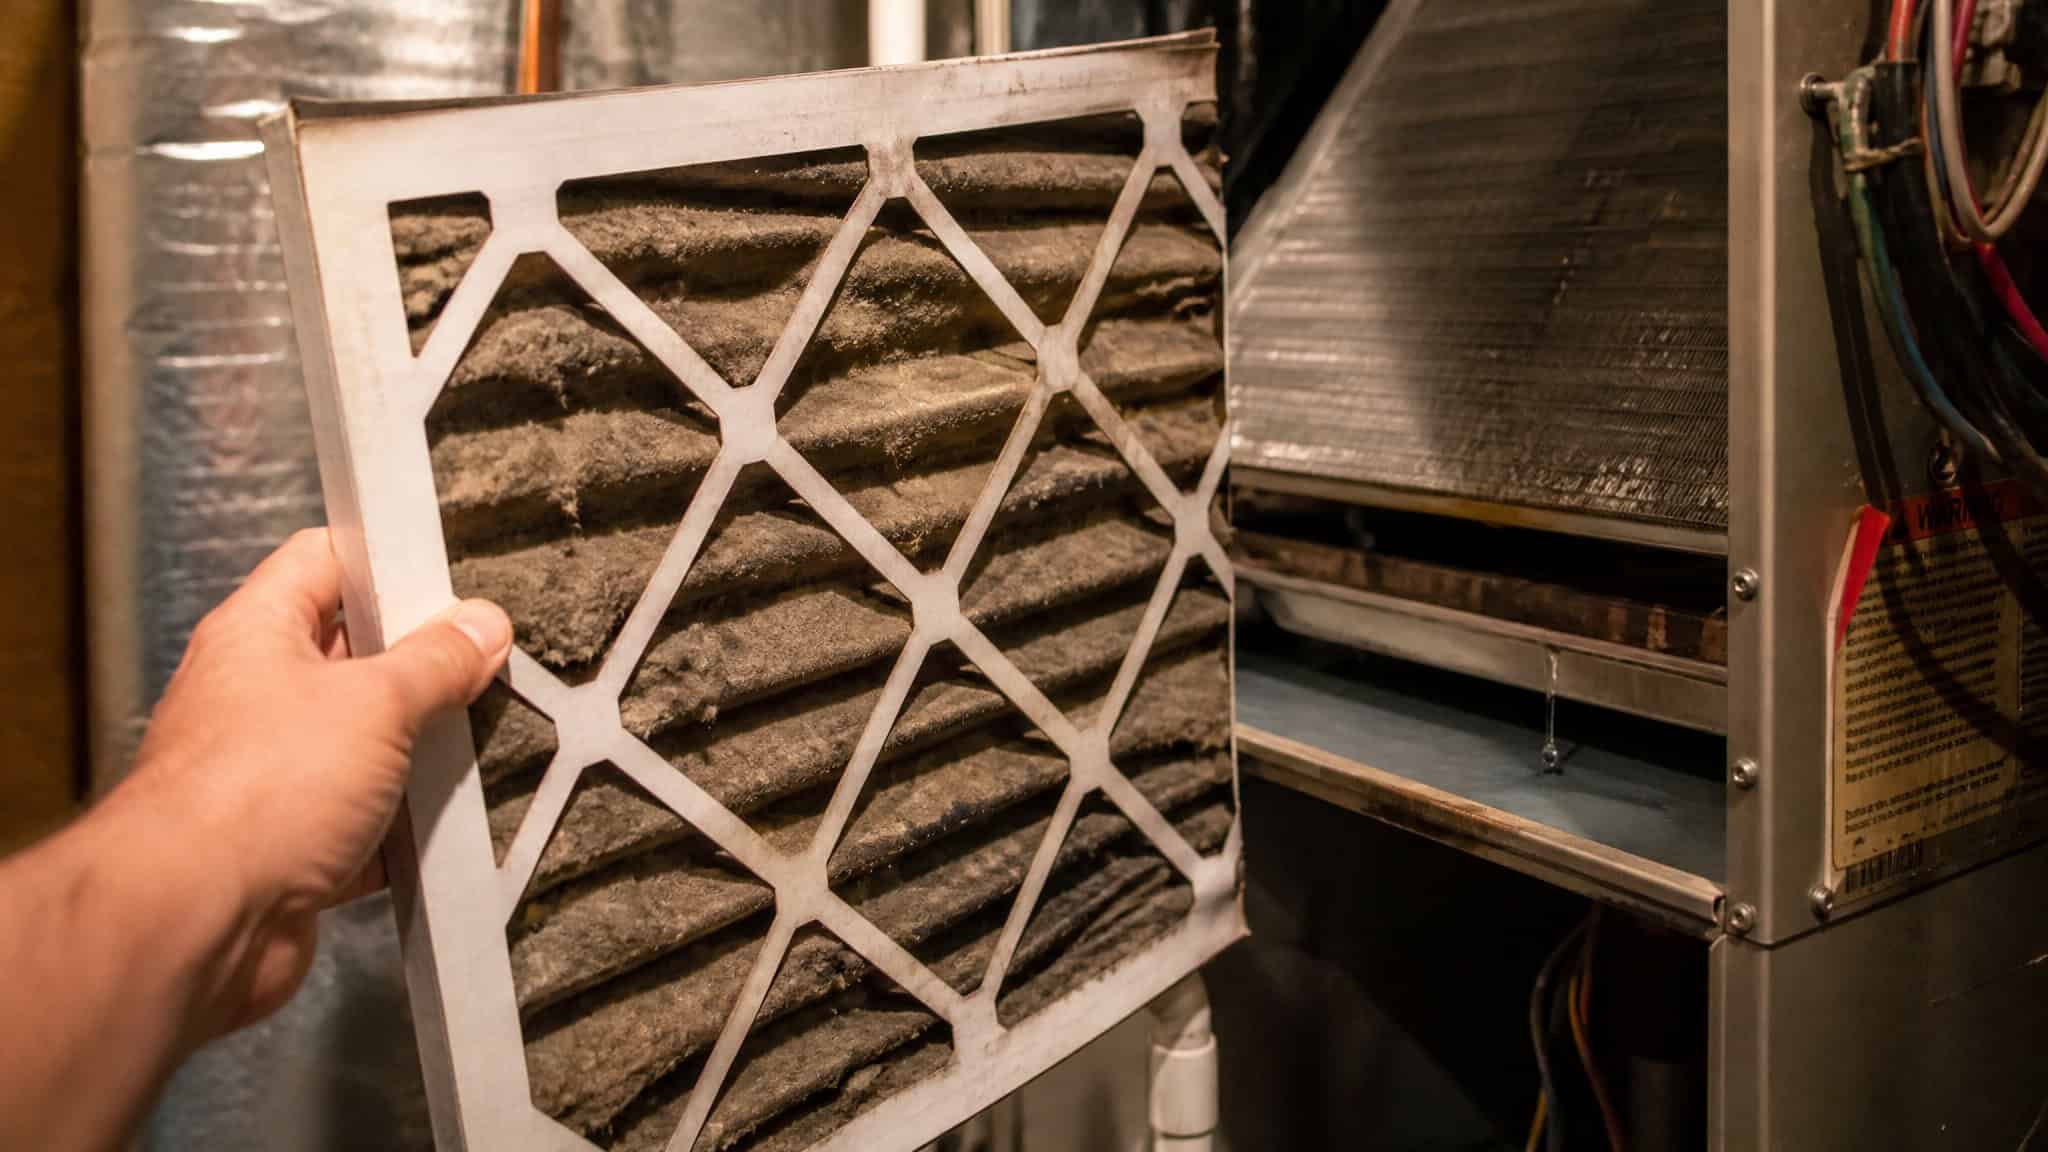
Check the air filter first. Pull it out and look at it. If it’s dirty, that’s likely your problem. Here’s the chain reaction: a restricted filter restricts airflow, which causes the coil to freeze. When the ice melts, the water overwhelms the drain pan and leaks into your home. A really clogged filter can freeze the coil and cause a leak all by itself.
Inspect the condensate drain line. Find where it exits outside and look for visible gunk or standing water in the line. Slime, dirt, and debris are the usual suspects. If the line is blocked, water backs up and overflows into your home. This is the most common cause of AC leaks, full stop.
Look for ice. Check the refrigerant lines and the evaporator coil for frost. If you see ice and the system is off, that’s a classic sign of a frozen coil. The key diagnostic: if it leaks after shutdown, it’s ice melting. That points to either restricted airflow or low refrigerant.
Examine the drain pan. Look for cracks, rust, or standing water that isn’t draining. A cracked pan means water escapes before it ever reaches the drain line. This is usually an age-related issue, common in older units where corrosion has done its damage.
Here’s the shortcut: if your unit is still cooling but leaking, it’s almost certainly a blocked drain line or a cracked drain pan. If it’s leaking AND not cooling well, suspect frozen coils or a refrigerant issue.
Quick test: Check the air filter first — if it’s dirty, that’s likely the whole problem. One cheap part prevents the most common leak chain.
Common causes and what you can fix yourself
Most AC leaks trace back to a few predictable culprits. Here’s how to tackle the ones you can handle safely, starting with the most common.
Clogged condensate drain line
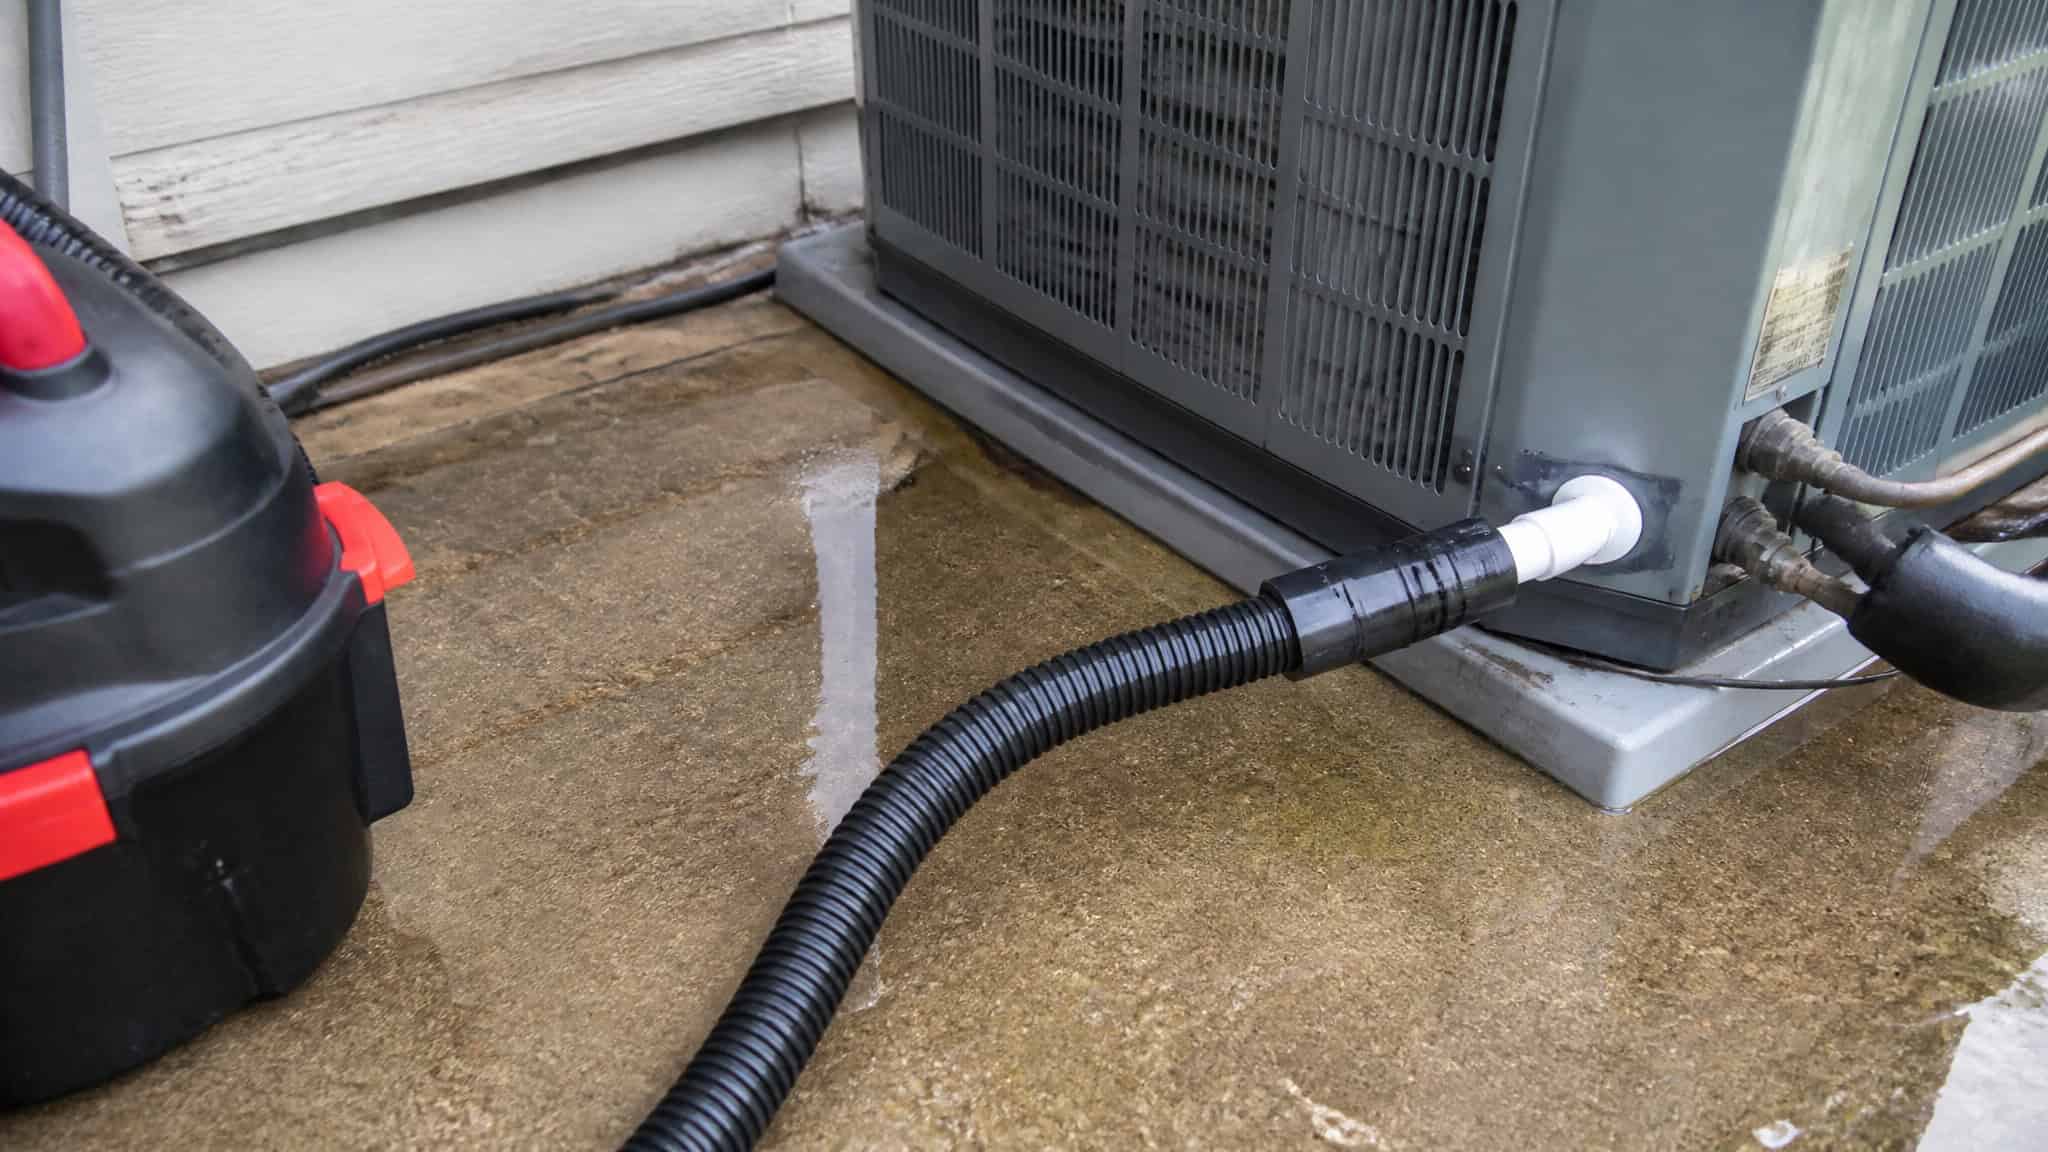
This is the most frequent cause of AC leaks. The line gets blocked with dirt, algae, or debris, water backs up, and it overflows into your home. The DIY fix is straightforward: use a wet/dry vacuum on the outdoor end of the line to clear most clogs. Follow up by flushing with vinegar or bleach to kill mold and mildew. A bottle brush helps clear stubborn gunk.
Clearing a clogged drain line often runs under $$150 if you hire a pro. Doing it yourself costs the price of a vinegar bottle. That’s the best-case scenario, and it’s more common than you’d think.
Dirty air filter
This one’s almost insultingly simple. A dirty filter restricts airflow, which freezes the coil. When the ice melts, the water overwhelms the drain pan. The fix is to replace the filter.
That’s it. If you can’t remember when you last changed it, it’s overdue.
Frozen evaporator coil
This can be caused by restricted airflow OR low refrigerant. If it’s airflow-related, you can handle it: turn the system off and let the ice thaw completely. This can take several hours, so don’t rush it. Don’t chip at the ice, either. Replace the filter and restart.
If the coil keeps freezing after a clean filter and normal temperatures, low refrigerant is likely. That’s not a DIY job. Handling refrigerant requires EPA certification and specialized gear. It’s not a weekend project, and it’s not something to improvise.
AC leak repairs range from $200 to $1,500 depending on the cause. That range is your decision tool. If it’s a clogged line, you’re in DIY territory. If it’s refrigerant, you’re calling a pro.
What’s NOT a DIY job
Knowing your limits is worth more than bravado. Some causes are beyond your skill level, and pretending otherwise is how you turn a $500 repair into a $1,500 one.
Low refrigerant causes the coil to freeze. Handling refrigerant requires EPA certification and specialized gear. It’s not a weekend project.
A damaged or rusted drain pan means the pan needs replacement, which is a significant job. Cracks or corrosion mean the pan can’t do its job, and water goes where it shouldn’t.
Improper installation is on the installer, not you. If the unit isn’t level, water pools and overflows. Fixing this may mean re-mounting the unit, which is beyond most homeowners.
Blocked or dirty evaporator coils require access most homeowners don’t have safely. Dirt on the coils kills heat transfer, which leads to freezing, excess condensation, and AC high energy bills as the system runs longer to compensate.
A malfunctioning condensate pump is another pro job. If your system uses a pump and it fails, water backs up. Pump replacement is not a DIY project.
David Fowler, owner of Family Heating and Air in Pensacola, Florida, recommends regular maintenance with drain tablets or pads, and he warns that DIY drain treatment can damage equipment. Jennifer Fletcher, owner of Modern Air Solutions in Gurnee, Illinois, stresses that annual maintenance is the number one way to keep an AC running properly, and she points out that recognizing AC warning signs early is just as critical. These are people who see the results of well-intentioned DIY gone wrong. Listen to them.
How to keep it from happening again
Prevention is a schedule, not a one-time thing. Here’s what actually works:
Replace filters every 1 to 3 months. This is the single most effective preventive step. It’s cheap, it takes two minutes, and it prevents the most common leak chain.
Schedule annual professional maintenance, ideally in spring before peak season. This catches problems while they’re still cheap to fix.
Flush the drain line with vinegar or bleach seasonally to prevent algae buildup. This takes ten minutes and prevents the #1 cause of leaks.
Consider a clean-out T-joint on the drain line. This makes future clearing a five-minute job instead of a hassle. Install it correctly: don’t place it downstream from the condensate trap.
Keep the outdoor unit clear of leaves and debris. It needs to breathe.
Don’t run the AC below 60°F outside. Operating your air conditioner when outdoor temperatures fall below about 60°F can cause the evaporator coil to freeze. That’s a specific, avoidable mistake.
If the drain line is glued shut, you can cut a straight section downstream from the pan connection, unscrew the collar, clean out the pan and pipe, then reattach with a PVC coupling. Leave it unglued for future access. It’s a one-time job that saves you hassle forever.
Cost check: A clogged drain line is usually a sub-$150 pro fix or a few dollars in vinegar if you DIY. If the quote hits four figures, get a second opinion.
Smart home and insurance
Two things people don’t think about until it’s too late.
Smart thermostats don’t detect leaks themselves. But they can integrate with water leak sensors near your HVAC unit. You’d get an alert on your phone when the drain pan overflows, which means you catch the problem before it becomes a ceiling stain.
Insurance typically covers water DAMAGE from a leak, but not the cost to repair or replace the unit itself. Unless a covered event caused the leak, like a storm, you’re on the hook for the repair. That’s the distinction that matters.
Window AC and wall-mounted units
Different beasts, different checks.
Window AC
First, check the tilt. The unit should tilt slightly downward to the outside so water drains out. If it’s level, water pools and finds its way inside. That’s the most common fix and the cheapest.
Next, dirty coils and filters cause excess condensation. Clean them. Then inspect the drain pan for clogs that block water flow. The quick fix sequence: verify the tilt, clean the filter and coils, inspect and clear the drain pan.
Wall-mounted unit
Start with the drain line or pan. Slime and debris are the culprits that block drainage. Improper sealing lets water escape into the wall instead of outside. And the unit should tilt slightly toward the drain side.
The quick fix sequence: turn it off, clear the drain line with a wet/dry vacuum, flush with vinegar or bleach, check for frozen coils, and clean filters regularly.
When the leak is in your car
AC leaks aren’t just a home problem. The vehicle version is a different beast, and it’s worth knowing how to handle it.
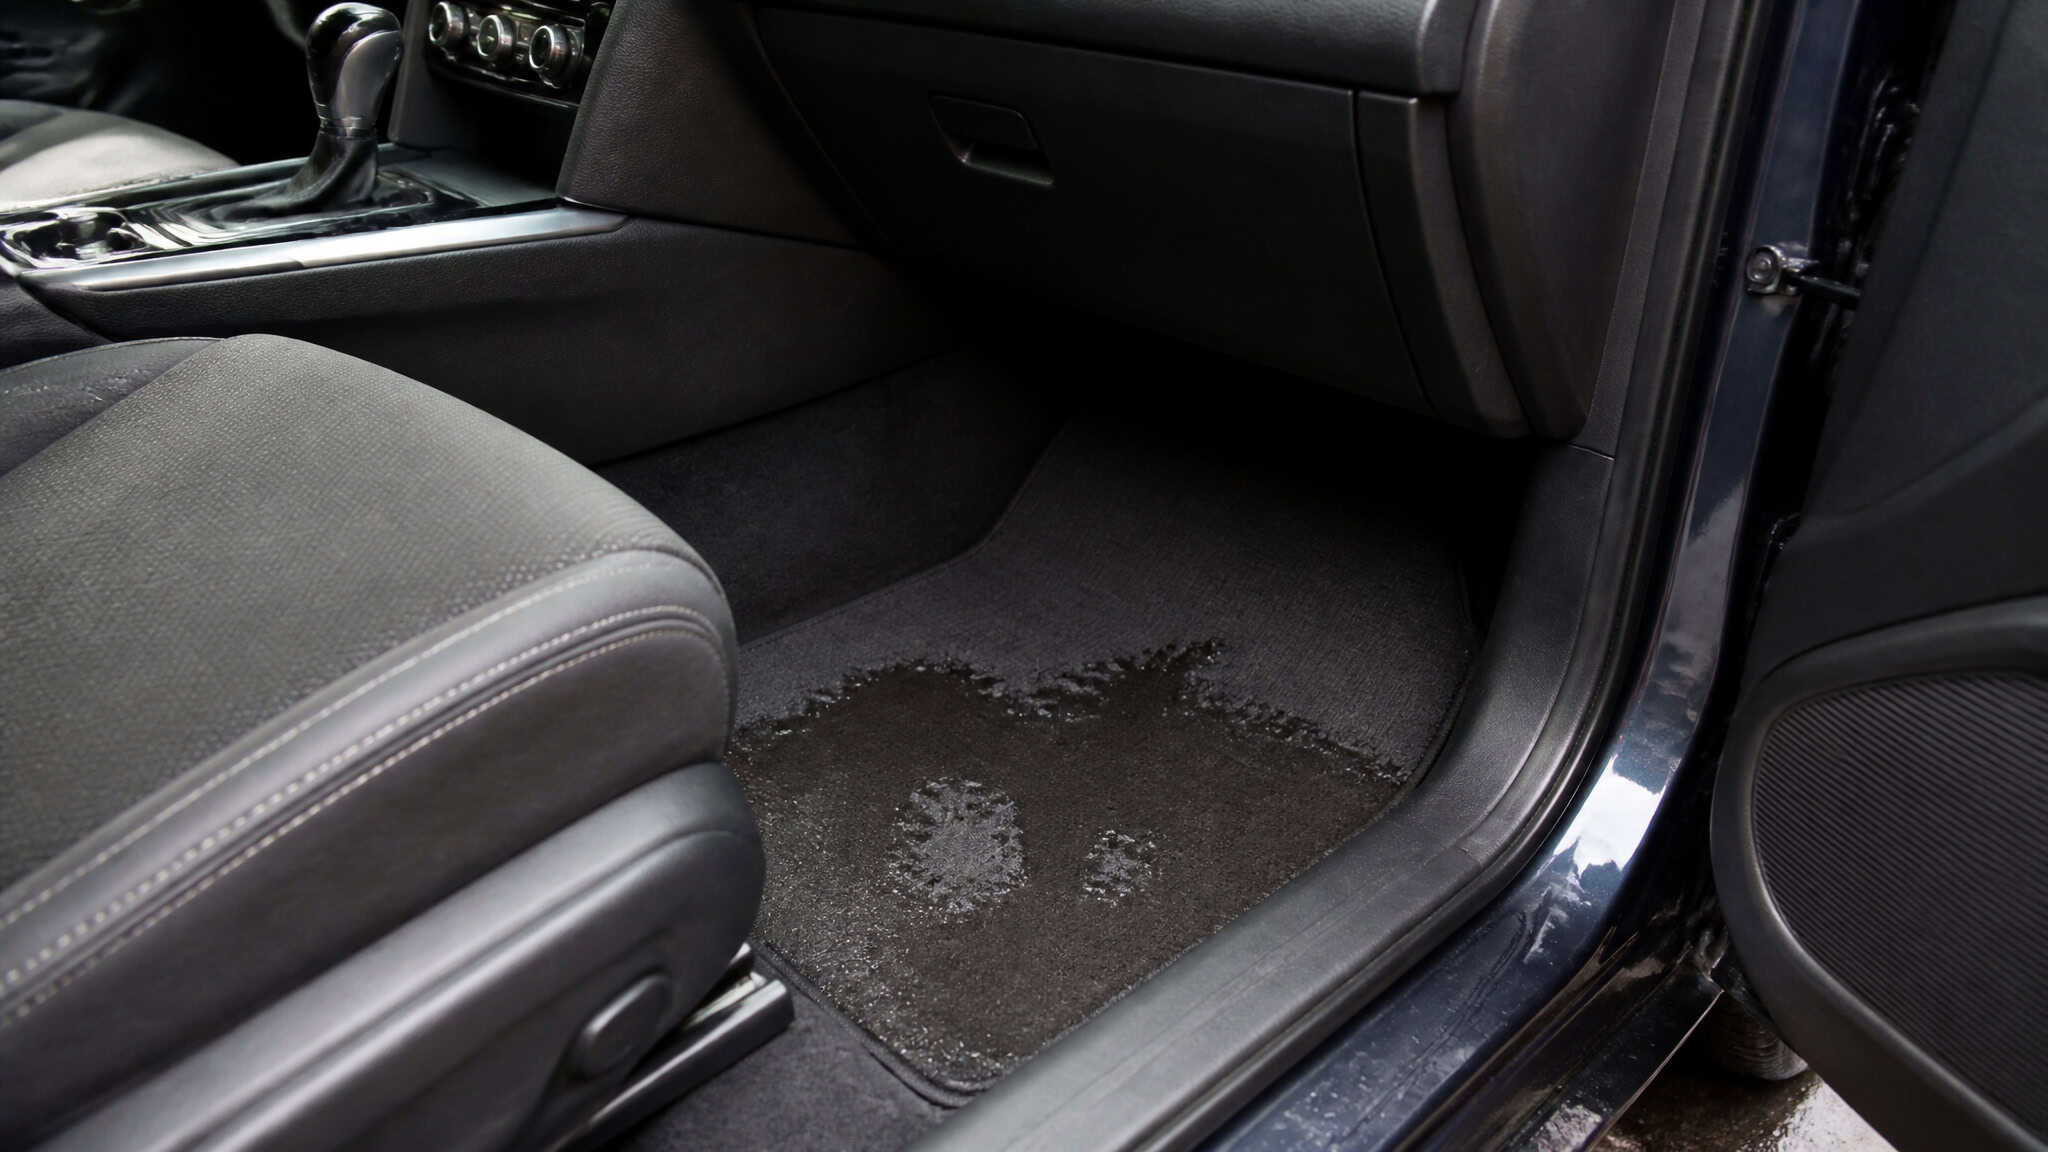
There’s a recognized pattern in 2019-2026 GMC Sierra and Chevrolet Silverado models (1500, 2500, 3500): evaporator failure causes water to leak into the cab. The evaporator core sits deep behind the dashboard. Replacing it means pulling the entire dash, an 8-10 hour job. RepairPal estimates $1,147 to $1,539 for the evaporator replacement alone. With diagnostics and shop supplies, it crosses $2,000.
One owner, Sunny Rambutan, paid almost $2,000 to fix a 2021 Sierra AC leak. After the repair, the rear vents stopped working. The dealer kept the truck for two weeks and couldn’t figure it out. That’s the kind of frustration that makes you want to know your rights.
The T1 platform has documented water intrusion issues from the AC, the third brake light, and rear cab vents. Check your floorboards for dampness after heavy rain. And the drain tube can clog with algae or slime, backing water into the cab.
If this is you, here’s the street-smart playbook:
Test everything before you leave. Check every vent, front, floor, and rear, on full cold and full heat. The most common secondary failure after a dash-pull is a disconnected duct or a failed rear blend door actuator from dash misalignment.
Know the secondary-failure rule. If a shop breaks part B while fixing part A, they’re responsible for part B. The Magnuson-Moss Warranty Act and service repair guarantees protect you. If you paid for a fix, they have to return the vehicle in working order.
Document everything. Keep every repair order. They’re evidence of “loss of use.”
Escalate deliberately. If the dealer stalls, demand the Service Manager and ask for the Regional District Manager’s contact. That usually speeds things up. Request a Technical Assistance Center (TAC) case number.
It forces GM corporate engineers to get involved and moves responsibility away from the dealership. If that fails, file a BAR complaint or take it to small claims.
Water leak or refrigerant leak?
Quick clarification. Water leaks show up as pooling or dripping water near the indoor or outdoor unit. That’s usually a drainage problem. Refrigerant leaks are different: hissing sounds, frost or ice buildup on the lines, reduced cooling performance.
Refrigerant isn’t water. It’s the cooling agent.
If you’re not sure, a certified technician can test and confirm. That’s the definitive answer.
Most leaks are preventable. Most fixes are cheap. And knowing your limits is worth more than bravado.
People Also Ask
Should I be worried if my AC is leaking water?
Most AC leaks are not emergencies and stem from three main causes: a clogged condensate drain line, a dirty filter causing a frozen coil, or a cracked drain pan. However, continued operation can lead to significant water damage and system failure, so it’s best to address the leak promptly. If you’re unsure, a professional can diagnose it safely.
What is the most common cause of an AC leak?
A clogged condensate drain line is the #1 cause. Dirt, algae, and debris block the line, causing water to back up and overflow into your home. You can often clear it yourself with a wet/dry vacuum and a vinegar flush, or hire a pro for under $150.
Why does my AC leak after I turn it off?
If your AC leaks after shutdown, it’s likely ice melting. A dirty filter or low refrigerant can cause the evaporator coil to freeze; when the system turns off, the ice melts and overwhelms the drain pan. Let the ice thaw completely, replace the filter, and if it recurs, call a technician to check refrigerant levels.
What’s the difference between a water leak and a refrigerant leak?
A water leak shows up as pooling or dripping water near the indoor or outdoor unit and is usually a drainage problem. A refrigerant leak produces hissing sounds, frost or ice buildup on the lines, and reduced cooling performance. Refrigerant is the cooling agent, not water, and handling it requires EPA certification.