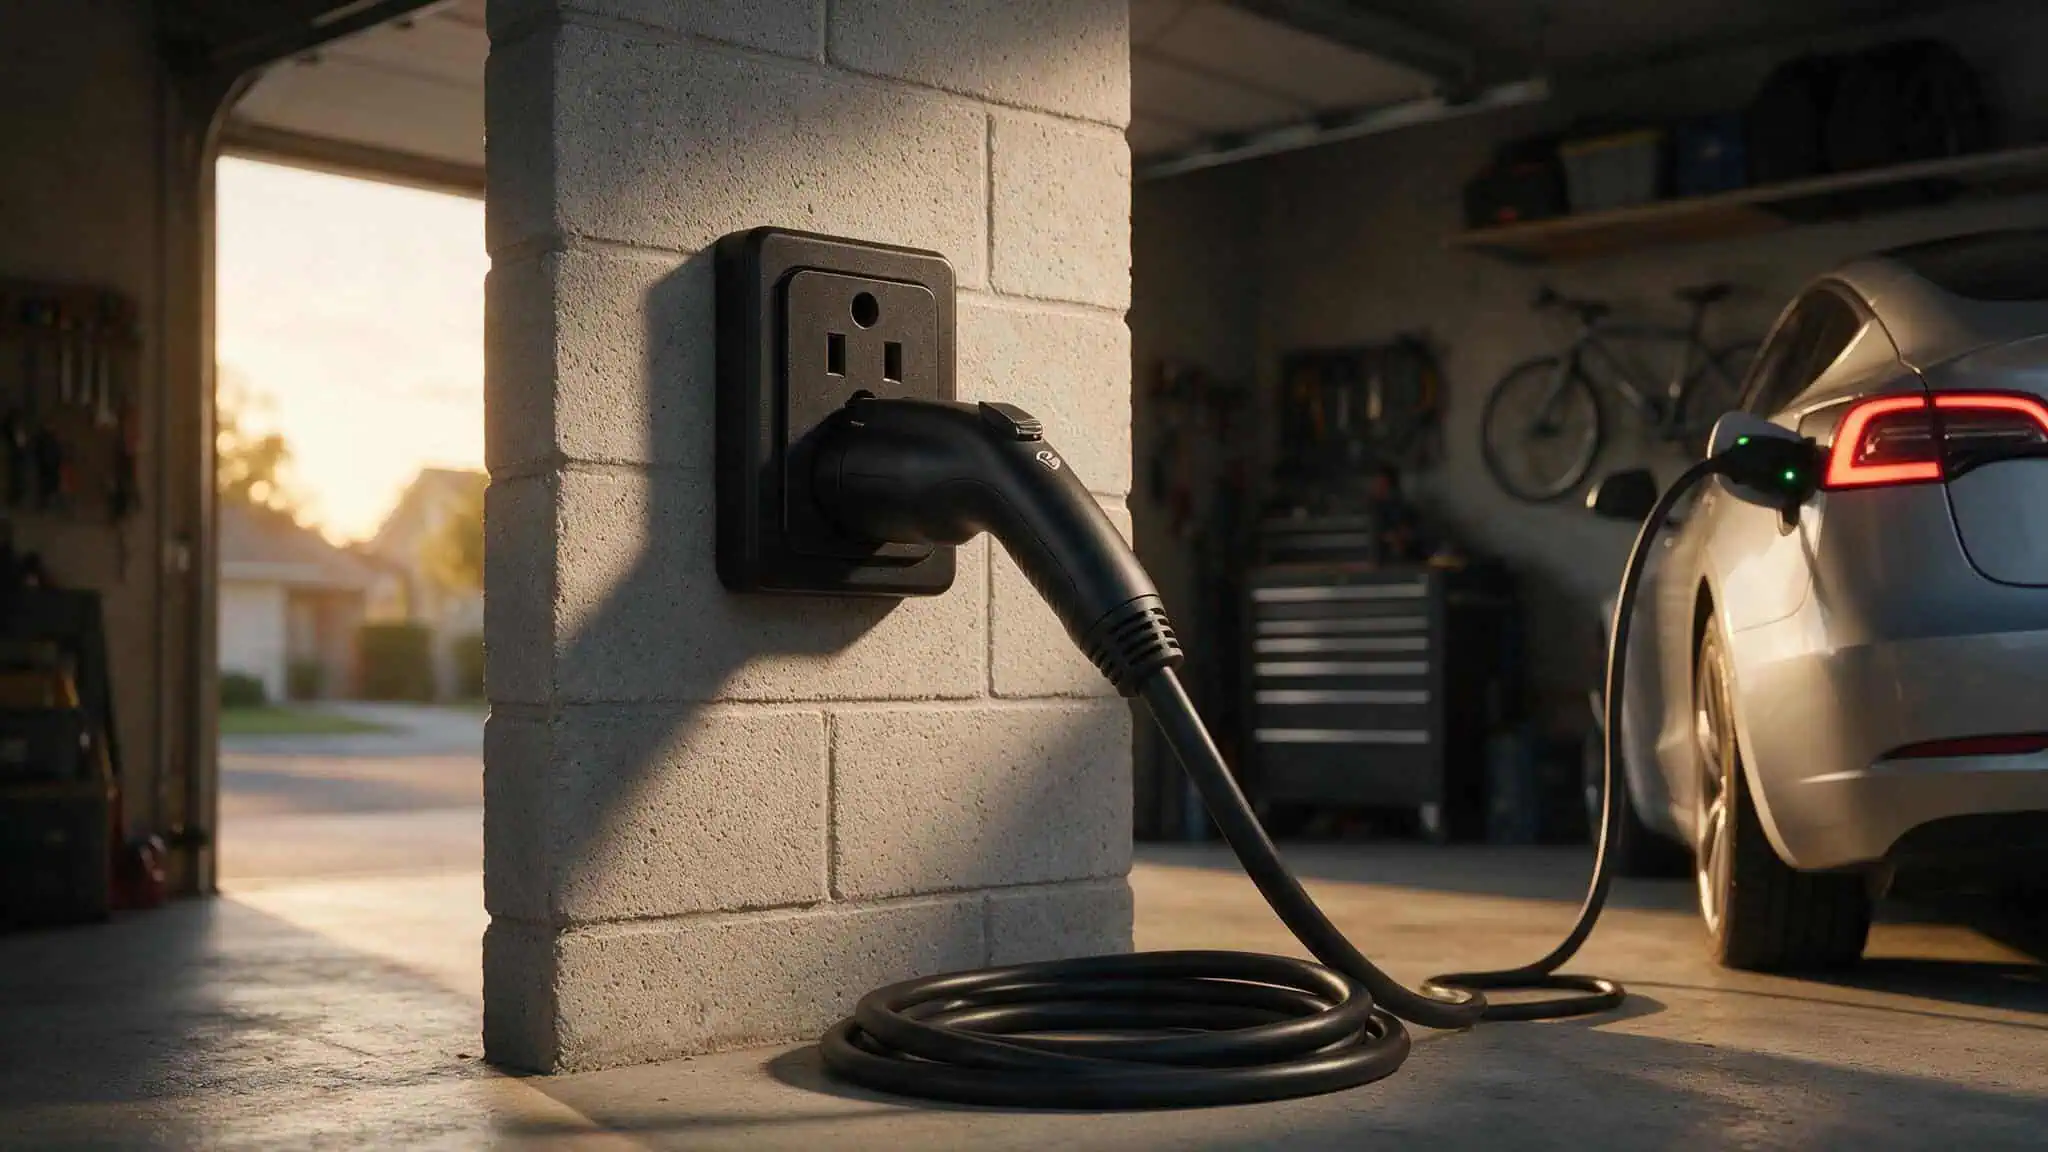
You drove off the lot feeling good. Your new EV came with a Level 1 charger in the trunk, you plugged it into a standard 120-volt (120V) AC outlet, and everything seemed fine. Then one morning you needed to get somewhere early — and the car was sitting at 40% with a full day’s schedule ahead. That’s the moment Level 1 stops being “fine” and starts being a problem.
The Level 1 charger included with your car looks like a free solution, but for most daily driving it’s not just slow — it can actually fail you in winter and leave you stranded. Level 2 isn’t some luxury upgrade. It’s the practical standard. Let’s run the real numbers so you know exactly where you land.
Key Takeaways
A 60 kWh battery — typical for a mid-range EV, takes 42 hours to recharge on Level 1 (12A/1.4kW), but just 7.8 hours on a standard 32A Level 2 charger (7.7kW). That’s the difference between waiting two days and waking up full.
If you drive more than 30–40 miles a day, or live where it freezes, Level 1 won’t keep up. In extreme cold, the battery heater can draw more power than Level 1’s 1.2 kW delivers, actually draining the battery overnight.
A Level 2 charger like the Emporia Classic EV charger ($429) plus professional installation ($200–$1,200) is a one-time cost. Monthly electricity runs $20–$60 — still way cheaper than gas.
Table of Contents
Why Level 2 Is the Only Serious Option for Daily Driving
Most guys think Level 1 works and Level 2 is just faster. The gap is bigger than speed. Level 1 works on paper if you drive 30–40 miles daily and park for 10–12 hours overnight, but fails the moment your schedule changes, you need to charge fully for a longer trip, you have two EVs in the household, or you live somewhere cold. The free option seems logical until you actually rely on it.
Here’s the quick breakdown: Level 1 uses a standard 120-volt (120V) AC outlet and delivers about 1.2 kW — think trickle, not flow. You get 2 to 5 miles of range per hour. Level 2 needs a 240V (residential) AC outlet (like your dryer or oven) and typically runs around 7.6 kW, giving you 10 to 60 miles of range per hour. The difference isn’t marginal, it’s a category shift.
Quick Context: Level 3 Isn’t for Home
You might wonder about fast charging. Level 3 (DC fast charging) uses high-voltage DC (400V-1000V) and pumps out 25–350 kW. A unit costs $10,000–$50,000 or more. That’s not home gear — it’s for highway rest stops and commercial corridors. So don’t even think about it for your garage. We’re comparing the two options you actually have.
The 60 kWh Battery Reality Check
Most articles give vague ranges. Let’s be specific. A 60 kWh battery is common for mid-range EVs — Teslas, Hyundai Ioniq 5s, Ford Mustang Mach-Es. Here’s what charging one actually takes:
- Level 1 (12A / 1.4 kW): 42 hours to full. That’s almost two full days. You can’t recover from a dead battery overnight.
- Level 2 (32A / 7.7 kW): 7.8 hours. That’s a full charge while you sleep.
- Level 2 (48A / 11.5 kW): 5.2 hours. Even faster, but you’ll need a beefier circuit and a compatible onboard charger.
These numbers do the argument for you. 42 hours isn’t a faster option — it’s a completely different class of usability.
What This Means for Your Daily Routine
Level 1 is sufficient if you drive under 30–40 miles a day and park for 10–12 hours overnight. No problem — plug it in, wake up topped off. But the tell that you need Level 2 is when you consistently wake up with less range than you need for the day. Especially after a late return or a day with extra errands.
Level 1 cannot compensate for variable usage. It works for predictable short commutes. The moment your schedule varies, it breaks.
Charging Speed: Level 1 vs Level 2 — How Much Faster, Really?
Let’s put the numbers side by side. Level 2 is 5–10x faster than Level 1. Not “a bit faster” — five to ten times.
| Charger | Voltage | Typical Power | Range per Hour | Full Charge (60 kWh) |
|---|---|---|---|---|
| Level 1 | 120V | ~1.2 kW | 2–5 miles | 11–20+ hours |
| Level 2 | 240V | 3.6–19.2 kW (home ~7.6 kW) | 10–60 miles | 3–8 hours |
A 40-mile commute recovers in about 1 hour on Level 2 vs. 8–20 hours on Level 1. That’s the difference between “plug it in when you get home” and leave it plugged in overnight and cross your fingers.
Real-World: Charging a 60 kWh Battery
The 60 kWh numbers above are clean estimates. Real-world speed varies based on your car’s onboard charger (it limits the max power it can accept), cold weather (slows everything), and the fact that charging slows as the battery approaches full capacity. With DC fast charging it’s more efficient to charge to 80% because the last 20% takes disproportionately long — but for Level 2 at home you’ll often charge to 100% overnight, so the taper at the top is less of an issue.
Cost Breakdown: Level 1 vs Level 2 — The Hidden Numbers
This is where most articles let you down. The sticker price of a Level 2 charger is just the beginning.
Level 1: Free. It’s in the trunk. Zero installation cost. You plug it into any standard 120-volt (120V) AC outlet.
Level 2: The charger itself runs $400–$2,500. Installation adds $200 to $1,200 — but that’s if everything goes smoothly.
Here’s where it gets expensive: many older homes need a panel upgrade ($1,000–$3,000), a dedicated circuit ($300–$1,500), and a permit ($50–$200). Suddenly a $400 charger can cost $2,000+ to install.
Specific anchors: The Emporia Classic at $429 is a solid affordable Level 2 charger. The Emporia Pro at $599 offers more features. Both are real products you can buy today.
Monthly Operating Costs
Here’s the bit that surprises people: the cost per kWh is the same for both levels. You’re paying the same electricity rate. The difference in your monthly bill comes from driving more miles. Level 1 users tend to drive less, so they spend $15–$30 a month.
Level 2 users who commute farther spend $20–$60. Still way cheaper than gas.
A concrete example: 100 miles uses about 33 kWh, costing $4–$8 depending on your local rate.
Installation Surprises
The common trap: you assume a Level 2 charger can plug into an existing dryer outlet. The electrician shows up, finds the circuit is shared or the panel lacks capacity. Suddenly the $400 charger needs a $2,000 panel upgrade.
Real-world example: Seattle requires an electrical permit and inspection for charger installations. That’s a specific local regulation that catches people off guard. Check your city’s rules before you start.
Cost check: A panel upgrade can triple your installation cost. Always get an electrician’s quote before buying the charger.
Long-Term Value
Level 2 isn’t just about speed. It can increase your home’s resale value — future buyers will see a pre-installed charger as a plus. Smart features (scheduling, energy tracking, Wi-Fi connectivity) let you charge during off-peak hours when electricity is cheaper. Level 1 offers none of this.
It’s a basic plug-and-go device. Level 2 is future-proof for larger batteries and growing EV adoption.
Installation Guide for Level 2 Chargers — What to Actually Expect
First step: check your electrical panel capacity. An older 100-amp panel likely needs upgrading to handle a continuous high-current draw. Level 2 chargers pull power for hours at a time, which stresses circuits designed for intermittent use.
Then decide: plug-in (NEMA 14-50 outlet) or hardwired.
Plug-in vs Hardwired
Plug-in: Easy to set up, portable — you can take it with you if you move. Uses a standard NEMA 14-50 outlet (like a dryer outlet). You’ll need GFCI protection at the breaker.
Hardwired: More secure, may be required by local code. The GFCI is built into the charger. Typically a cleaner install and less risk of loose connections.
Pick based on your situation. If you rent or plan to move, plug-in makes sense. If you own and want the most reliable setup, go hardwired.
Common Mistakes
- Using an existing dryer outlet without verifying it’s a dedicated circuit (shared circuits can trip).
- Skipping the permit — it’s usually $50–$200 and prevents expensive mistakes.
- DIY installation without electrical experience. This is 240V continuous current. Get a licensed electrician.
Local Permits and Regulations
Your city may require a permit and inspection. Seattle is a known example. Don’t skip it — unpermitted work can cause issues when you sell the house, not to mention fire hazards.
For a deeper look at the process, check out our full guide on Level 2 EV charger installation requirements.
Which Charger Is Right for You? — Decision Framework
Here’s where you check yourself. Be honest about your daily driving and situation.
When Level 1 Is Enough
- You drive under 30–40 miles a day on average.
- You have a plug-in hybrid (PHEV) with a small battery — say 8 kWh. Level 1 can fill that in a few hours.
- You rent and can’t modify the property.
- You live in a mild climate where it rarely freezes.
- You only need it as a backup for occasional top-ups.
Level 1 has a valid niche. It’s just narrow.
When Level 2 Is a Necessity
- You drive over 40 miles a day.
- You own a pure battery EV (BEV) with a 60 kWh or larger pack.
- You have multiple EVs in the household — sharing one Level 1 charger doesn’t work.
- You live where it gets cold.
- You want the certainty of a guaranteed full charge every morning.
If you fall into any of these, Level 2 isn’t optional. It’s the practical minimum.
For specific charger recommendations, see our curated list of the best Level 2 home EV chargers 2025.
The Cold Climate Factor
This is the hidden dealbreaker most articles skip. In extreme cold, Level 1 may not maintain charge. Here’s why: the battery has a heater that keeps itself warm enough to accept a charge. That heater draws power.
Level 1 only supplies about 1.2 kW. If the heater pulls more than that, the battery can actually discharge overnight rather than charge. You park at 50%, wake up at 45%.
Level 2 has enough power headroom to heat the battery and charge it at the same time. It also enables preconditioning — you can warm up the cabin and battery before you leave, using grid power instead of the battery’s own stored range.
The pattern we see in colder climates: owners relying on Level 1 notice their car loses range overnight, especially when temperatures drop below freezing. It’s not “a bit slower” — it’s “doesn’t work.”
Field note: Below freezing, Level 1 can actually drain your battery instead of charging it. That’s not a speed problem — it’s a system failure.
Smart Features and Long-Term Value of Level 2
Level 2 isn’t just more power. Many chargers come with Wi-Fi, scheduling, energy tracking, and OCPP compliance (meaning you’re not locked into one app ecosystem). These features let you optimize your charging around time-of-use electricity rates, potentially lowering your effective per-mile cost.
Level 1 provides none of this. It is a basic plug.
Time-of-Use Optimization
With scheduling, you set the charger to run only during off-peak hours — usually late night to early morning. That can cut your electricity cost significantly if your utility offers time-of-use rates. Level 1 users tend to plug in as soon as they get home, which may be during peak rate hours. Level 2 gives you control.
Level 2 as a Home Improvement
Document the electrical work properly, and it’s an asset when you sell. Future EV-owning homebuyers will see a pre-installed charger as a major plus. You may also qualify for rebates or tax credits — check your local incentives.
Connector Compatibility: J1772, Tesla, and CCS
Connector confusion is overblown for home charging. Here’s all you need to know.
SAE J1772 — The Universal Standard
Every non-Tesla EV in North America uses the SAE J1772 connector for Level 1 and Level 2. It’s an open international standard. Any Level 2 charger with a J1772 plug works with any modern EV — Chevy, Ford, Hyundai, Volkswagen, you name it.
Tesla Connector and Adapter
Tesla uses its own Tesla connector, but it’s not a problem. Every Tesla comes with a J1772 adapter in the trunk. So you can plug a Tesla into any Level 2 charger. For home, any charger works. Tesla’s advantage is simplicity: one plug for all charging speeds.
CCS and CHAdeMO for Level 3
CCS is the DC fast-charging standard for most North American and European EVs. CHAdeMO is used by older Japanese cars like the Nissan Leaf. Neither matters for home charging.
PHEVs and Small-Battery EVs
Most plug-in hybrids (PHEVs) can’t use DC fast chargers at all — they’re designed for Level 1 and Level 2 only. And small-battery EVs like the Fiat 500e should avoid DC fast charging because it stresses the battery. But for home Level 2, every plug-in vehicle works fine.
Government Standards and the Future of Home Charging
In February 2023, the Federal Highway Administration (FHWA) and the Joint Office of Energy & Transportation issued new national standards for federally funded EV chargers. These cover connector types, power levels, payment methods, uptime, and interoperability. The goal is reliability — no more broken chargers or confusing payment systems. The U.S. Department of Transportation also offers the Rural EV Toolkit, a resource specifically designed to help rural communities plan and deploy charging infrastructure.
What this means for you: as public charging becomes more standardized and reliable, home Level 2 becomes the natural complement. You charge at home for daily driving, use public fast charging for road trips, and don’t worry about Level 1’s limitations.
The Verdict: Start with Level 2 If You Can
Level 1 serves as a useful backup or temporary solution. It’s not a primary daily charging strategy for most EV owners.
Level 2 eliminates range anxiety. It recovers a full charge overnight. It works in cold weather. It adds value to your home. It’s the difference between “hoping you have enough charge” and “knowing you do.”
If you drive a pure EV, have a commute over 30 miles, or live where it gets cold, Level 2 is the practical choice. Budget for equipment ($400–$2,500) and installation ($200–$1,200 — plus a potential panel upgrade if your home is older). If you can’t swing it right now, Level 1 works for short-term use while you plan the upgrade. But don’t treat it as a permanent solution.
Level 1 has a niche — short commutes, plug-in hybrids, backup use. Level 2 is the answer for most guys. That’s not hype. It’s the math.
If you’re still deciding which model to buy, start with our guide on how to choose a Level 2 home EV charger.
Frequently Asked Questions
Is it better to use a level 1 or level 2 charger?
Level 2 is better for most EV owners. Level 1 adds only 2–5 miles of range per hour, so a full charge on a 60 kWh battery takes about 42 hours. Level 2 delivers 10–60 miles per hour and can fully recharge that same battery overnight in under 8 hours. Level 1 works for short commutes under 30–40 miles a day, but Level 2 is the practical standard for daily driving.
What’s the difference between plug-in and hardwired Level 2 chargers?
A plug-in charger connects to a standard NEMA 14-50 outlet (like a dryer outlet) and is portable — you can take it if you move. A hardwired charger is directly connected to your electrical panel, offers a cleaner install, and may be required by local code. Hardwired setups have the GFCI built into the charger, while plug-in units need GFCI protection at the breaker.