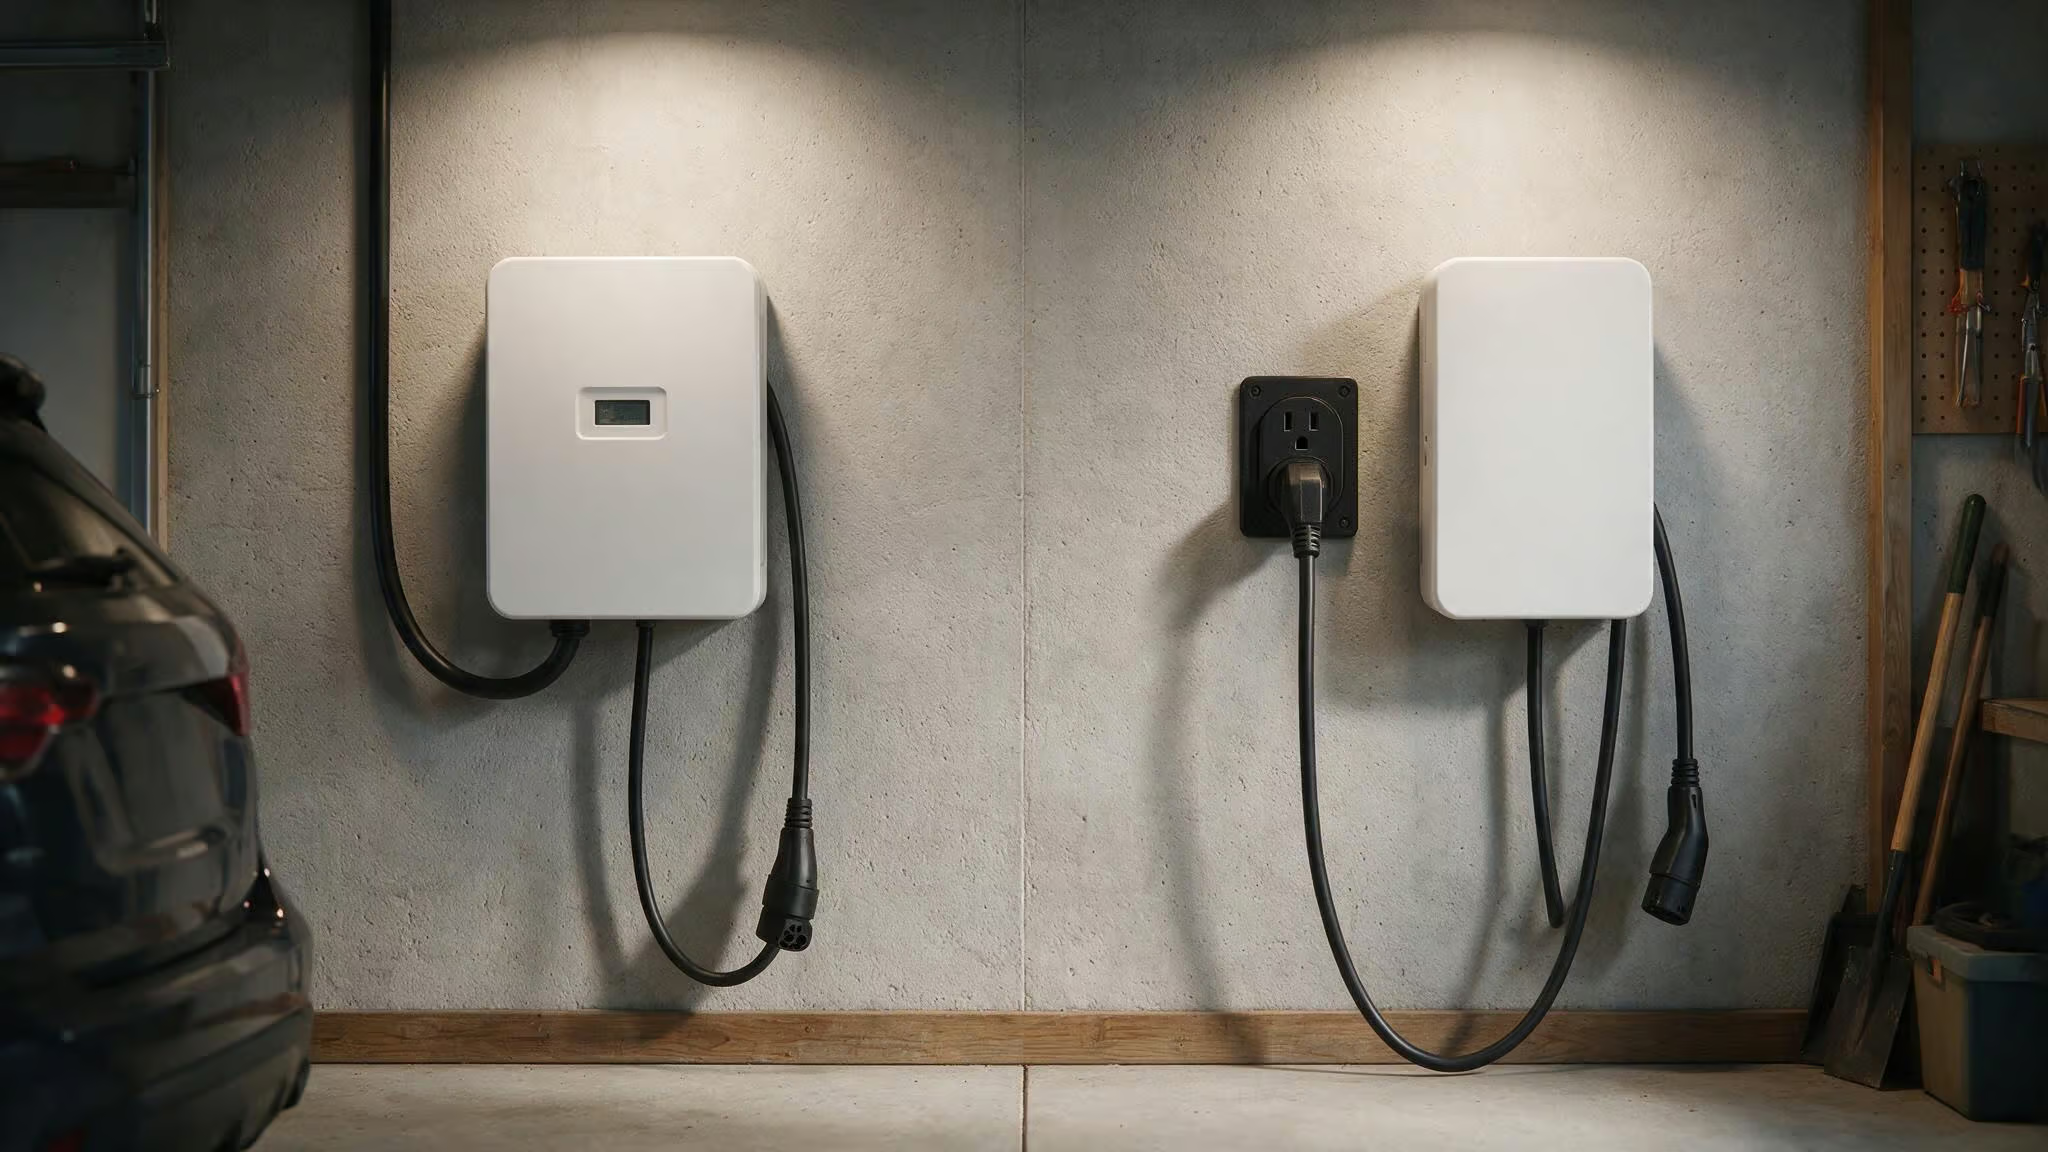
Why Home Level 2 Charging Is Worth the Wiring Work
You bring home your new EV, plug it into the standard wall outlet in the garage, and wake up to a whopping 30 miles of range added overnight. That’s Level 1 charging—3 to 5 miles of range per hour. Fine for a plug-in hybrid, but for a full battery-electric car? It’s brutal.
Level 2 charging is the fix. It runs on a dedicated 240-volt circuit—like what powers your oven or dryer—and delivers 20 to 40 miles of range per hour. Overnight, that’s a full battery every morning. And the cost? Home charging is up to 50% cheaper per mile than using public Level 3 DC fast chargers.
Does it take some work to set up? Yes. You’ll need a permit, a licensed electrician, and the right equipment.
Key Takeaways
Home Level 2 charging adds 20–40 miles of range per hour, costing up to 50% less than public charging, but requires a dedicated 240V circuit, a permit, and professional installation.
Your electrical panel is the deciding factor: 200-amp panels are usually fine, but roughly 1 in 5 homes needs an upgrade ($3,000–$5,000) — load management systems can sometimes bypass this cost entirely.
Hardwiring your charger is generally smarter than plugging into a NEMA 14-50 outlet because it avoids the GFCI nuisance-tripping issue and is required for units rated 48 amps or higher.
Table of Contents
Step 1: Assess Your Electrical Panel Capacity
Before you buy anything, you need to figure out whether your house can handle the extra load. This is about a real load calculation.
An electrician looks at your home size, major appliances, HVAC system, and everything else that draws power. The National Electrical Code requires the breaker to be sized at 125% of the charger’s rating. A 40-amp charger needs a 50-amp breaker. A 32-amp charger needs a 40-amp breaker.
- 200-amp panel with two empty double-pole slots — You’re almost certainly fine. That’s the standard for modern homes.
- 100-amp panel — Maybe. It depends on what else runs in your house. If you’ve got electric heat, a big AC unit, and an electric stove, it might be tight.
- 60-amp panel — This isn’t going to work. You’ll need an upgrade.
According to Qmerit, which handles installations for BMW, Ford, and Tesla, about 20% of homes need some electrical upgrade before they can safely run a Level 2 charger. If your breakers are already tripping or your lights flicker when the fridge kicks on, those are warning signs your panel is close to its limit.
Step 2: Choose Hardwired or Plug-In (NEMA 14-50)
The NEMA 14-50 outlet is the standard plug-in option for Level 2 chargers. It’s the same outlet used for electric ranges. The National Electrical Code now requires GFCI protection for any receptacle rated 50 amps or less. That includes most Level 2 plug-in setups.
Here’s the issue: EV charging is a continuous high-current draw. That load can cause GFCI breakers to nuisance-trip in the middle of the night. You wake up to a dead battery and no idea why.
Hardwired installations are exempt from the GFCI requirement. No GFCI means no random tripping. Plus, any charger rated 48 amps or higher must be hardwired anyway. The downside is that hardwiring is slightly harder to remove if you move, but plenty of homeowners leave them because it adds resale value.
Don’t try to use your dryer outlet. Those outlets aren’t designed for the continuous high-power draw of EV charging. It’s a fire risk.
Step 3: Obtain Permits and Understand NEC Code Requirements
You’re going to need a building permit. In most jurisdictions, this is non-negotiable. Your electrician will pull the permit, but it’s worth knowing what the inspector is looking for.
NEC Article 625 governs EV charging installations. Specifically:
- Dedicated circuit — The new EV charging receptacle gets its own circuit. Nothing else on it. No sharing with a shop vac or space heater.
- Mounting height — Inside the garage, the equipment must be at least 18 inches above the floor. Outside, it’s 24 inches above ground.
- Cord length — The charging cord can’t be longer than 25 feet unless you have a cable management system.
- Wireless charging has its own rules, but let’s be honest — you’re probably not dealing with that yet.
Fritz Gunther, a voting member of NEC Code-Making Panel 1 who has been doing this for 30-plus years, emphasizes that these rules exist for safety. And your home insurance will care if an unpermitted installation causes a fire.
Step 4: Budget for the Full Cost and Check Incentives
- Charging equipment — $300 to $600.
- Installation — $800 to $3,000. The average sits around $2,442.
- Panel upgrade (if needed) — $3,000 to $5,000 or more.
About 80% of homes don’t need it. If you’re in a newer home with 200-amp service, you’re probably just paying the base installation fee for an upgrade that, like a Level 2 charger, is one of the most useful upgrades you can do.
The federal 30C tax credit is gone. It ended. A lot of articles still list it as active, but they’re wrong. Don’t budget for it.
State, utility, and local incentives are very much alive. They vary by location:
- PG&E offers up to $3,000 for bidirectional charging systems if you’re in their service area.
- Check the DSIRE database, ENERGY STAR Incentives, or Rewiring America for local options.
Step 5: Consider Alternatives If Your Panel Is Tight
You don’t necessarily need a $3,000 panel upgrade. Load management systems track your home’s real-time power usage and automatically adjust the charger’s output to prevent overload, but if you’re weighing your options, a Level 2 EV charger vs Level 1 is the only serious choice for daily driving due to its far superior speed and convenience.
Joe Miller, Director of Technical Support at Qmerit, advises using load management and circuit-sharing devices whenever possible. A few specific options:
- Load management systems — Balance power between the charger and your other big appliances.
- Circuit-sharing devices — Let two appliances safely share one circuit.
- 16-amp Level 2 charger — Slower than a 40-amp or 60-amp unit, but still way faster than Level 1. If your panel is maxed out, this might be the answer.
- Sub-panel — Adds extra circuit slots without a full service upgrade.
Talk to your electrician about which option fits your specific panel configuration.
Step 6: Hire a Licensed Electrician — Do Not DIY
An improper installation can void your home insurance if it causes a fire, and that’s a consequence most guides don’t mention.
A licensed electrician handles:
- The load calculation to confirm your panel can handle it
- Any panel work or upgrades
- Running the dedicated circuit
- Pulling permits and scheduling the inspection
- Ensuring the installation is up to NEC code
Exact Electric is a good example of a full-service outfit that takes it from assessment all the way through final inspection. Qmerit’s network has done over 770,000 installations, starting at $749, and they’re trusted by BMW, Ford, and Tesla. For a no-regret buy, check out the Best Level 2 home EV chargers 2025 — top-rated models for reliability, charging speed, smart features, and value. That’s a solid baseline.
Look for an electrician who specifically has EV charging experience. Ask them about permits and the 125% rule. If they don’t know what you’re talking about, call someone else.
Step 7: Select the Right Charger with the Right Features
Almost every EV uses the J1772 connector for Level 2 charging. The J3400/NACS connector was originally Tesla-only, but it’s expanding starting with 2025 model year vehicles. Adapters exist for both directions, so you’re never locked in.
- Safety certification — Look for ENERGY STAR, UL, or ETL certified. Don’t buy a charger that hasn’t been tested.
- Hardwired or plug-in — Based on what we covered in Step 2, make your call.
- Smart features — Scheduling off-peak charging, energy tracking, amp adjustment, and unauthorized-use prevention are all nice to have.
- Outdoor rating — If you’re mounting it outside, make sure the charger is rated for rain and temperature swings.
Use the EPA Home EV Charger Calculator or PlugStar’s directory to narrow down your options.
Special Considerations: Renters, New Homes, Street Parking, Multi-EV Households
If you rent or own a condo — Right-to-Charge laws in many states give you a legal pathway for installing a charger if you have a designated parking spot. Check your local laws.
If you’re building a new home — Pre-wire it. Installing a NEMA 14-15 outlet while the walls are open costs a fraction of retrofitting later. Run a conduit, leave panel capacity, and future-you will be very grateful.
If you park on the street — Some cities have curbside charging programs. Boston, Seattle, Portland, and Washington, DC all let residents request curbside chargers. Longer charging cables can help, but check local rules about tripping hazards.
If you have two EVs — You can set up two dedicated circuits or a load-sharing system that lets both charge safely. Talk to your electrician about the smart approach.
If you have a detached garage — Trenching or conduit may be needed to run the wire. It adds to the cost, but it’s worth doing.
The Payoff: Start Every Day with a Full Battery
Start with the load calculation. Everything else—hardwired vs. plug-in, permits, budget, charger selection—follows from that answer.
If you need a panel upgrade, it’s a bigger upfront cost, but load management might save you. If your panel is good to go, you’re looking at a few hundred dollars for equipment and a professional install. Either way, you end up with a home charging setup that costs half what public charging does.
Frequently Asked Questions
What is needed to install a level 2 EV charger?
You need a dedicated 240-volt circuit, a licensed electrician, and a building permit. Your electrical panel must have enough capacity — 200-amp panels are usually fine, but older 100-amp panels may be tight, and 60-amp panels require an upgrade. The electrician will perform a load calculation and handle the wiring, permits, and inspection.
Can a normal electrician install an EV charger?
Yes, but you should hire one with specific EV charging experience. They need to know the National Electrical Code’s 125% rule for breaker sizing and how to perform a proper load calculation. If your electrician doesn’t know what the 125% rule is, call someone else.
Is hardwiring an EV charger better than plugging into a NEMA 14-50 outlet?
Yes, hardwiring is generally smarter. It avoids the GFCI nuisance-tripping problem that can leave you with a dead battery in the morning, and it’s required for any charger rated 48 amps or higher. The trade-off is that hardwired units are slightly harder to remove if you move, but many homeowners leave them because they add resale value.
How much does it cost to install a Level 2 EV charger at home?
The charging equipment runs $300 to $600, and installation typically costs $800 to $3,000, with an average around $2,442. If your panel needs an upgrade, that adds $3,000 to $5,000 or more. The federal 30C tax credit is no longer available, but state and utility incentives can offset the cost.