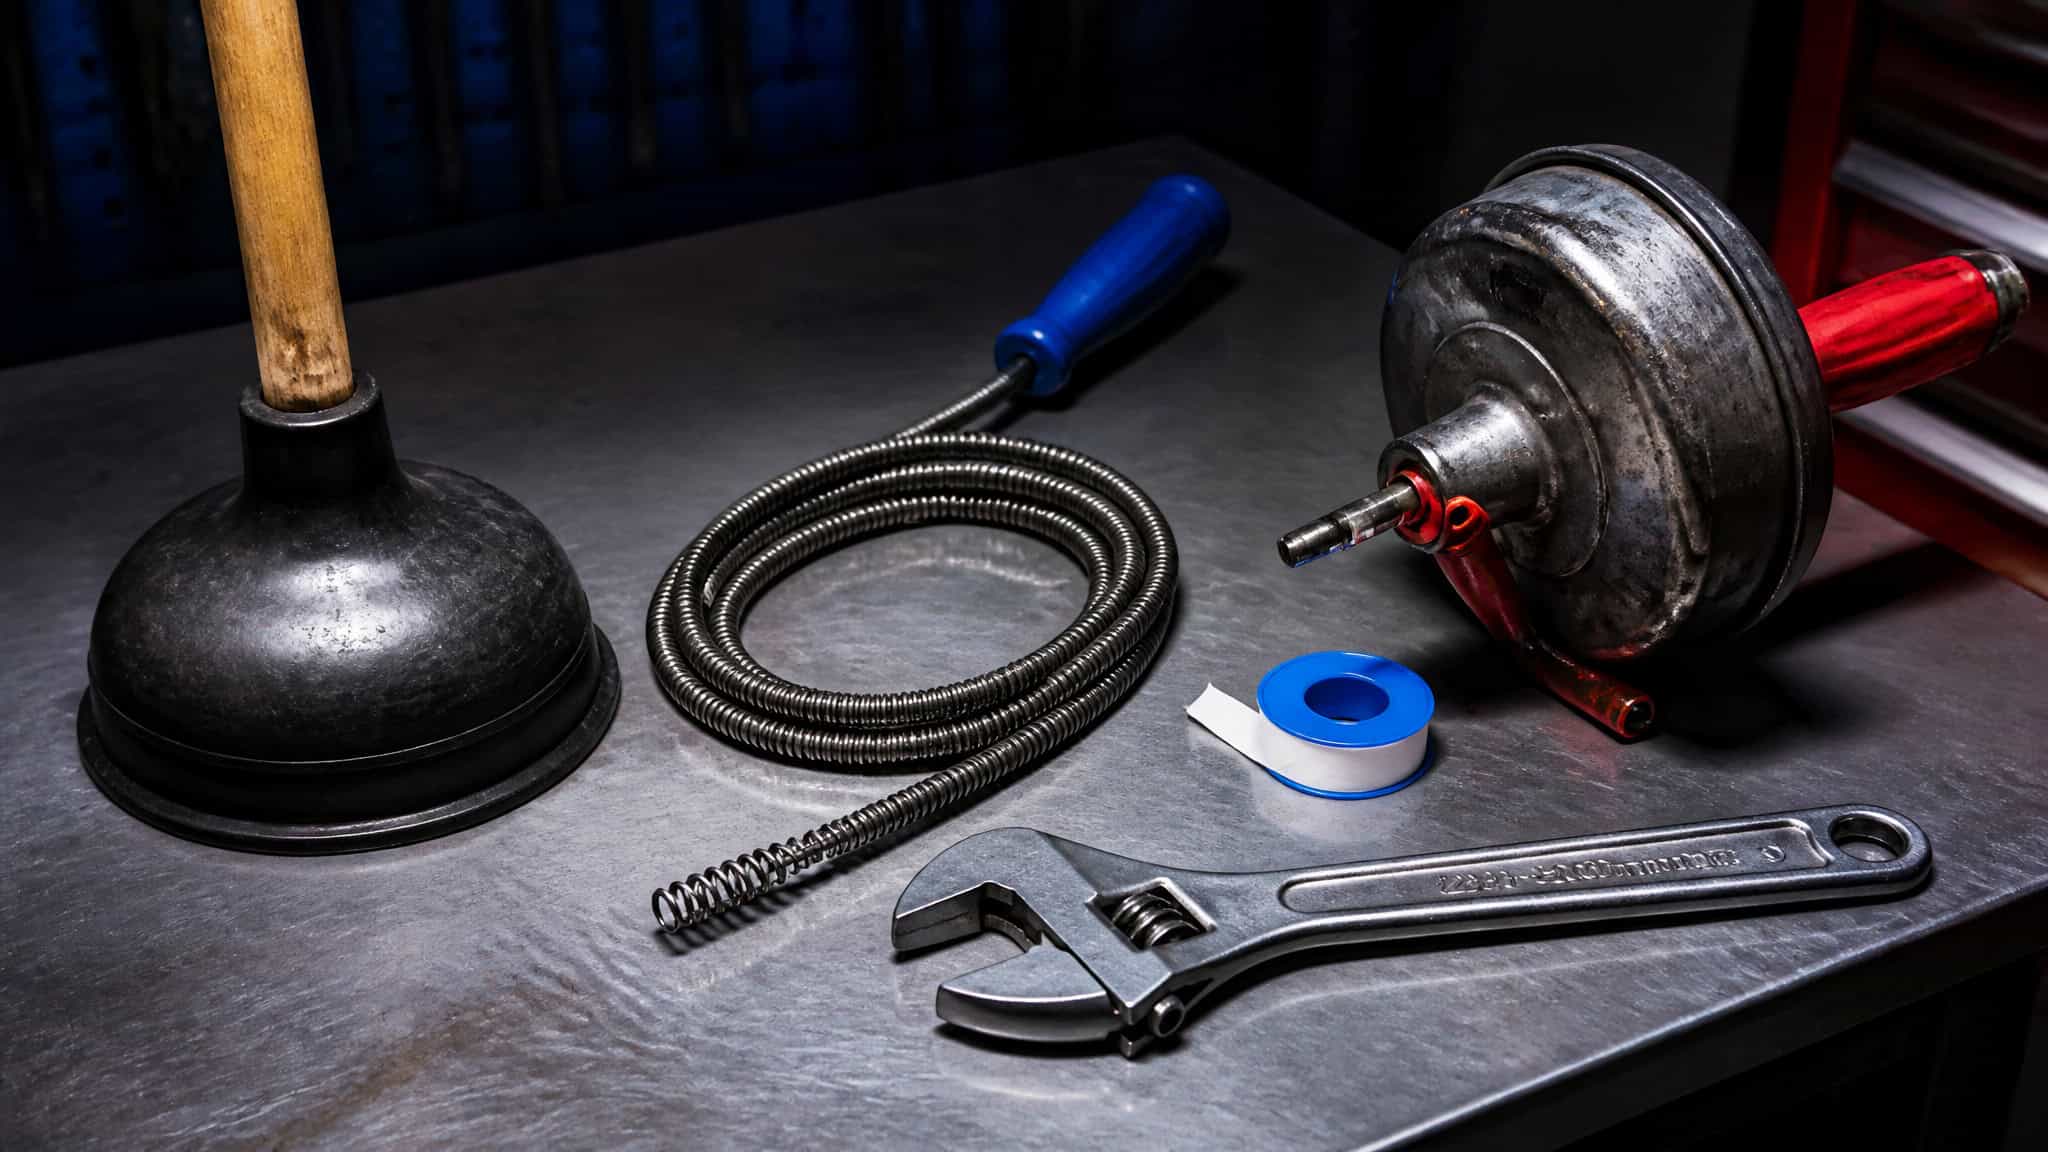
Let’s be honest about why you’re here. You’ve got a sink that drains slower than a DMV line, or a faucet that drips loud enough to keep you up, and you’re pretty sure you could fix it yourself. Then you start looking at DIY plumbing tools online, and suddenly you’re comparing 106-pound copper tube cutters and torque screwdrivers that cost more than your water heater.
I’ve learned the hard way that most of us overbuy. You don’t need a pro kit — five to ten versatile tools handle ninety percent of what goes wrong in a house. A single adjustable wrench and a ten-dollar hair snake take care of a ridiculous share of clogs and leaks. This guide is for the beginner homeowner, not the pro, and it covers what’s worth owning, what it costs, how to use it, and when to call a plumber.
Key Takeaways
Five tools — a sink plunger, a hair snake variety pack, an 8-inch adjustable wrench, thread seal tape, and a hand auger, cover a clogged sink, a leaking faucet, and a running toilet for under $100 combined.
Mechanical drain clearing beats chemicals: a $20–$40 hand auger and a careful P-trap disassembly are safer and more reliable than drain cleaner, which Roto Rooter calls a “method of last resort.”
Rent big one-time tools instead of buying them — snake machines run $40–$60 per day to rent versus $80–$200 to buy, and press fitting tools are cheaper rented for a single project.
Table of Contents
Essential Wrenches and Gripping Tools
Wrenches are where most plumbing tool talk starts. The short version: one adjustable wrench does most of what a homeowner needs, the pipe wrench is for heavier work, and the basin wrench is a one-job specialist. Here’s how to tell them apart.
Pipe Wrench: The Heavy Lifter
When someone says plumbing, the pipe wrench is usually what comes to mind — the heavy iron thing with serrated jaws. It works, and it’s the classic tool for gripping and turning pipes. One thing beginners don’t expect: you use two together. One holds the pipe steady while the other turns the nut. Otherwise you’re just twisting the whole pipe and making things worse.
Pipe wrenches come in different lengths, and plumbers keep a set because different jobs call for different reach. For home use, a 14- to 18-inch model handles most household pipe fittings. My take: you probably don’t need one unless you’re dealing with large pipe fittings, so don’t start here. Start with the adjustable wrench and add a pipe wrench when a job actually demands it.
Basin Wrench: For Faucet Work Behind Sinks
A basin wrench exists for one reason: reaching the mounting nuts that hold a faucet in place, buried in the impossible space behind a sink. It’s a T-handle with a pivoting clamp head on a long shaft, and some versions have a telescoping handle for extra reach. The RIDGID version runs 16.5 inches and goes by the name EZ Change Faucet Tool.
This tool is useless until you’re replacing a faucet — that’s not a knock, it’s just the job. But the first time you need it, you’ll be glad you spent the under-$30 rather than lying on your back trying to reach a nut with a regular wrench. Buy it when you plan faucet work, not before.
Adjustable Wrench: The Versatile Replacement
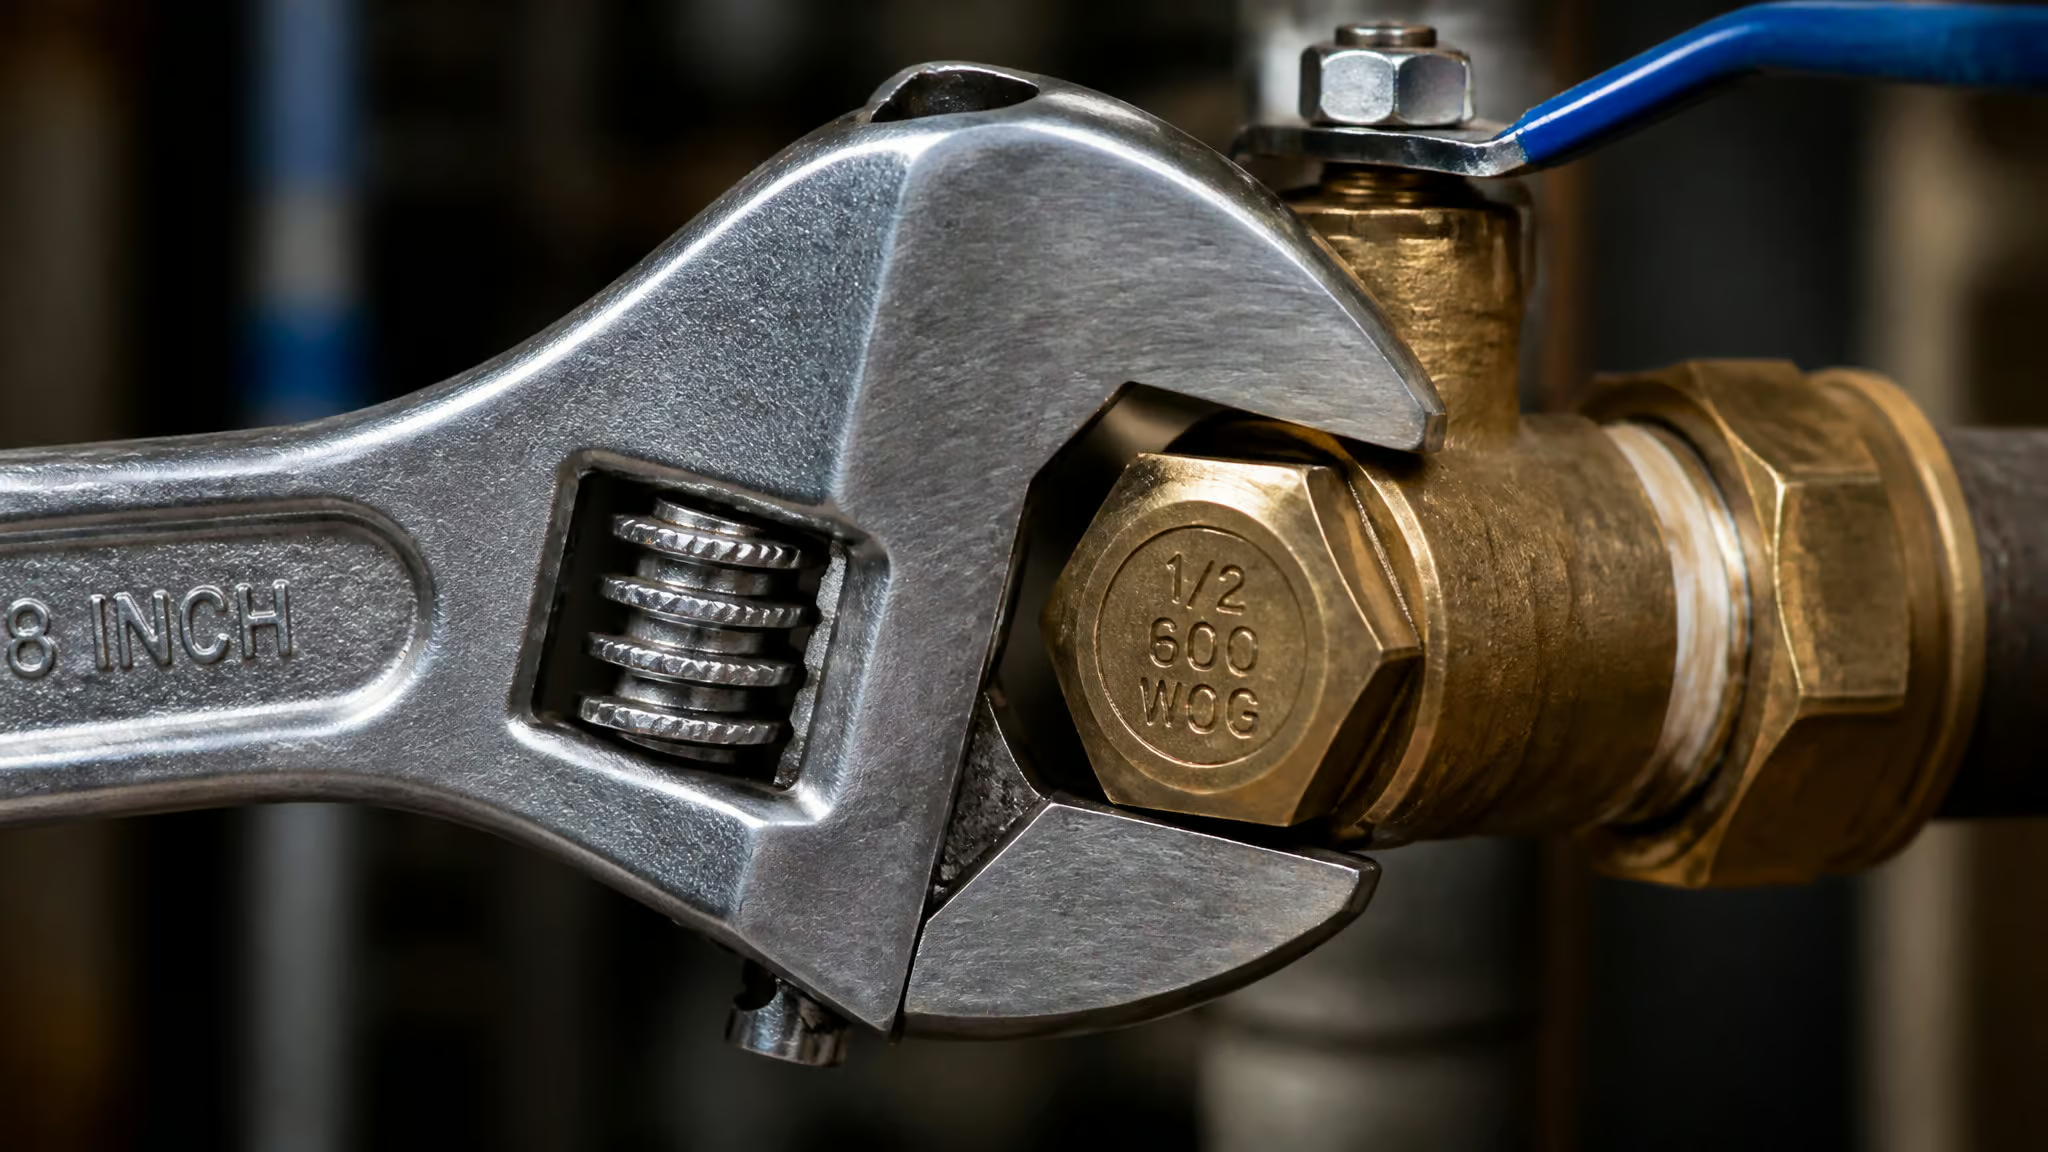
The adjustable wrench is the MVP of home plumbing. It tightens and loosens the hexagonal nuts and fittings you actually deal with — supply lines, drain hardware, shutoff valves. Common sizes are 6-inch and 10-inch, and either one covers most household jobs. You’ll pay $10 to $40 for a decent one, and a single adjustable wrench can replace a whole set of dedicated wrenches for most home work. That’s the kind of math I like.
If you want a specific rec, the RAPTOR 8-inch is worth a look: its jaw opening is 18 to 25 percent wider than comparable wrenches, it’s lighter than you’d expect, there’s a laser-etched ruler in SAE and metric on the beam, and the movable jaw doesn’t protrude, so it fits in tight spots a regular adjustable won’t. But the takeaway is simpler: buy one good adjustable wrench first. Everything else is situational.
Specialized Gripping Tools
A few other gripping tools earn their place only when a specific project shows up.
Pliers handle nuts and bolts too small for a wrench, and adjustable pliers grip pipes and fasteners without slipping — you probably already own a pair. A faucet key is a small X-shaped tool for opening and closing outdoor spigots and sillcocks; versatile models handle stem sizes like ¼, 9/32, and 5/16 inch. The RIDGID offset hex wrench is cast iron, covers 1⅛ to 2⅝ inches, and has thin jaws for close quarters — it secures drain nuts, hex nuts, square nuts, unions, and valves. And a toilet bolt lock wrench holds the bolt in place while you remove the nut, which matters when toilet bolts are corroded or stripped.
None of these belong in a starter kit. Find the project first, then buy.
Cutting and Shaping Tools for Pipes
Cutting pipe is where a lot of DIYers freeze, because the options aren’t interchangeable. PVC wants a different cutter than copper, and PEX wants its own thing again. Here’s what actually matters for home projects.
Hacksaw: The Universal Backup
A hacksaw will cut pipes, nuts, bolts, and screws. It’s the universal backup. It also takes more effort than a purpose-built cutter and leaves edges that need cleanup. Plumbers keep the blade tight and carry spares, because a loose blade is useless.
If you already own one, it’ll get you through a one-off plastic cut. If you’re buying a tool specifically for plumbing, buy a pipe cutter instead. Faster, cleaner, less swearing.
Tubing Cutters: Clean Copper Cuts
Tubing cutters are handheld tools built for clean cuts on copper or plastic pipe. A single copper tubing cutter costs under $20 — buy one before your first soldering project, not after you’ve mangled a pipe with a hacksaw.
The MILWAUKEE 3-piece Close Quarters set gives you ½-, ¾-, and 1-inch cutters in one case, with weep holes and chrome rollers. It’s a complete package — the case even holds extra blades and a reaming pen. It’s also overkill for one job. For a single repair, grab the size you need. If you’re planning several projects, the set starts to make sense.
Plastic Pipe Cutters: One-Handed and Low-Effort
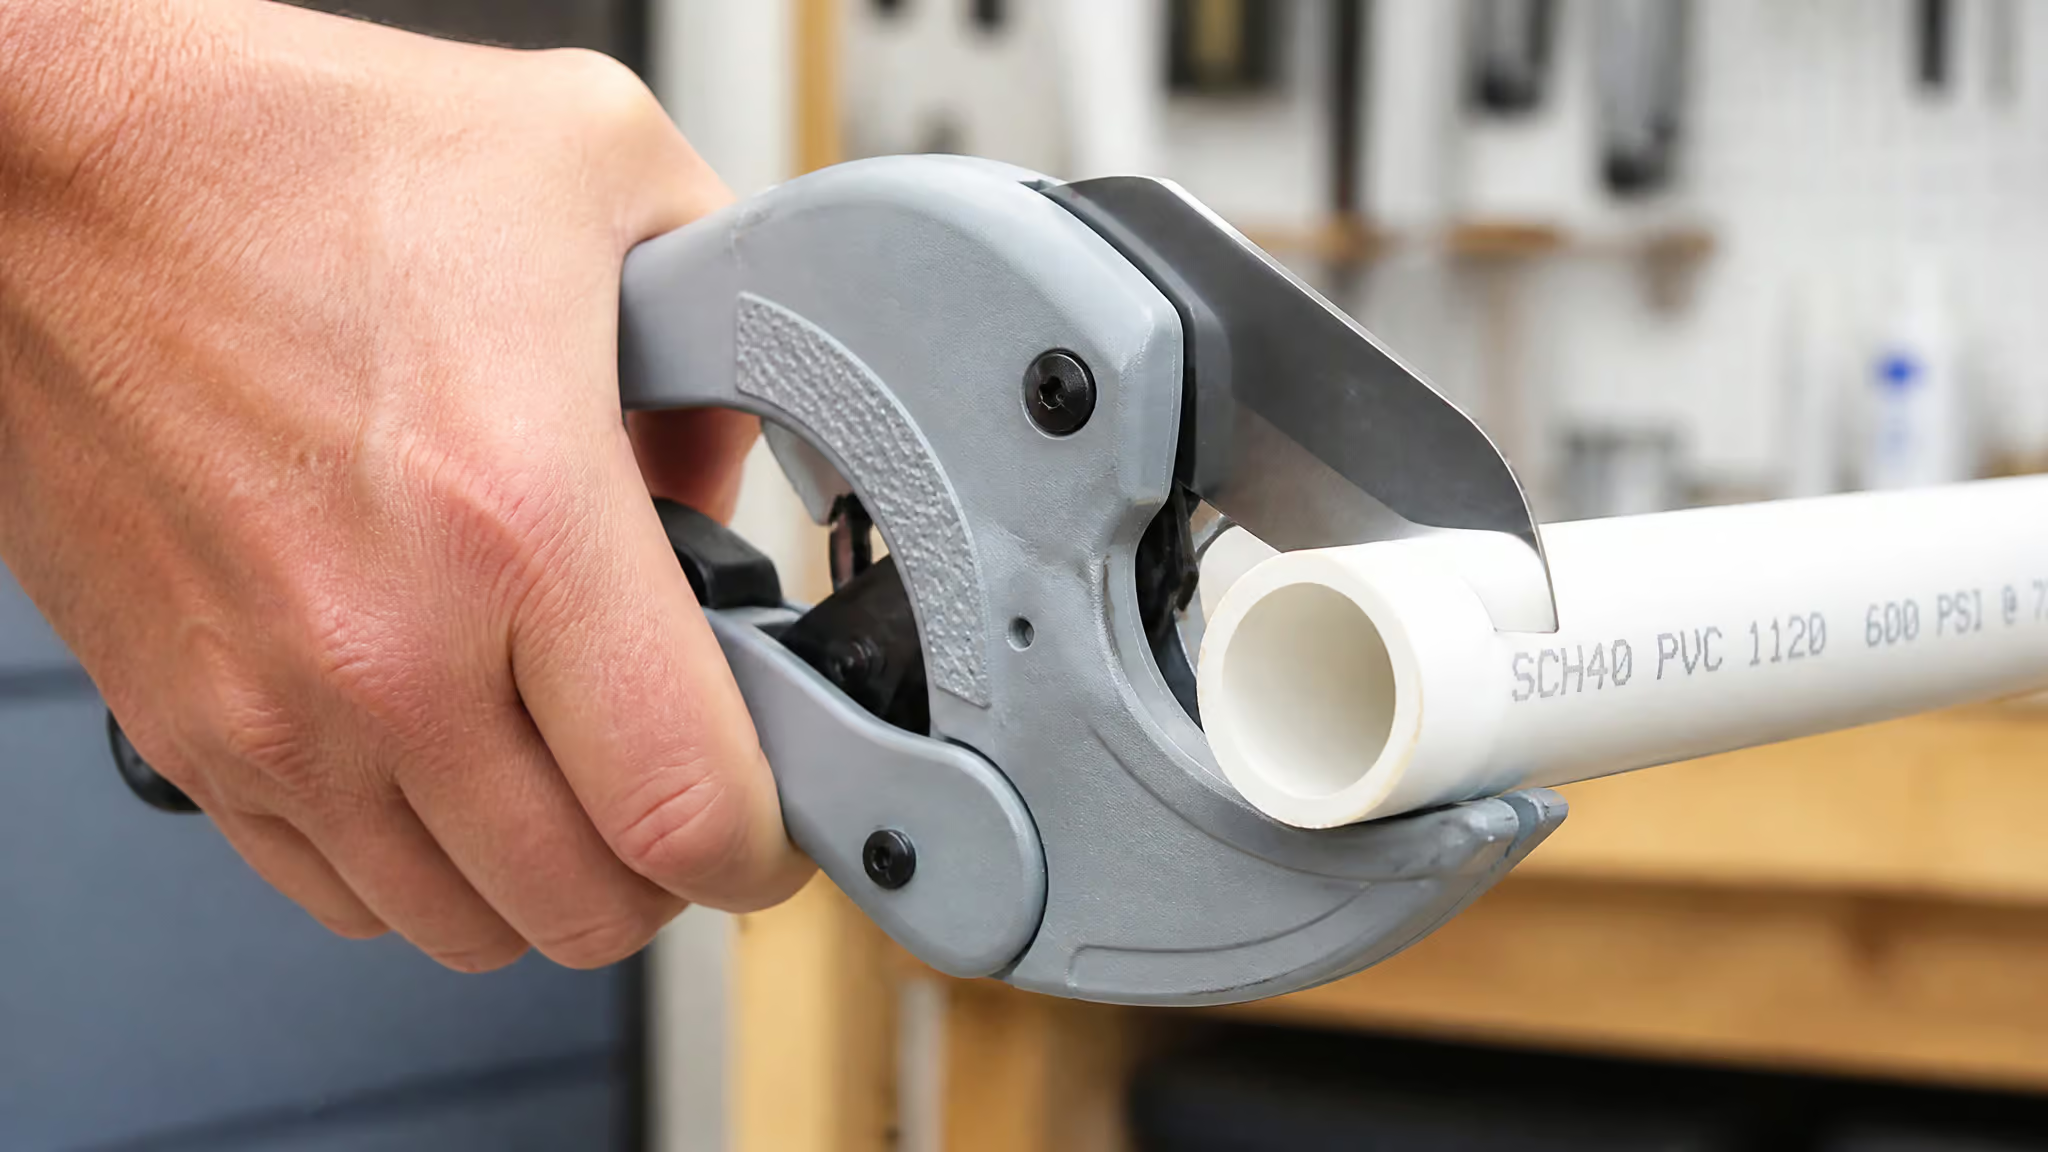
For PVC, CPVC, PEX, and similar materials, a plastic pipe cutter is the most beginner-friendly option. The RAPTOR 1¼-inch cutter uses a ratchet mechanism, so you don’t need much hand strength and you can work one-handed. It handles PVC, CPVC, PEX, polyethylene, and rubber hose, the blades are corrosion-free and easy to swap, and it runs $20 to $30. Cuts come out clean and fast, which means less deburring.
There’s also an internal PVC pipe cutter: a steel saw-tooth blade on a 3-inch shaft that goes into a drill chuck. It cuts pipes from the inside, which is the move for drain stubs, toilet flanges, and shower drains where you can’t reach the pipe from outside. The RAPTOR version secures into the drill chuck so it doesn’t drop down the drain, and the blade is heat-treated for durability. Not a first purchase, but a lifesaver for the right job.
Deburring and Other Shaping Tools
After any cut, deburr. A deburring tool — also called a reaming tool, removes the sharp burrs left on the cut edge. It’s not cosmetic: smooth edges prevent pipe erosion and help fittings seat properly. It costs $10 to $20 and takes seconds per cut. Skip it and you’ll learn why it matters the hard way.
A reciprocating saw is the bigger version of this category. The MILWAUKEE Hackzall cuts through pipe, drywall, and other materials, vibrates up to 4x less than a standard saw, has a 7/8-inch stroke, and is built for one-handed use overhead or in tight cabinets. For thick metal, use a blade like the Diablo Steel Demon — oversized blade body for less vibration and straighter cuts, with a Perma-SHIELD coating that resists gumming and corrosion. A hole saw attaches to a power drill for cutting access holes through metal, PVC, or wood, and a power drill itself is genuinely essential, it multitasks with dozens of attachments across every project.
Joining and Sealing: Connecting Pipes Without Leaks
Once the pipe is cut, you have to join it without leaks. This is where people start arguing about copper versus PEX and torches versus press tools. Let’s cut through it.
Thread Sealing Tape and Soldering Basics
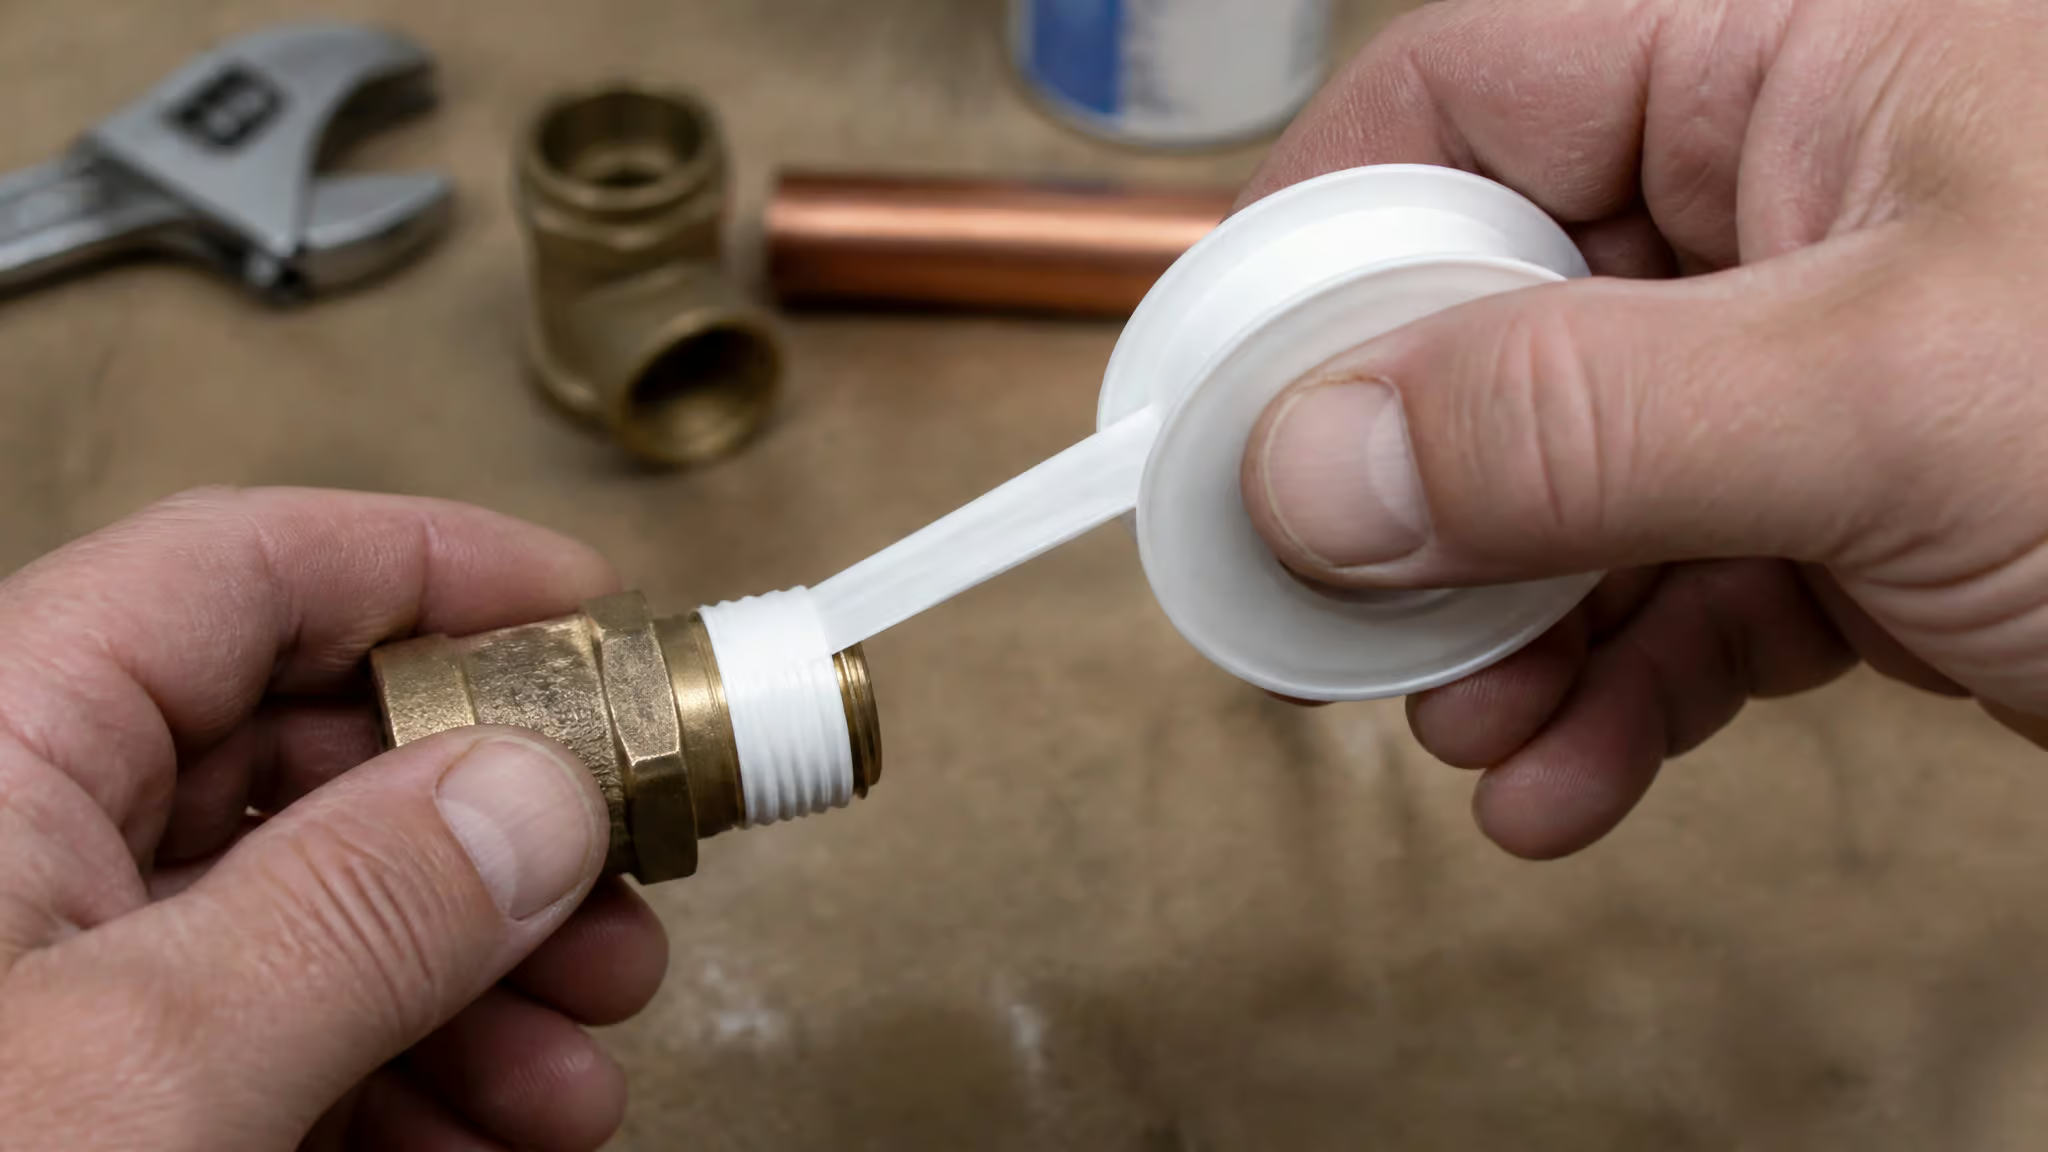
Thread seal tape — also called plumber’s tape, Teflon tape, or PTFE tape — is the cheapest fix in plumbing. It prevents leaks at threaded joints. Wrap it clockwise three to five times around the male threads, and it works. It resists high and low temperatures, stretches for a snug fit, and never dries out.
One roll basically lasts forever. It’s a two-dollar fix for a leaking joint, so buy it before you need it. Just remember: threaded joints only, not slip joints.
Soldering copper is the traditional join, and it works, but it takes practice. A plumber’s torch is small and handheld, puts intense heat exactly where you need it, and costs $20 to $40. Portable self-igniting versions with a 3-inch hose are handy in tight spots. The Kings County PipeMaster soldering iron is another option: 115 volts, 950°F, handles pipes from 8 to 22mm, and seals pre-soldered joints in about 10 seconds. Fast — but practice on scrap first. Soldering is a skill, not a plug-and-play operation.
Press Fitting Systems: The Safer Alternative to Soldering
Press fitting systems physically press a connection onto the pipe to create an impermeable seal. No heat, no mess, and a lot less fire risk than soldering. IPS press systems are the common style, and ProPress is the brand you’ll hear most. Brandon Mageno of Big B’s Plumbing uses ProPress for gas lines, which tells you pros trust it for high-stakes work.
The catch is cost. The tools are expensive to buy. For one project, rent it — still faster and safer than learning to solder in a crawlspace.
Cost check: Renting a press fitting tool for a single project costs a fraction of the purchase price, and you skip the fire risk of soldering.
PEX: The Beginner-Friendly Piping System
PEX is the flexible plastic piping that’s become the default for DIYers, and for good reason. It’s resilient and easy to work with. A PEX expander widens the pipe mouth so you can insert a metal fitting; the pipe closes around it to create the seal. The MILWAUKEE M12 ProPEX Expansion Tool Kit comes with ½-, ¾-, and 1-inch expander heads, an auto-rotating head for one-handed use, batteries, and a charger. It’s specifically for PEX-A connections.
The cheaper route is crimpers, which squeeze a ring tight around the connection. Manual sets cost $25 to $60; battery-powered ones are faster if you’re doing a lot of joints. Chris Gist of NWFL Mechanical says to be picky when buying crimpers and recommends Milwaukee — a pro opinion worth noting. For a first project, a manual set is a fine place to start.
Honest take: for a first-time plumbing project, PEX with crimp rings is easier and safer than copper soldering. But for a single leaky faucet, you don’t need any of this — just an adjustable wrench, a basin wrench if you’re replacing the faucet, and thread seal tape, though a DIY plumbing book is worth having for more involved repairs.
Supporting Tools: Tube Bender, Stubby Screwdriver, Push-to-Connect Removal
Three small tools round out this category. A tube bender shapes copper pipe without crimping or kinking it — $15 to $60, worth buying if you’ll do more than one copper project. A stubby screwdriver reaches screws in tight spaces a regular one can’t, which makes it one of the most-used tools for sink and toilet repairs; get one with flathead and Phillips bits, $10 to $20. And if you use push-to-connect fittings, buy the removal tool, it’s compact, works one-handed, and makes fixing a mistake fast. For a broader look at essential tools every man needs, these basics serve as a strong foundation for any home project.
Unclogging Drains: Tools and Step-by-Step Techniques
Clogged drains are the most common plumbing problem you’ll face, and the fix is almost always mechanical. Here’s the sequence: hair snake, sink plunger, hand auger, P-trap disassembly, then when to call a plumber if nothing works. Start cheap and work up.
Hair Snakes and Sink Plungers: First-Line Tools
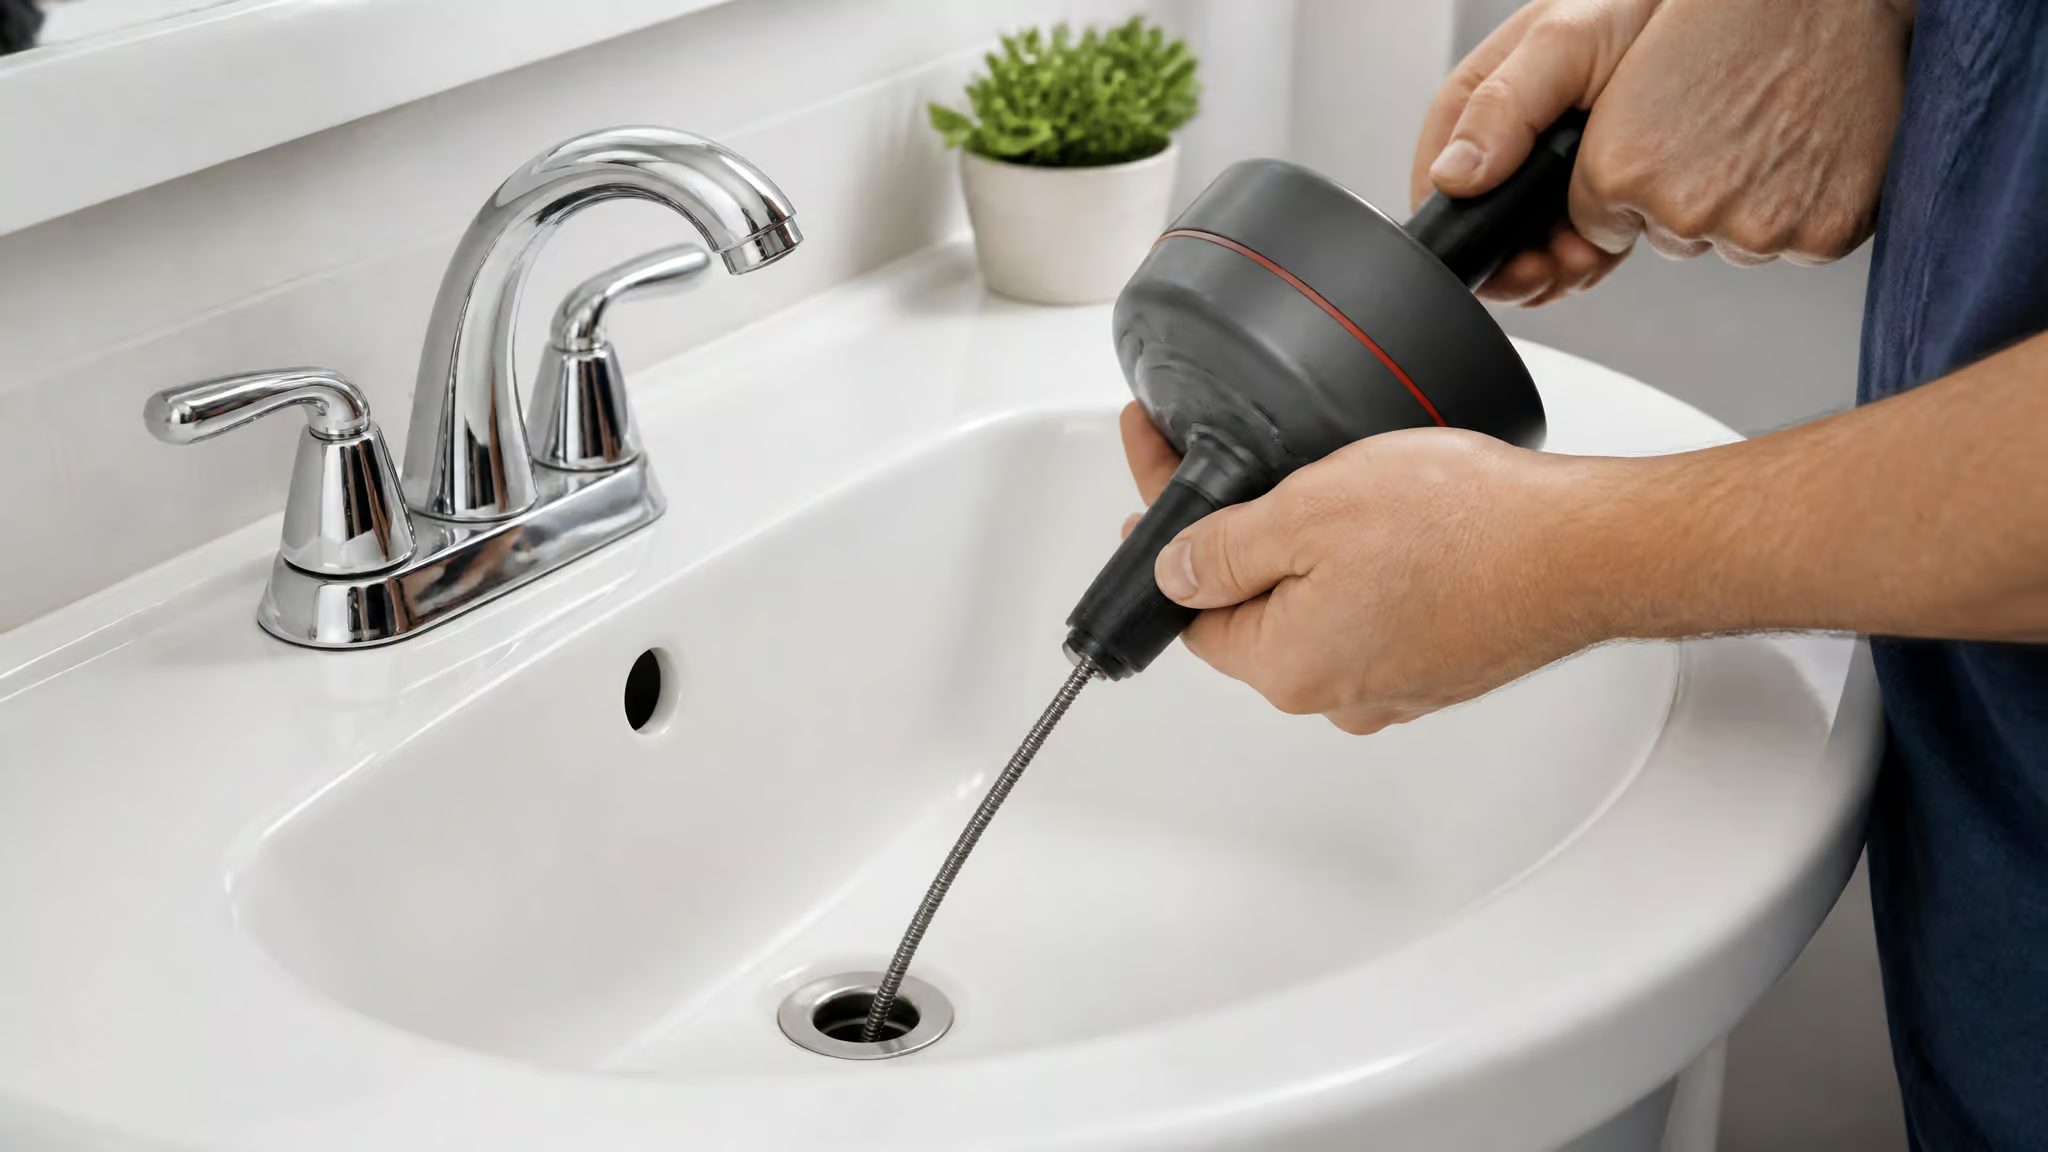
A flexible hair snake is a narrow, barbed strip of plastic or wire that snags hair and debris — perfect for stringy blockages, which is what most sink clogs are. They come in a few styles: plastic-barbed zip sticks, fuzzy pipe cleaners, mini augers. The Drai/Weasel is a popular one. Each type costs under $10, and variety packs online are under $10 total. Cheapest first attempt you’ll ever make.
The sink plunger is different from a toilet plunger. It has a flatter, wider head that creates a proper seal with a sink drain. David Williams of Plunger Pros says the plunger should be your first tool for a clogged drain, and that’s solid advice. The Korky Beehive Mini Plunger is short enough to store inside a vanity, which is nice.
Before you plunge: shake the pipes to check for damage, plug the overflow holes, cover the drain, submerge the plunger, and give it five or six strong thrusts. That’s the whole technique.
Hand Augers and Snake Machines: When Simple Tools Fail
If the snake and plunger don’t clear it, you go deeper. A hand auger — also called a drain snake, uses a hand crank to drive a cable down the drain and break apart clogs. For smaller drains like bathroom and kitchen sinks, a hand auger should be enough. It costs $20 to $40.
The General Pipe Cleaners Flexicore 6-foot toilet auger is a good purpose-built example: it extends an extra 3 feet after the first 3, and a vinyl bowl guard protects the porcelain. Automatic cordless drain augers have a flexible shaft that snakes around bends and grabs clogs deeper in.
If the clog is beyond the P-trap — near or inside the wall, you might need a drum- or wand-style snake or a call to a pro. A snake machine is the motorized version for deep, difficult clogs, and it costs $80 to $200. Rent one instead: about $40 to $60 per day at most equipment rental places.
P-Trap Disassembly: The Most Reliable Method
If the hair snake and plunger both fail, the P-trap is the next logical step. It’s the U-shaped pipe under the sink, and taking it apart is messy but effective. You’ll need a wrench, a bucket, and a strong stomach for muck. I’ve been there; it’s not that bad.
First, take a photo of the pipes before you touch anything. You’ll thank yourself later. Then remove the stopper and check for hair tangles — that’s the culprit more often than not.
Next, unscrew the P-trap rings with the bucket ready, and use the snake or your fingers to pull out the clog. If the clog is beyond the trap, you need a different approach. When you reassemble, seat the gaskets properly — thinner end away from the pipe center, then retighten and run the sink to check for leaks.
This is safer and more reliable than any chemical cleaner, and it costs nothing but time.
Inspection Cameras and Knowing When to Call a Pro
An inspection camera — also called a borescope, is a small camera on a long flexible cable that goes into drains to check pipe condition. Prosumer models connect straight to your smartphone, and wireless endoscopes with LED lights stream video to an app on Windows, iOS, or Android. They’re cheaper than they used to be and great for diagnosing what you can’t see.
But here’s the line. If you’ve tried the hair snake, the plunger, the hand auger, and the P-trap disassembly, and the drain still won’t clear, stop. The clog is likely in the main line and needs a camera inspection and professional equipment. Calling a plumber then isn’t failure; it’s the smart move. And before you go deep on any bigger project, check can you diy plumbing — the rules vary, and knowing them saves you trouble.
Safety First: Gear You Shouldn’t Skip
Safety gear is cheap, and it’s the difference between a productive afternoon and a trip to urgent care. Budget $30 to $50 for the basics before you touch anything.
Goggles and Gloves: Basic Protection
Goggles protect your eyes from leaks, soldering splatter, and flying debris. They cost $15 to $20. Wear them every time you cut pipe or use a drain snake — a single piece of flying debris can cause permanent eye damage, and this is the easiest insurance in the article.
Gloves cost $10 to $15, protect your hands, and give you a better grip on slippery things. For drain trap disassembly, use water-resistant latex or nitrile. You’ll thank yourself later.
Heat Shields: Essential for Soldering
If you’re soldering near wood studs or drywall, you need a heat shield. They cost $15 to $20 and protect you and your surroundings from heat damage and fire. A $15 pad can prevent a house fire. That’s not drama; it’s literally what heat shields are for. Don’t skip it.
Knee Pads: Comfort for Under-Sink Work
Most plumbing happens at floor level. Knee pads protect your joints and make the difference between finishing a repair and quitting from discomfort. The Armateck Deluxe Comfort pads have an anti-slide design, which matters on wet tile. They run $15 to $25 — cheap for not hating your body tomorrow.
What About Chemical Cleaners and Home Remedies? (Pros and Cons)
This is the controversial one. Chemical drain cleaners are everywhere, and the marketing makes them look like the easy answer. The expert consensus is more complicated, and you should hear both sides before pouring anything down your sink.
Chemical Drain Cleaners: Why Experts Warn Against Them
Paul Abrams of Roto Rooter calls chemical drain cleaners a “method of last resort.” Not the first move — the last one. Sean Comerford of Oatey says the company doesn’t recommend them for fully blocked drains, because the chemicals can sit in the pipes and damage components. And if the chemical can’t dissolve the blockage, you’re left with a drain full of bleach, lye, or acid — which is a worse problem than the clog.
Enzyme-based formulas are safer, but David Williams notes they’re not effective on hard clogs. To be fair, there’s a counterargument: Kate Biberdorf, a chemistry professor writing on behalf of Drano, argues that failures often trace to pre-existing pipe conditions rather than chemical damage, and 15 to 30 minutes of exposure won’t instantly ruin most pipes or gaskets. Most formulas also include a corrosion inhibitor for temporary protection. That’s a small comfort.
The takeaway: if you must use chemicals, use them only on a slow-draining sink — never on a fully blocked drain. Mechanical removal is always safer.
Hot Water, Vinegar, and Baking Soda: Do They Work?
Hot water and dish soap can flush out grease-based clogs in a slow kitchen sink. Hornik of Honey Go Fix It Plumbers says it may help. But Abrams points out that softening grease can just move the blockage farther down, where it re-coagulates as it cools. So it’s a maybe, not a fix.
Boiling water is riskier than it sounds. Abrams warns it can damage acrylic sinks and crack natural stone. Williams adds that if the clog isn’t grease-based, boiling water won’t help and could damage plastic pipes and seals.
Vinegar and baking soda? Abrams says it can be useful. Hornik has seen cases where the dry powder made the clog worse. So it’s not risk-free, and it’s definitely not a miracle. If you have a slow kitchen sink, try hot water plus dish soap first — just not boiling water on plastic pipes or natural stone.
Air Guns and Bladders: Overkill for Most DIYers
Air guns and garden-hose bladders work like souped-up plungers, using pressure to blast clogs. But decent air guns cost hundreds of dollars, bladders are tricky to set up, and both can damage pipes if you use them wrong. For the cost of a good air gun, you could rent a snake machine and have money left. Skip these.
Bottom line: Mechanical removal — a hand auger or P-trap disassembly — is always safer and more reliable than chemicals, air guns, or bladders.
Building Your DIY Plumbing Toolkit on a Budget
Here’s the payoff. You don’t need a wall of tools. You need five things that cost less than $100 combined, plus the knowledge of when to rent and when to buy.
The $100 Starter Kit: Five Tools for 90% of Jobs
- Sink plunger: $10–$15
- Hair snake variety pack: under $10
- 8-inch adjustable wrench: $15–$25
- Thread seal tape: $3–$5
- Hand auger: $25–$35
Total: under $100. That’s the minimum viable kit. It covers the three most common home plumbing issues: a clogged sink, a leaking faucet, and a running toilet. Start here and add tools as specific projects demand. Most DIY articles won’t tell you this because it doesn’t sell a 47-piece set, but it’s the truth.
Tools to Avoid (At Least for Now)
Some tools are excellent for pros and pointless for you. Let’s be clear: these aren’t bad tools, they’re just not home tools. The Baileigh pneumatic tapping arm, Marshalltown drywall texture sprayer, Sunex air impact wrench, MAX concrete nailer, and NWI total station all want compressed air, a dedicated workshop, or a commercial job site. The URREA torque screwdriver costs $200.
The Makinex powered hand truck costs $5,000. The Werner 48-foot ladder needs a truck to move, and the Axion router table costs $22,000. None of that belongs in a home plumbing kit.
The niche stuff is easier to spot. The Rothenberger two-inch corded copper tube cutter weighs 106 pounds. A nipple extractor — galvanized steel, removes broken pipe nipples without damaging the fitting, is a genuine lifesaver the one time a nipple breaks off, which for a homeowner is close to never. Rule of thumb: if it costs over $200 and needs compressed air or a dedicated workshop, you don’t need it for home plumbing.
Renting vs. Buying: When to Save and When to Splurge
Rent the tool you’ll use once every few years. Buy the tool you’ll use multiple times a year.
Snake machines: $80 to $200 to buy, $40 to $60 per day to rent. Unless you own a rental property, rent it. Press fitting tools are expensive to buy, so rent them for a single project. A PEX expander is a major investment but worth it for a whole-house repipe.
A tube bender, at $15 to $60, is worth buying if you have multiple copper projects planned. And multi-use tools — the adjustable wrench, pliers, the power drill, are always worth owning, because they earn their keep across every project, not just plumbing.
Here’s the whole article in one paragraph. You don’t need a pro toolkit. Five to ten versatile tools handle ninety percent of what goes wrong in a typical house. Start with the sink plunger, hair snake, adjustable wrench, thread seal tape, and hand auger — all under $100 combined.
That’s the minimum viable kit. Everything else is a project-specific add-on.
The confidence to tackle a clogged drain or leaky faucet comes from having the right tools and knowing how to use them. And the confidence to stop, put the tools down, and call a pro? Just as important. Most plumbing issues are manageable. The ones that aren’t are why plumbers exist.
Go buy the five tools. Fix the sink. If you’re still deciding whether the whole DIY route makes sense, our comprehensive guide to DIY plumbing covers what you can safely take on. And if you want to actually learn what you’re doing beyond tool-buying, grab a decent DIY plumbing book before you start cutting pipes.
Frequently Asked Questions
What tools does a beginner plumber need?
A beginner homeowner should start with a sink plunger, a hair snake variety pack, an 8-inch adjustable wrench, thread seal tape, and a hand auger. These five tools cost under $100 and handle 90% of common household plumbing problems.
What are some cool plumbing tools?
Some specialized but useful tools include a basin wrench for reaching faucet nuts behind sinks, a PEX expander for flexible piping, and an inspection camera that streams video to your smartphone. These are project-specific add-ons, not starter tools.
What’s the difference between a pipe wrench and an adjustable wrench?
A pipe wrench is a heavy iron tool with serrated jaws for gripping and turning large pipe fittings, while an adjustable wrench is lighter and designed for hexagonal nuts on supply lines, drain hardware, and shutoff valves. For home use, start with an adjustable wrench and add a pipe wrench only when a job demands it.
When should I rent plumbing tools instead of buying them?
Rent tools you’ll use once every few years, like a snake machine ($40–$60 per day to rent vs. $80–$200 to buy) or a press fitting tool for a single project. Buy tools you’ll use multiple times a year, like an adjustable wrench or a hand auger.