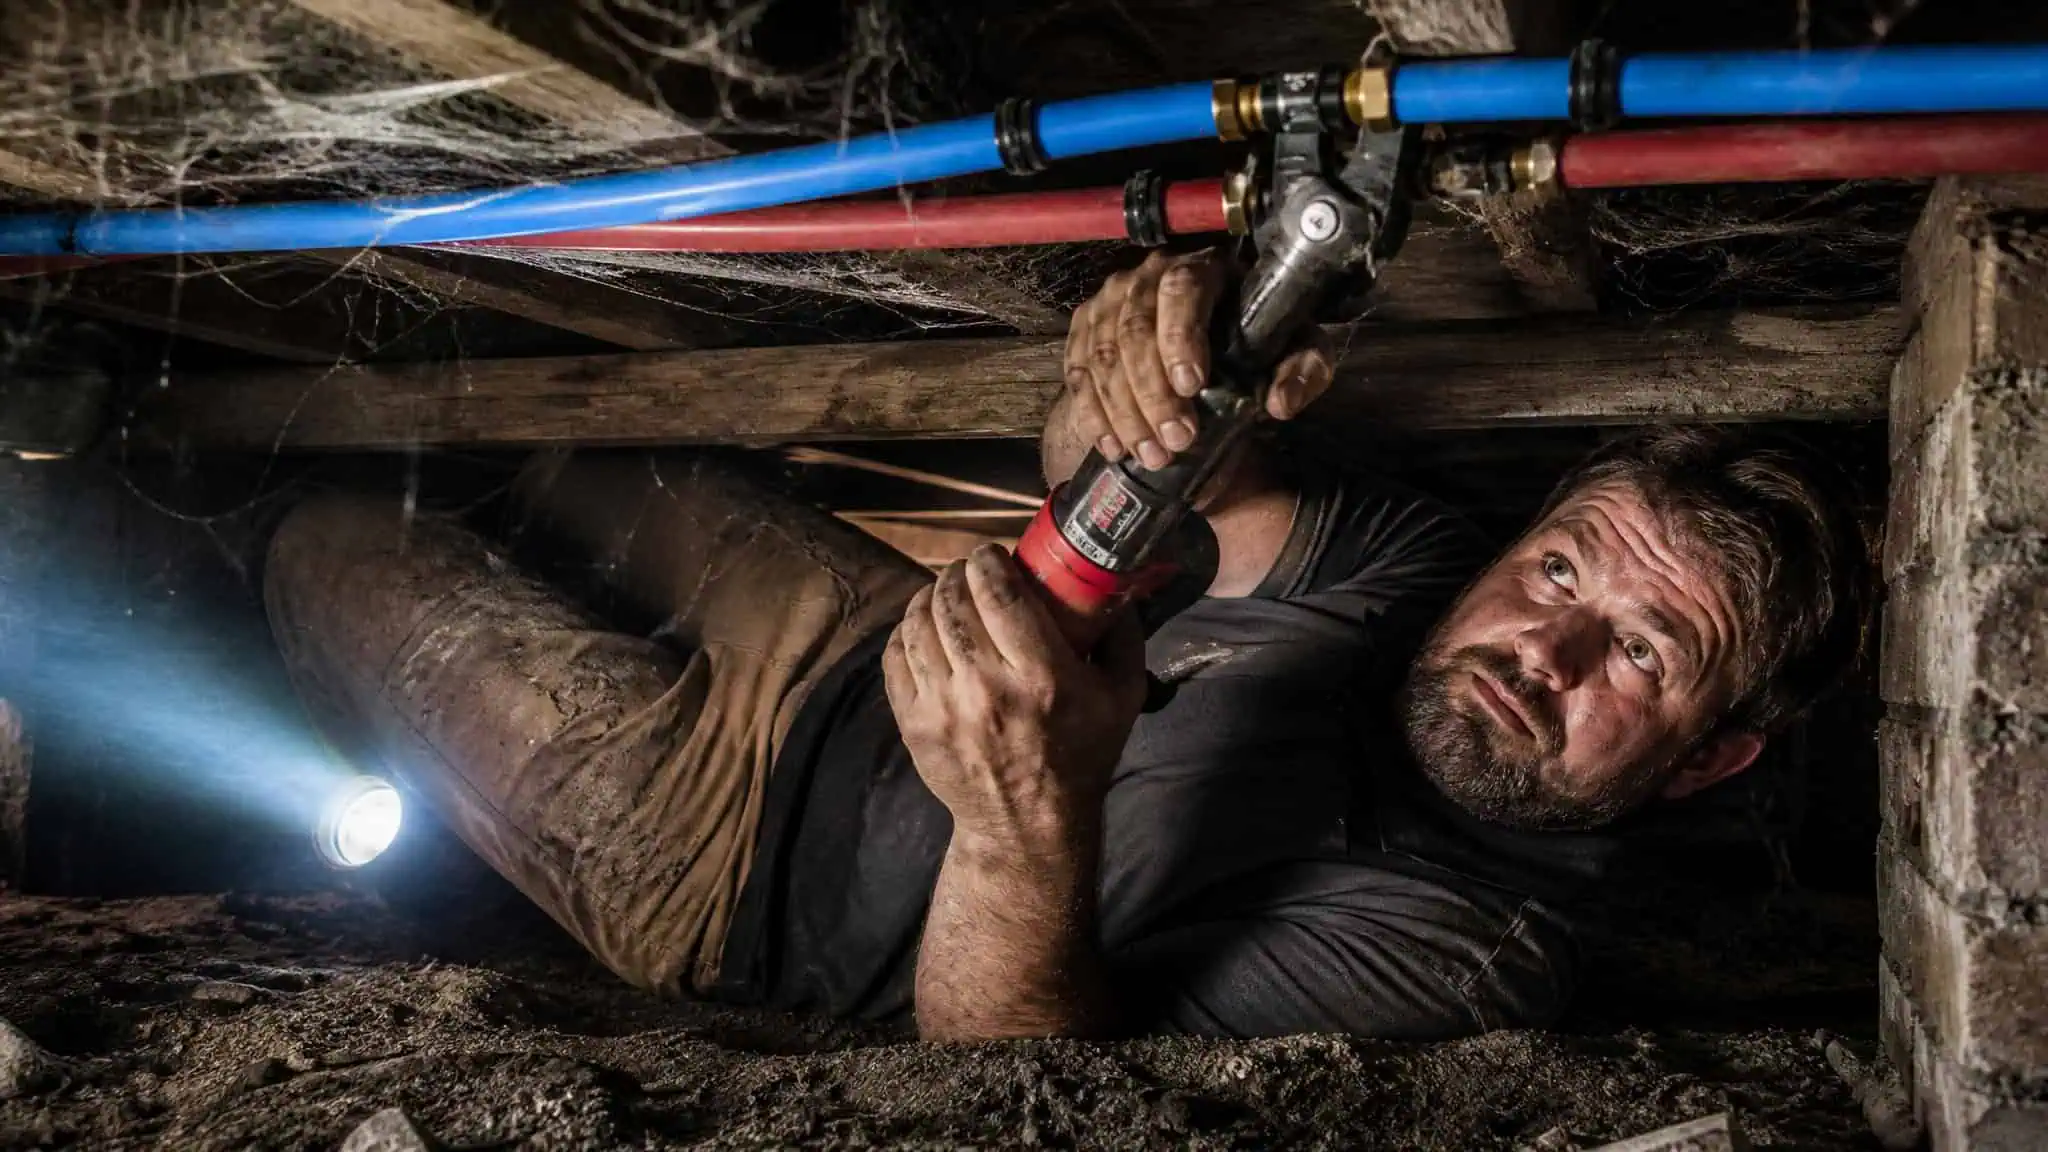
The short answer is yes, you can. A man with a PEX crimper, some YouTube tutorials, and a weekend clear on the calendar can absolutely replace every water line in his house. The DIY forums are full of guys who did exactly that, and they didn’t have plumbing backgrounds.
But “can” and “should” are two different questions. The real answer depends on three things: your physical condition, whether you’re living in the house while you work, and what kind of access you’ve got to the pipes. It’s not about skill level as much as it is about what you’re willing to put your body and your family through.
Here’s what three guys who faced this question actually dealt with:
- Quinn2 has a small house — one kitchen sink, one tub, two toilets, two bathroom sinks. His copper pipe is leaking in a tight crawlspace, and he has MS, which makes getting down there and working overhead brutal. His pipes survived -25°C without freezing, so he’s weighing a quick SharkBite fix against a full PEX repipe.
- designbing repiped his whole house with PEX during COVID, at age past 70. He pulled it off, but his key takeaway was simple: “Living in the house changes the situation.”
- BlueCollarBaller bought an older home with pipes on their last legs. He’s not living in it yet. He’s done remodeling before, just never plumbing. The professional quote he got was hefty, so he’s thinking about doing it himself.
These aren’t hypotheticals. They’re real men in real houses, and their stories map onto the decision you’re about to make. Read through their situations and see which one feels familiar.
Key Takeaways
Your physical ability to work in crawlspace or attic contortions matters more than your plumbing skill; one forum user with MS couldn’t manage a crawlspace, while another over 70 succeeded but called it tough.
Replacing copper or galvanized pipes with PEX breaks your home’s electrical ground path — you must install ground rods and bonding wire, or your house becomes a shock hazard.
PEX connections require a tool investment of $100–$400 for expansion fittings or under $50 for crimp/cinch rings, but push-to-connect (SharkBite) fittings are too expensive per joint for a full house.
Table of Contents
Choosing Your Piping Material: PEX vs. Copper vs. CPVC
The material you pick determines everything else — tool cost, installation difficulty, lifespan, and freeze risk. There’s no universal winner. Here’s how they actually compare.
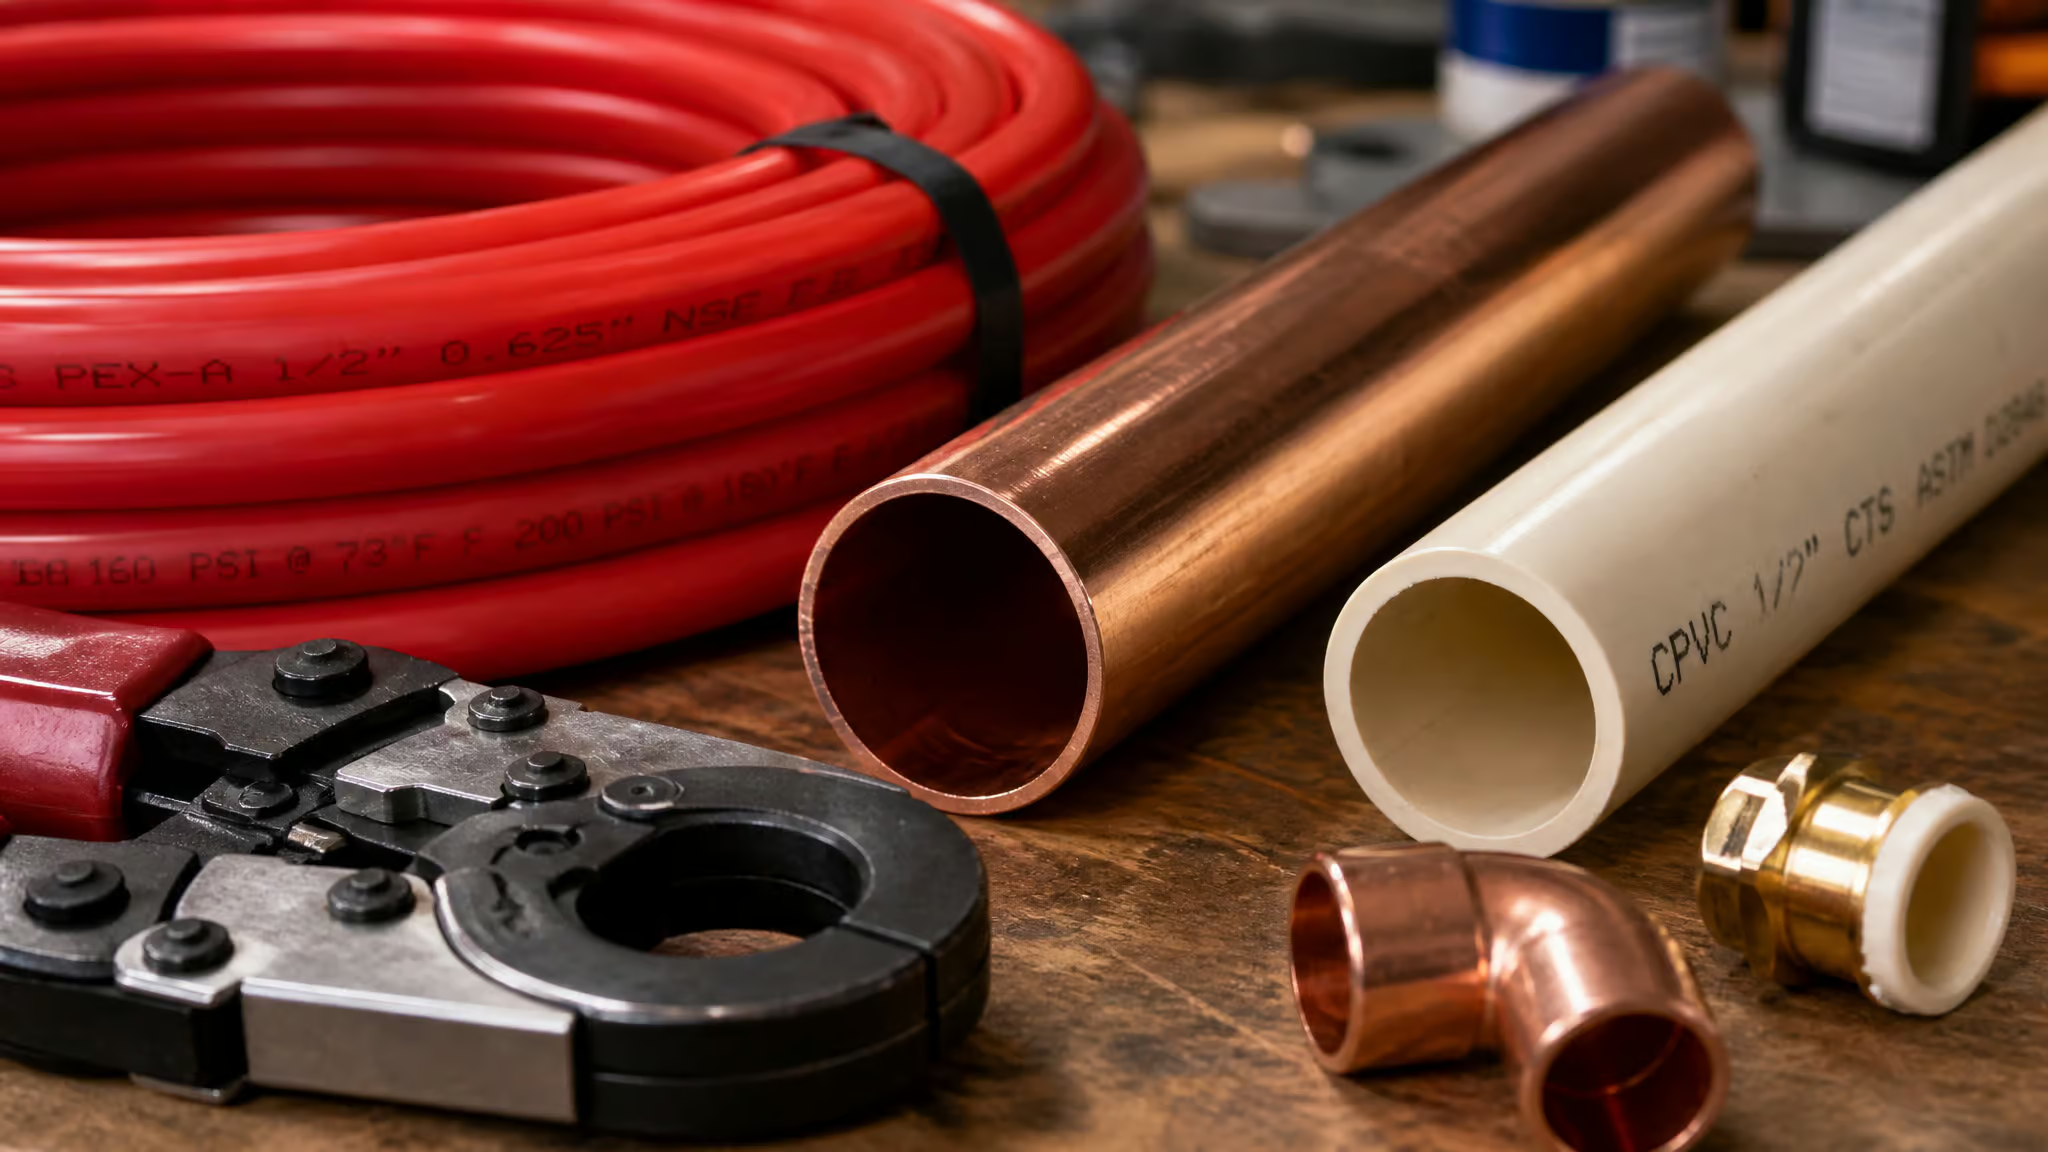
PEX
This is the DIY default for a reason. PEX bends, doesn’t need soldering, and costs less than copper per foot. You don’t need a torch, you don’t need solder, and you don’t need years of practice to make a decent joint. For most guys, that’s the whole value prop right there.
But not all PEX is the same. PEX A is more flexible and more freeze-resistant — it’s the stuff you want if you live somewhere that sees real winter. PEX B has higher burst pressure, so it’s a better pick if your water pressure runs high. The trade-off comes down to climate versus internal stress.
The expansion tool for PEX A costs $100–$400. That’s a real expense if you’re on a tight budget, though you can sometimes rent or borrow one.
One catch you don’t hear about in the marketing: PEX can’t sit in direct sunlight. UV degrades it over months, not years. If you need outdoor runs, you have to bury them or wrap them in UV-resistant insulation.
Copper
Copper lasts 75 years or more. It’s corrosion-resistant, handles high pressure and extreme temperatures, and doesn’t degrade in sunlight. Basically, it’s a lifetime pipe if installed right.
The downside is that “installed right” requires soldering skill. If you’ve never sweated a joint, you need to either learn on scrap pieces or pick a different material. A bunch of poorly soldered copper joints is its own kind of nightmare. Copper also costs more upfront than either PEX or CPVC, and some areas have regulations about lead content in fittings — so check your local code before buying.
One thing that matters in cold climates: copper pipes in a crawlspace can freeze and burst. PEX handles freezing much better. That’s a real consideration if your crawlspace isn’t insulated.
CPVC
CPVC is the budget rigid plastic option. You glue it together with solvent — no crimping, no soldering, just clean joints and permanent connections. It won’t corrode, and it’s cheap.
The trade-off is flexibility. CPVC is rigid, so you need to plan your runs carefully. And there’s less community knowledge online compared to PEX. Fewer guys have done it, so fewer guides exist. It works, but you’ll be figuring out more on your own.
PEX Connection Methods and Tools
The method you choose isn’t just about cost — it’s about whether you can physically get the tool onto the fitting in your specific space. Most guides miss that detail.
Expansion Fittings
These are the gold standard for tight spaces. The counterintuitive advantage: you can expand the pipe in an accessible spot where you have room, then slide it onto the fitting in that cramped corner where no crimp tool would fit. The pipe shrinks tight around the fitting for a solid connection. Expands leave more inner diameter for water flow, too.
Tool cost is $100–$400. That stings, but you can sometimes rent one from a tool library or borrow from a buddy. Guys who’ve done this before — especially crawlspace work, usually prefer expansion for exactly this reason.
Crimp and Cinch Rings
These are the economical workhorses. Basic kits run under $50. The method is simple: cut the pipe square, slide on the ring, seat the pipe fully on the fitting (shouldering), and squeeze with the crimp tool. One forum regular (Missouri Bound) says he’s never had a leak with crimp rings. That’s a good data point.
The limitation: the crimp tool needs to reach the fitting. In a tight spot between floor joists or behind a wall, you might not have room to get the tool jaws around the ring. That’s when expansion or a different connection method becomes necessary.
Push-to-Connect (SharkBite)
These are dead simple — no tools required. Push the pipe in, it locks. Great for small repairs, tying into existing copper, or making a quick fix while you plan the full project.
But they’re too expensive per fitting to use on every joint in a whole-house repipe. A few SharkBites mixed in with crimp or expansion is fine. A hundred push-to-connect fittings will blow your budget.
Quick tool cost summary: Expansion: $100–$400. Crimp/cinch: under $50. SharkBite: minimal tool cost but high per-fitting cost.
Cost Comparison: DIY vs. Hiring a Pro
Most cost comparisons stop at “DIY saves on labor.” That’s true, but it’s not the whole story. The real cost includes the tools you have to buy, the mistakes you might make, and the risk that a single bad connection causes thousands in drywall repair—so the practical question is is DIY plumbing a good idea?
DIY Cost Breakdown
- Materials: PEX pipe costs less than copper. CPVC costs even less. You’re saving on the pipe itself.
- Tools: Expansion tool $100–$400. Crimp/cinch kit under $50. Tubing cutter, fittings, pipe supports, maybe a torque wrench for hose bibs — they add up.
- No labor cost, but your time is worth something. The job takes days to a couple of weeks. If you’re taking time off work, that’s a cost.
Hidden Costs and Risks
- One bad connection can cause a leak that damages drywall, flooring, or structure. That’s thousands you didn’t budget.
- Code violations can mean fines or having to redo work. Some areas require permits and inspection. Skipping that isn’t smart.
- No warranty. If something goes wrong six months later, you own it. A professional’s work usually comes with a warranty.
- Unexpected surprises. You might find hidden leaks or corroded pipes once you start. The forum is full of guys who opened a wall and found more problems.
For reference, a reputable pro like Veteran Plumbing Services (4.9 rating from 684 reviews, covering 70+ towns in 6 counties, founded by a retired Navy Chief) gives you code compliance, permits, and a warranty. That’s the benchmark for what you’re trading away if you decide to can you diy plumbing rather than hire out.
Cost check: One bad DIY connection can cost more in drywall repair than the entire professional repipe quote.
Assessing Your Physical and Logistical Constraints
This is the section most DIY guides skip, and it’s where projects actually fall apart. The single biggest underestimation in DIY repiping isn’t the plumbing — it’s the physical toll, which is why you should first ask, can you do plumbing by yourself?
Physical Demands
Crawling in a crawlspace is brutal. You’re on your back, working overhead, in dirt and cobwebs, with limited room to move your tools. Attic work means balancing on joists in heat, with awkward access. Many guys discover mid-project that they can’t sustain the required contortions, turning a weekend job into a multi-week nightmare.
Quinn2 has MS and can’t comfortably work in his crawlspace. That’s a real limitation, not a motivational hurdle. designbing did it past 70, and he admitted it was tough — he’s not saying he’d do it again. If you have health issues or limited mobility, honestly assess whether you can spend 20 minutes on your back in a crawlspace. If the answer is no, this project might not be realistic.
Living in the House
No water for stretches. That’s a fact. You’ll be without water for days — maybe a week or more if you hit surprises. Your family might not tolerate no hot showers for that long.
designbing’s key observation: “Living in the house changes the situation.” When you can’t just turn off the water and walk away for the night, the pressure is constant. You’re racing the clock every evening. BlueCollarBaller’s advantage is that he’s not living in the house yet — no family to deal with, no daily water reliance.
Fixture count matters too. Quinn2’s six fixtures (1 kitchen sink, 1 tub, 2 toilets, 2 bathroom sinks) is manageable. A 3-bath, 2-story house is a different animal. More fixtures mean more connections, more runs, more time without water.
Permits, Building Codes, and Safety Traps
Most DIY repiping guides say “check local codes” and move on. Here are the specific requirements that actually apply to PEX — and one safety issue that can leave your house ungrounded.
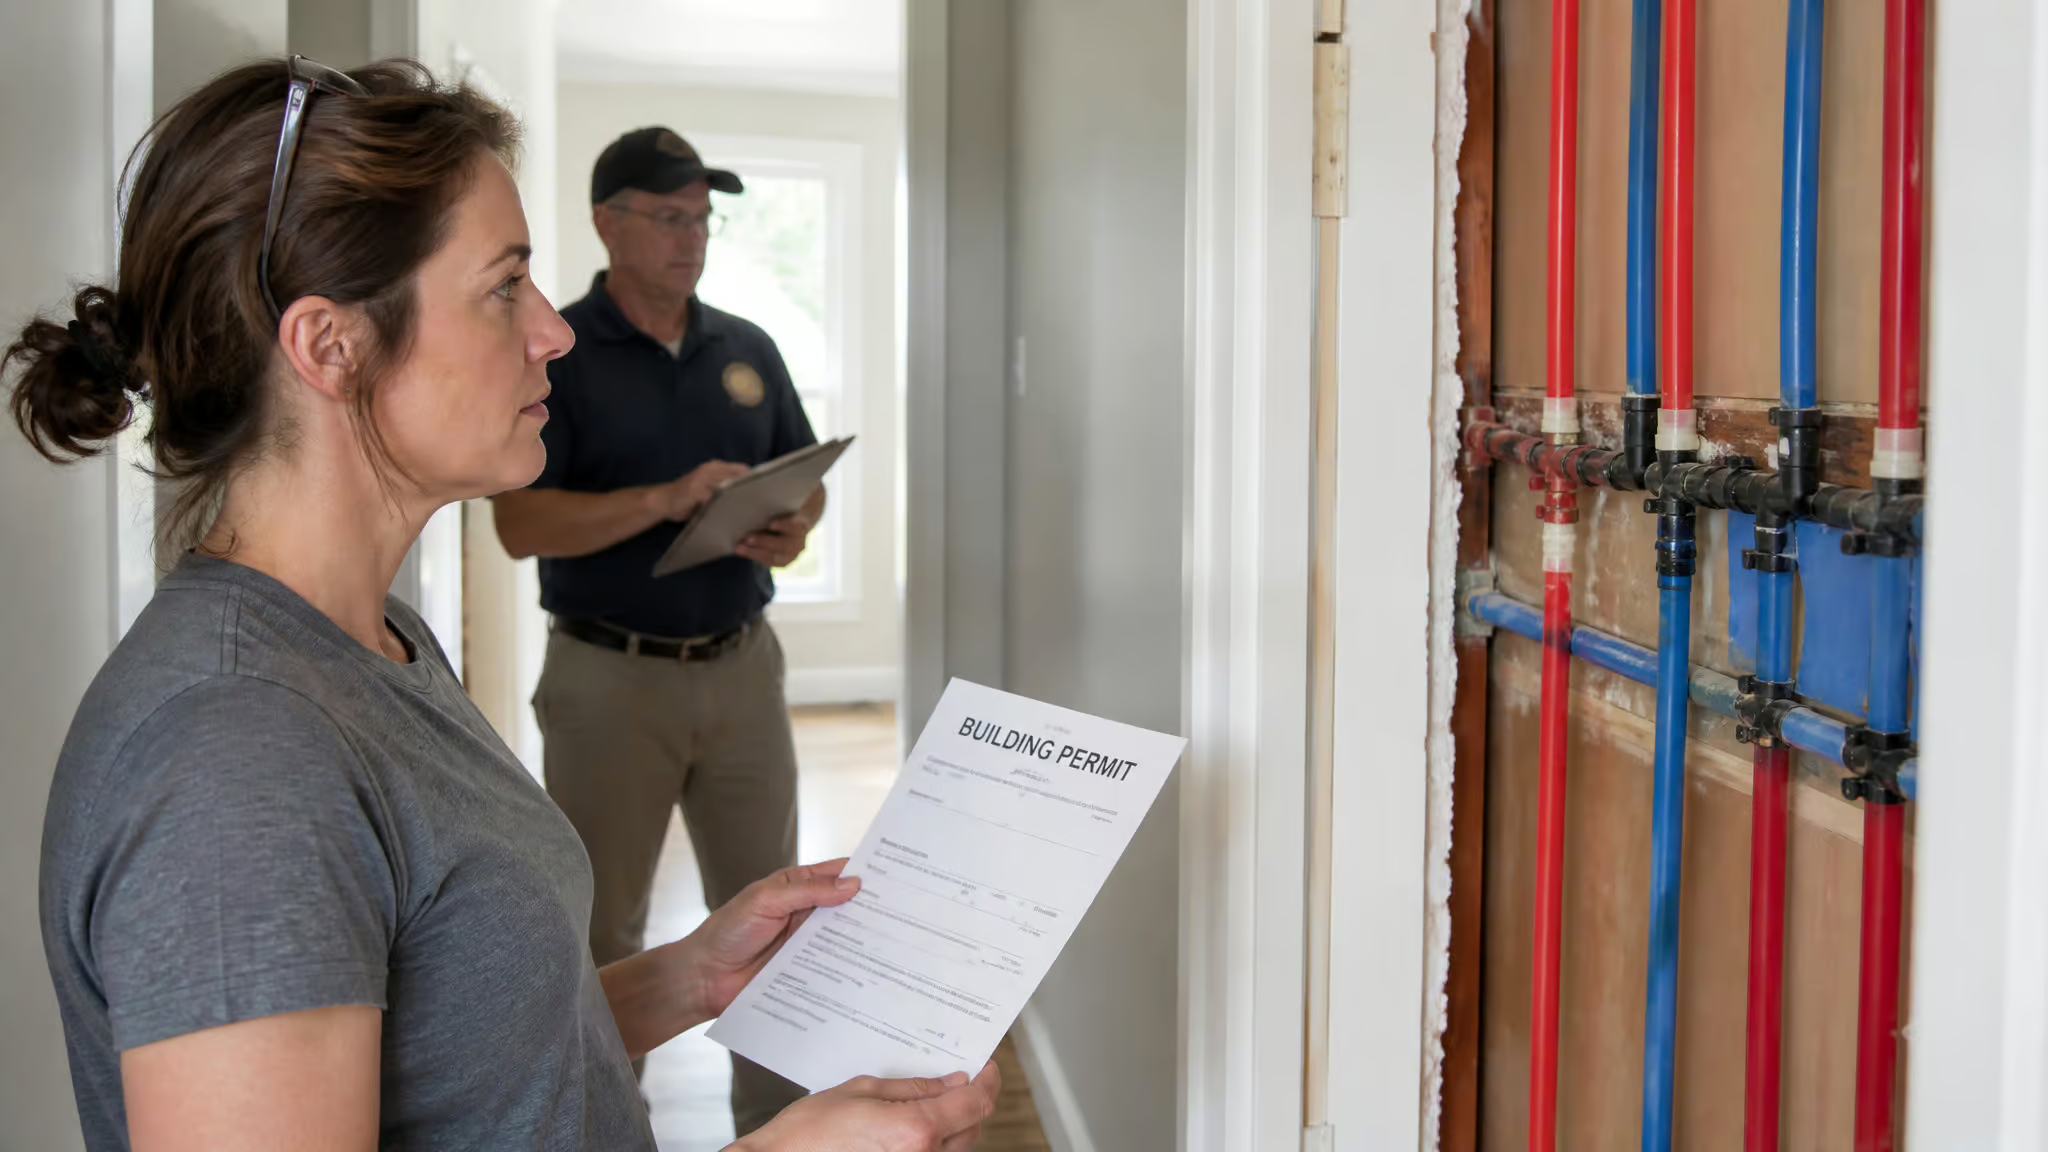
Specific Code Requirements
- PEX needs support every 32 inches. Without this, it sags and puts stress on fittings.
- PEX must be at least 18 inches from the water heater connection. This is a fire safety code, not bureaucratic trivia.
- Maximum of 2 fixtures on a 1/2-inch PEX line. Plan your runs accordingly or you’ll get poor pressure.
- Permits and inspections are recommended even for DIY. One forum regular (unclemike42) advises learning current codes before buying pipe, getting a plumber to inspect your system first, and scoping your drain lines. Worth the money.
The Electrical Grounding Trap
Copper and galvanized pipes often serve as the home’s electrical ground path. Replacing them with PEX — a plastic pipe, breaks that path. You need to install ground rods and bonding wires.
TomtheElder has a 1951 California home with old galvanized pipes. He replaced them with PEX, but he had a plan for the ground wire before he started. That’s the right approach. If you skip this, your electrical system becomes ungrounded — a shock hazard that’s invisible until something goes wrong.
Red flag: Skipping ground rods after a PEX repipe turns your electrical system into a hidden shock hazard.
Post-Installation Issues Nobody Warns You About
Most guides end when the last fitting is connected. The real problems show up weeks or months later.
Water Hammer
Water hammer is common after switching from copper to PEX because PEX is less rigid. Water velocity changes can cause pipes to bang in the walls.
Falchion ran into this in his laundry room after a PEX install. The root cause wasn’t the PEX itself — it was an S-trap that created a pressure issue. But the water hammer was real. Fixes include installing air chambers or water hammer arrestors during the repipe. Plan for that when you run your lines.
UV and Long-Term Considerations
PEX must be protected from direct sunlight. UV degrades it over months. Outdoor runs need burial or UV-resistant insulation.
Copper lasts 75+ years. PEX lifespan is 25–50 years. But PEX handles freezing better — a genuine advantage in cold climates. Choose based on your priorities.
And again, grounding: if you didn’t install ground rods during the repipe, your electrical system has a hidden vulnerability. That’s not a hypothetical — it’s a real safety issue.
Making the Decision: DIY or Hire a Pro?
The DIY vs. professional decision isn’t just about money. It’s about risk transfer. A pro’s warranty is insurance against a single mistake that could cost more than the entire DIY project. Trustindex, which tracks 137 review platforms, reports that less than 1% of customers ever file a complaint — a statistic that underscores how rarely things go wrong when a pro does the job.
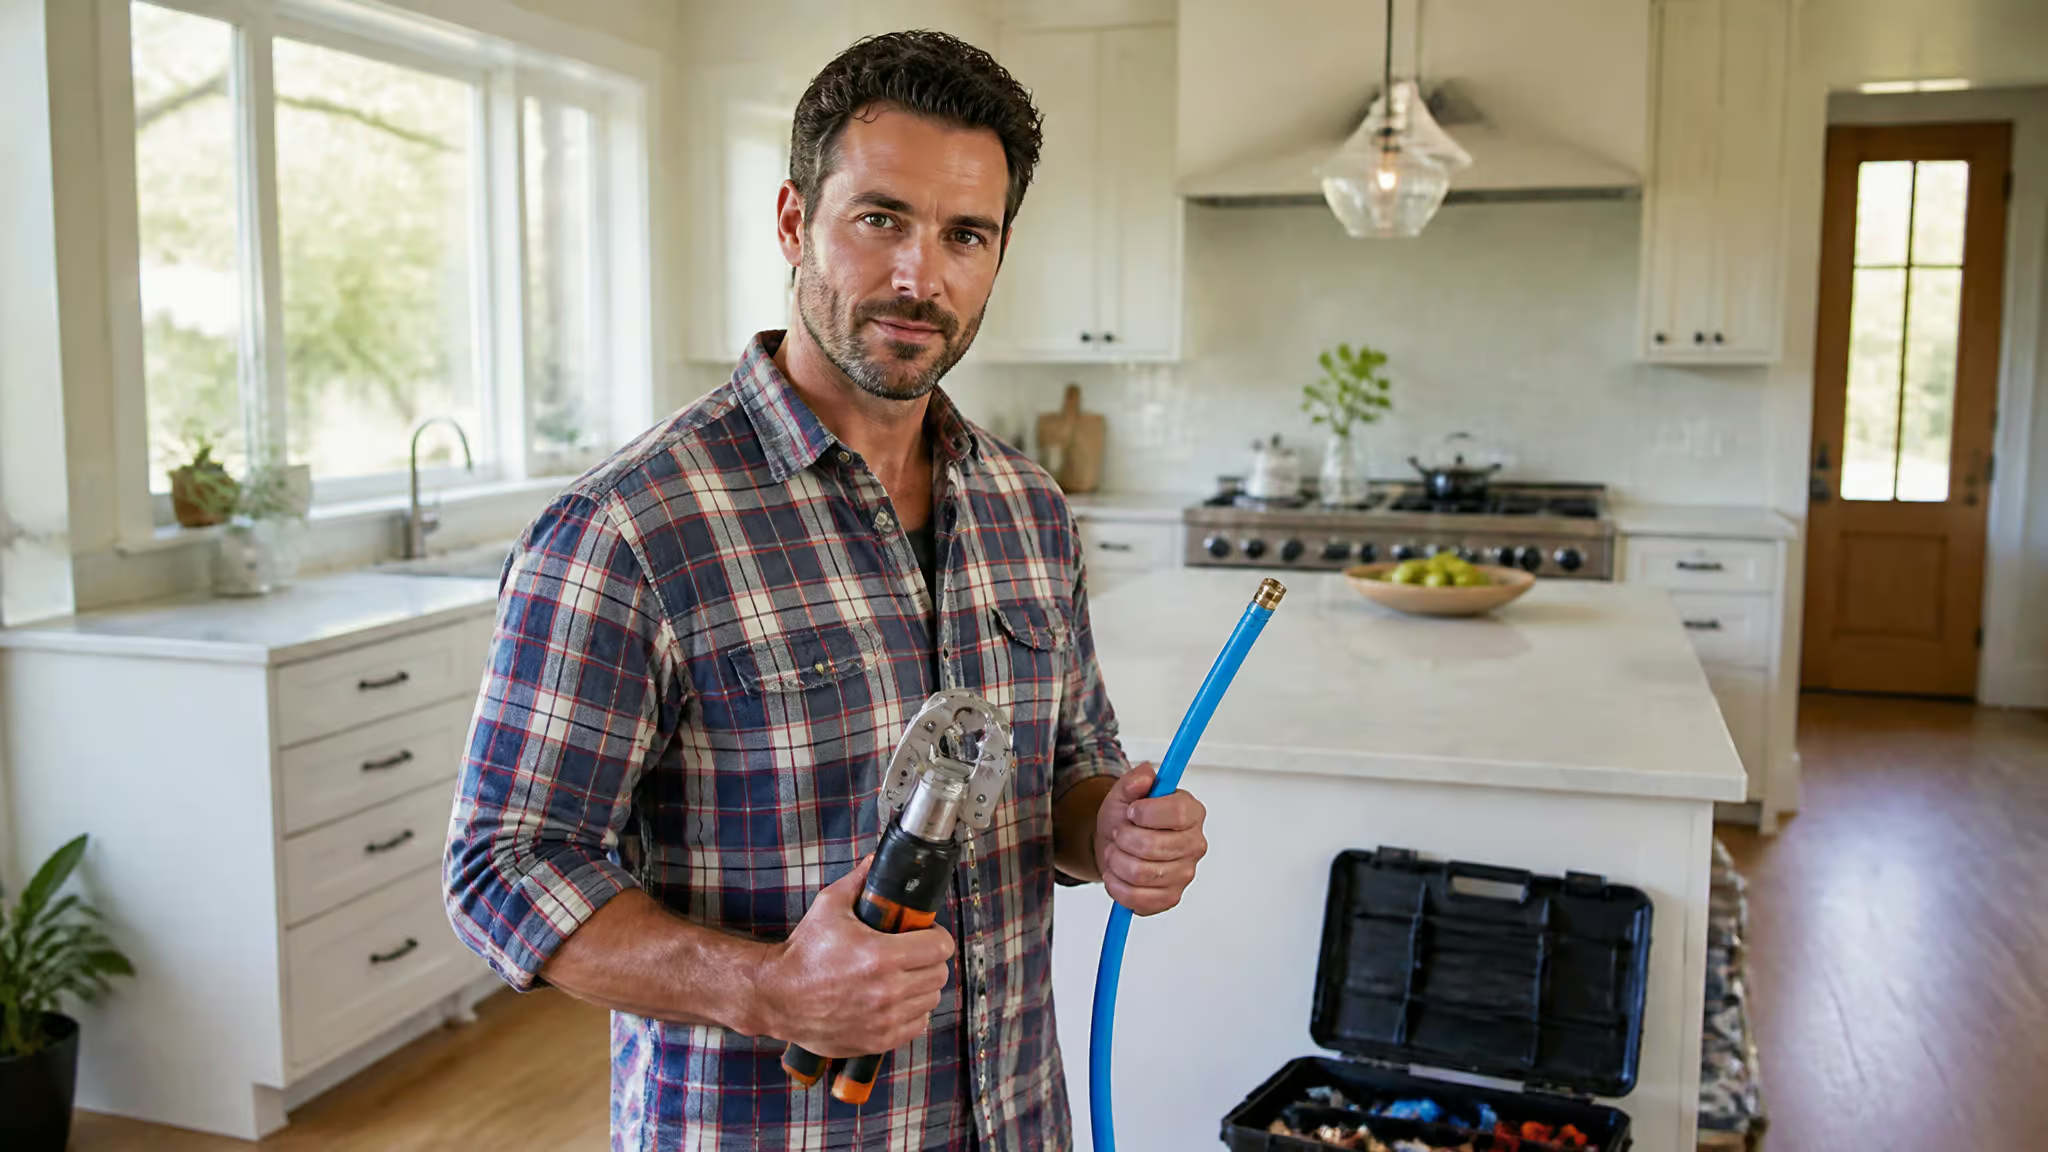
Pros ensure code compliance, permits, and proper installation. They have the right tools and have seen weird situations before. A pro’s work comes with a warranty — something DIY work doesn’t. If you mess up a fitting six months in, you’re fixing it alone.
The benchmark: Veteran Plumbing Services has a 4.9 rating from 684 reviews, serves 70+ towns in 6 counties, and was founded by a retired Navy Chief. That’s what a good pro looks like, and it’s the kind of operation Dennis Rollins, a veteran plumber with decades of hands-on experience, would recommend for homeowners who want peace of mind.
Red flags that point toward hiring a pro: complex plumbing layout, physical limitations, lack of time, low risk tolerance. DIY provides cost savings and the satisfaction of doing it yourself. But you own every mistake.
The litmus test: compare your budget, physical ability, skill level, time availability, and risk tolerance against the value of a professional warranty. If the risk of one mistake costs more than the pro’s fee, hire the pro.
Final Take: What Three Real Homeowners Teach Us
There’s no universal yes or no to this question. But three real homeowners show you what to look for in your own situation.
Quinn2’s scenario: Leaking copper in a crawlspace, physical limitations (MS), small house, cold climate. His question — repair the existing leak or do a full repipe, is the kind of decision where honest self-assessment matters more than any guide.
designbing’s scenario: Successfully repiped with PEX at age 70+ while living in the house. Proof it can be done, but also proof it’s a major challenge. His key insight: living in the house changes the calculation completely.
BlueCollarBaller’s scenario: Empty house, bad pipes, hefty quote, experienced in other trade skills. Ideal conditions for DIY — no family to inconvenience, no rush, and a clear cost incentive.
The single most important factor is honest self-assessment. Not “can it be done?” but “can I do it, given my body, my time, my living situation, and my tolerance for risk?” If you can answer that honestly, you’ll know which way to go.
Frequently Asked Questions
Can you repipe a house without removing drywall?
Yes, if you have accessible basements, crawlspaces, or attics where you can run new PEX lines and tie into existing fixture locations. The tricky part is that some walls still need openings at connection points, and working in a crawlspace or attic is physically demanding — you’re on your back in dirt or balancing on joists in heat.
How difficult is it to repipe a house?
The plumbing itself isn’t rocket science, but the physical toll and logistical chaos are frequently underestimated. The real challenges are contorting in crawlspaces, managing no water for days while living in the house, and avoiding costly mistakes like forgetting to install ground rods when switching from copper to PEX — your electrical system becomes a shock hazard without them.
Do I need an electrical ground rod when repiping with PEX?
Yes — this is the most common safety trap. Copper or galvanized pipes often act as your home’s electrical ground path, but PEX is plastic and breaks that circuit. You must install ground rods and bonding wire during the repipe, or your electrical system becomes ungrounded and creates a hidden shock hazard.
How long does a DIY whole-house repipe take?
Plan for days to a couple of weeks, depending on the size of your house, the number of fixtures, and whether you hit surprises like hidden leaks or corroded pipes. The real factor is living in the house — you’ll be without water for stretches, and the pressure of racing the clock each evening turns a weekend job into a multi-week grind.
Is it worth repiping with PEX instead of copper?
It depends on your priorities. PEX is cheaper, easier to install as a DIY project, and handles freezing better than copper. Copper lasts 75+ years and doesn’t degrade in sunlight, but requires soldering skill and costs more upfront. The catch with PEX is you need to protect it from UV, support it every 32 inches, and keep it at least 18 inches from the water heater.