Your favorite kitchen blade has gone rusty. It happens to the best of us. This post will guide you through five surefire steps to get that knife shining like new, plus tips to keep rust at bay in the future.
Keep reading—you won’t regret it!
Key Takeaways
Rust forms on kitchen knives when iron, water, and oxygen meet, leading to oxidation. This can happen from common actions like leaving knives wet or in the sink overnight.
To remove rust, you can use items like baking soda paste, white vinegar soak, lemon juice application, or a rust eraser tool for stubborn spots without damaging the knife.
Scouring pads and steel wool are effective for scrubbing off surface rust. Applying light pressure in one direction helps prevent scratches while cleaning.
Preventing rust involves keeping knives dry after use, storing them properly away from damp areas, using protective oil coatings to guard against moisture, and acting quickly at the first sign of rust.
If a knife is too rusty with deep pits or keeps getting rusty despite cleaning efforts, it might be time to replace it. Proper care saves time and money by extending the life of kitchen knives.
Table of Contents
The Basics of Rust
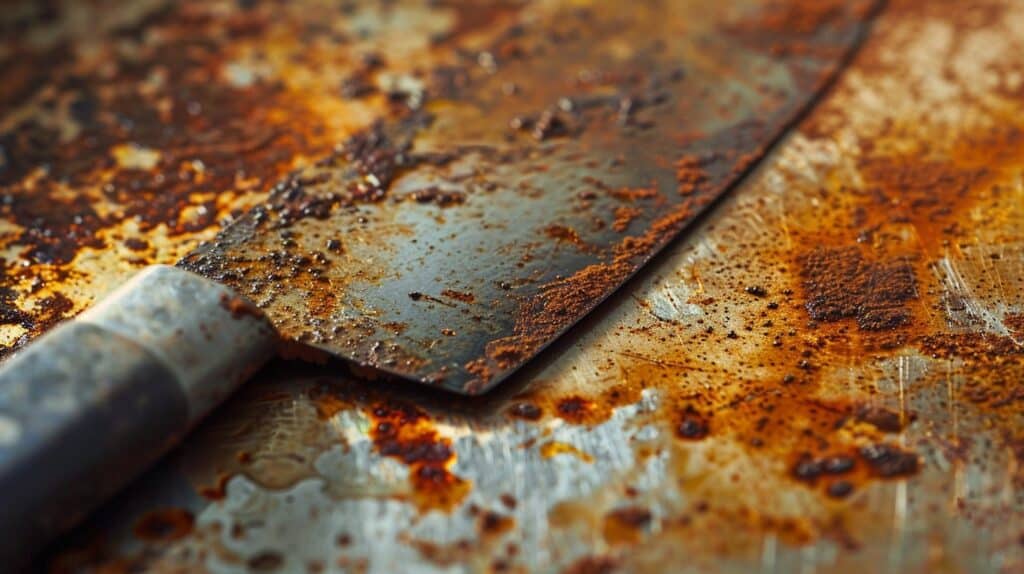
Rust forms when your knife meets water for too long. It’s like the kitchen version of a bad sunburn, except on your favorite blade, according to StaySharpMTL.
Causes of Rust Formation
Iron in your kitchen knife meets water and oxygen. This meeting starts oxidation, creating rust. Think of it like an uninvited party at your knife’s metal surface, where rust is the unwanted guest that just keeps on spreading.
I once left my favorite knife in the sink overnight. The next morning, I found spots of rust creeping over its blade. It was a classic case of cleaning gone wrong—dampness lingering too long, inviting rust to settle in.
Common kitchen slip-ups like dishwashing knives or leaving them wet can invite this trouble. Not to mention, those moments you accidentally leave a bit of lemon juice or salt on the blade after prep work; they speed up the rusting process even more by boosting corrosion, especially when temperature swings join the mix.
Varieties of Steel and Rust Vulnerability
Steel comes in many types, each with its own story on rust. Carbon steel knives shout “toughness,” but they invite rust if you don’t treat them right. Then there are stainless-steel siblings, less prone to corrosion thanks to chromium’s magic touch.
Yet, even these can succumb to spots and stains under the assault of water and salt. Think of it like a superhero showdown – carbon steel has brute strength, while stainless steel wields a protective shield.
Japanese kitchen knives often mix different metals for the best of both worlds: sharpness and durability without constant fear of rust. But no knight is invincible; exposure to corrosive environments tests their mettle.
Tools like baking soda or white vinegar come off the bench then, ready to face off against rusty foes that dare tarnish your blade’s honor. For those looking beyond DIY fixes, visit StaySharpMTL. They offer some of the finest chef knives on the market, tailored for every warrior in the kitchen arena.
Rust Possibility in Stainless-Steel Knives
Moving on from different steel types, let’s tackle stainless-steel knives. You might think these are immune to rust, but surprise—they’re not totally safe. Stainless means less prone to rusting, not rust-proof.
Over time, exposing these blades to water and certain chemicals can invite the unwelcome guest: rust.
Stainless steel might fight off rust better than a superhero capes bullets, but it isn’t invincible. Keep those slicers dry and clean them right after use. Spots of orange-brown can still pop up if you’re not careful. So yes, even your shiny kitchen warriors need a watchful eye for signs of corrosion.
Effective Methods to Eliminate Rust from Kitchen Knives
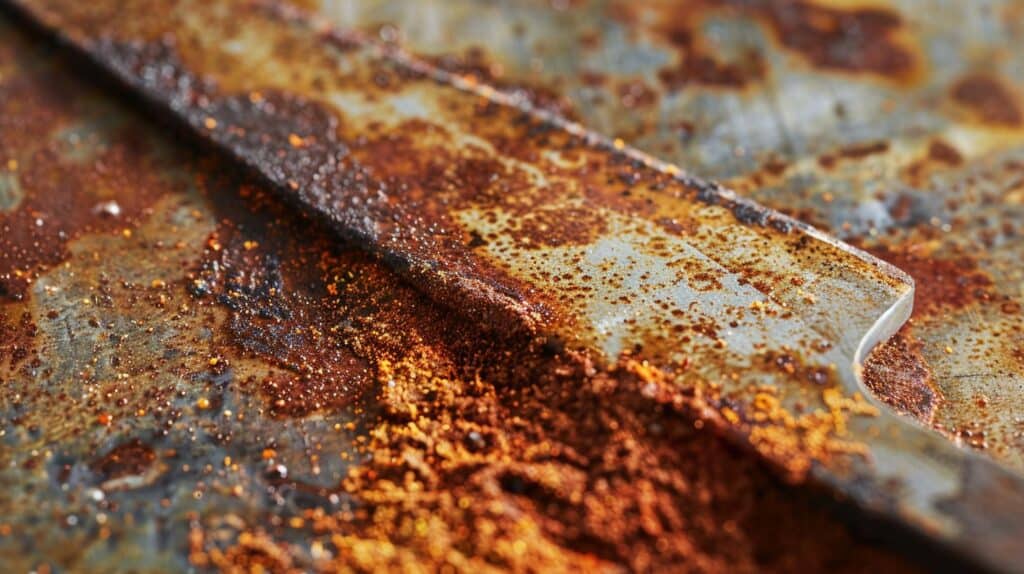
Kicking rust off your kitchen knives doesn’t need magic, just the right touch and some trusty tools. Grab your scouring pads and baking soda; it’s time to get those blades shining bright again.
Simple Wipe-off Techniques
Rust on your kitchen knives can turn chopping into a chore. But with the right approach, getting rid of that pesky rust is no sweat. Here’s how to use simple wipe-off techniques to keep your blades in top shape.
First up, grab a damp cloth. This is your go-to tool for tackling light rust spots. Gently rub the affected area with long strokes going in one direction. This method helped me save my favorite chef’s knife from becoming a rusty mess.
Next, mix some water and baking soda until it forms a paste. Using a sponge, apply this mixture onto the rust spots. The mild abrasive nature of baking soda works wonders without damaging the knife blade.
After that, use lemon juice for an extra kick against stubborn rust. Squeeze a bit onto the rust spots and let it sit for a few minutes before wiping off with the damp cloth. The citric acid in lemon juice breaks down rust like magic.
Finally, if you have minor surface rust, try using white vinegar. Soak the rusty part of the knife in vinegar for about an hour, then clean off with a cloth soaked in water. Vinegar’s acetic acid eats away at the rust, but be sure to dry your knife immediately after to prevent new rust from forming.
Remember, always dry your knife thoroughly after cleaning it to avoid future rust problems. With these steps, you’ll keep your kitchen knives sharp and ready for action without breaking a sweat or resorting to harsh chemicals.
Scouring Pad Usage
Rust on your favorite kitchen knife can put a damper on meal prep. Imagine reaching for your trusty slicer only to find it speckled with brown spots. That’s where the magic of scouring pads comes into play. These little scrubbers pack a punch against rust, getting your blades back in action without too much sweat.
Here’s how to wield a scouring pad like a pro:
- Choose a gentle scouring pad. You don’t want to scratch up your blade more than necessary. Think of it as using sandpaper – you need the right grit size. For knives, softer is better.
- Wet the pad slightly before starting. This helps prevent any unwanted scratches and makes the process smoother, just like adding oil to a squeaky hinge.
- Apply some elbow grease, but keep it controlled. Use long strokes in one direction across the blade’s surface. Picture stroking a cat: firm but gentle.
- Rinse and check your progress often. You’re looking for all those rust spots to disappear, leaving behind a clean, shiny surface.
- Dry the knife immediately after rinsing it off. Never let it air dry because that could invite more rust.
Through firsthand experience, I’ve found this method not only effective but also surprisingly satisfying. There’s something about restoring the shine to your knife that feels like bringing an old friend back to life.
Remember quadruple 0 steel wool? It can be a good alternative if you’re dealing with stubborn rust stains that don’t budge with regular scouring pads.
Next up: Let’s talk about how baking soda isn’t just for baking cookies – it’s also a secret weapon in fighting rust!
The Rust Eraser Approach
After tackling rust with a scouring pad, it’s time to level up your cleaning game with the rust eraser. This handy tool takes the fight against rust to a whole new level, offering a spotless and shiny look to your kitchen knives without harming any engravings or logos. Here’s how to use a rust eraser like a pro:
- Pick up your rusty knife and give it a quick wash under running water. Dry it off completely to see where the rust really is.
- Grab your rust eraser and get ready for some action. Start by gently rubbing it on the rust spots in one direction only. Think of it as petting a cat – go smoothly and steadily.
- Apply a bit more pressure if gentle strokes don’t do the trick, but keep it controlled. You’re not sanding down a piece of wood; you’re nursing your knife back to health.
- Check your progress as you go. After every few swipes, wipe the blade with a damp cloth to remove any residue and see how much rust is left.
- If you hit stubborn spots, wet the tip of the eraser slightly before going at them again. This extra step can make all the difference.
- Once you’ve banished all the rust from sight, wash your knife thoroughly under warm water and dry it immediately with a soft towel.
Your knife isn’t just clean now; it looks almost new thanks to this trusty method that avoids harsh chemicals and keeps those unique details sharp and clear. Rust erasers don’t just combat corrosion; they show respect for your tools by preserving their character while restoring their edge.
So next time rust dares to sneak onto your blades, reach for that magic wand known as a rust eraser—a true ally in keeping your kitchen army sharp and shiny without unnecessary wear or tear.
Baking Soda Application
Baking soda isn’t just for baking cakes or keeping your fridge smelling fresh. It’s a champ at fighting rust on kitchen knives, too. Here’s how you turn that powdery miracle into a rust-fighting superhero.
- Mix baking soda with water. Aim for a paste that’s thick enough to stick to your knife without running off. Think toothpaste consistency.
- Coat the rusty spots with this paste. Slather it on good and thick, covering all the bad areas.
- Let it sit. Patience is key here. Give it a good 15 to 30 minutes to work its magic.
- Scrub time! Grab a sponge or an old toothbrush and scrub in gentle circles. You’ll see the rust start to wave goodbye.
- Rinse and dry the knife thoroughly. Water spots can invite rust back, so make sure it’s really dry.
I’ve personally used this trick on my own set of knives after they got some ugly spots, and I was pretty pumped about the results.
Next up, let’s dive into another awesome method: using steel wool for those stubborn rust marks!
Steel Wool Strategy
Got rust on your kitchen knives? No biggie. The steel wool strategy gets the job done quick and leaves your blades looking sharp again. Let’s break it down, step by easy step.
Grab some steel wool from your cleaning supplies stash. Make sure it’s the kind you won’t mind using on your favorite knives. Now, here’s how to tackle that rust:
- Start with a dry knife – Water is not our friend at this stage.
- Gently rub the steel wool over the rusted areas. Think of it like petting a cat, not scrubbing a dirty pot.
- Use long strokes in one direction to keep things smooth. This reduces scratch marks and keeps your knife looking neat.
- Check your progress as you go – sometimes those sneaky rust spots like to hide.
- If needed, add a few drops of mineral oil to the mix for extra power against stubborn rust.
I remember the first time I tried this on my utility knife; it felt like magic, watching the rust disappear before my eyes.
After you’ve banished all that ugly rust, moving on to keeping those knives shiny is key.
Rust Prevention Strategies for Kitchen Knives
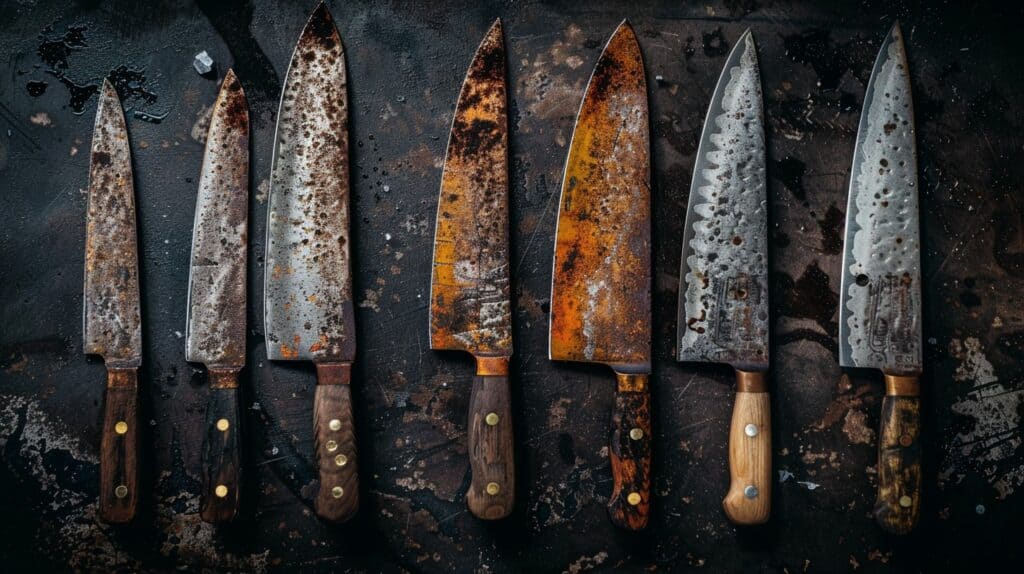
Keeping your kitchen blades free from rust is like dodging raindrops on a cloudy day – it takes some skill, but it’s doable. Let’s break down the game plan: Dry them well before tucking them away, find their cozy spot that doesn’t invite moisture, slap on some protective gear, and act fast at the first sign of trouble.
Proper Drying Techniques Before Storage
Dry your knives right away after washing. Water spots are more than just a blot on the landscape; they’re a sign you’ve left moisture to invite rust. Use a soft towel for drying. Don’t just leave knives in the dish rack to air dry.
This might seem like it saves time, but it’s an open invitation for water-damage and rust.
Store them properly after they’re bone-dry. A magnetic strip or knife block keeps blades off damp surfaces and out of harm’s way. I learned this the hard way when my favorite chef’s knife got its first spot of rust after a night on a wet countertop.
It was painful but taught me never to underestimate the power of proper drying and storage.
A dry knife is a happy knife, and a happy knife stays sharp longer.
Ideal Storage Conditions
Keep your kitchen knives in a cool, dry spot. Moisture is like a party invitation for rust. Think of it like storing leftovers; you wouldn’t leave them out because they’d go bad.
It’s the same with knives. After cleaning, make sure they’re bone-dry before putting them away. I learned this the hard way after finding my favorite knife looking like an old penny.
A magnetic strip or block works wonders for storage. Knives are off the counter and away from water splashes from the sink. Plus, it prevents them from rubbing against each other in a drawer, which can cause scratches and damage too—a simple fix that keeps sharp tools in tip-top shape.
Protective Coatings for Knives
Slapping on a thin layer of oil on your kitchen cutters works wonders. It’s like giving your knife a raincoat before it steps out into the stormy world of cooking and cleaning. I learned this trick the hard way after ruining my favorite chef’s knife.
Now, before putting them away, I always make sure they get their shiny coat. It keeps rust at bay and makes them ready for their next culinary adventure.
Oil isn’t just any protective shield; it’s the secret sauce to keeping rust off your blades. Think about it as moisturizer for your skin, but for metal. After washing and thoroughly drying my knives, I grab some vegetable oil and apply a light coat using a soft cloth or paper towel.
This simple step is like signing an insurance policy against rust, ensuring my knives stay sharp and clean without turning into rusty relics.
Immediate Actions Against Initial Rust Signs
Seeing the first signs of rust on your kitchen knives can be a real buzzkill. But don’t throw in the towel just yet; with quick action, you can stop rust in its tracks and keep your blades looking sharp and shiny. Here’s what you need to do:
First thing’s first: Grab that knife as soon as you spot any rust. Ignoring it will only let the damage grow.
Dry the knife thoroughly. Moisture is not your friend here, as it invites more rust. Use a clean towel to make sure no water is left hanging around.
Apply some vinegar to a cleaning cloth and give the rusty spots a good rub. The acid in vinegar helps break down rust, making it easier to remove.
If vinegar doesn’t cut it, try baking soda. Make a paste with water and apply it to the affected areas. Let it sit for an hour, then scrub gently with a soft brush or cloth.
Rinse and dry your knife again after treating it. You want to make sure no remnants from your cleaning agents are left behind.
Oil the blade lightly. This adds a protective layer against moisture and rust. Think of it as moisturizer for your knife!
Store your knives properly after cleaning them. A dry, safe spot where they’re not all crammed together will do wonders.
This might sound like a bit of work, but I’ve been through this routine more times than I care to admit with my own set of kitchen knives at home – especially after making rookie mistakes like leaving them wet after cleanup or forgetting them in the sink overnight. Trust me; taking these steps right away makes a huge difference in keeping your blades in top condition without having to resort to scouring pads or steel wool too often – although quadruple 0 steel wool is gentle enough for tougher jobs without scratching your knives.
By jumping on these actions fast, you prevent minor issues from becoming complete disasters – saving yourself time, money, and aggravation down the line. Plus, there’s nothing quite like showing off cooking skills with utensils that look brand new because you treated them right!
Replacement Timing for Rusty Kitchen Knives
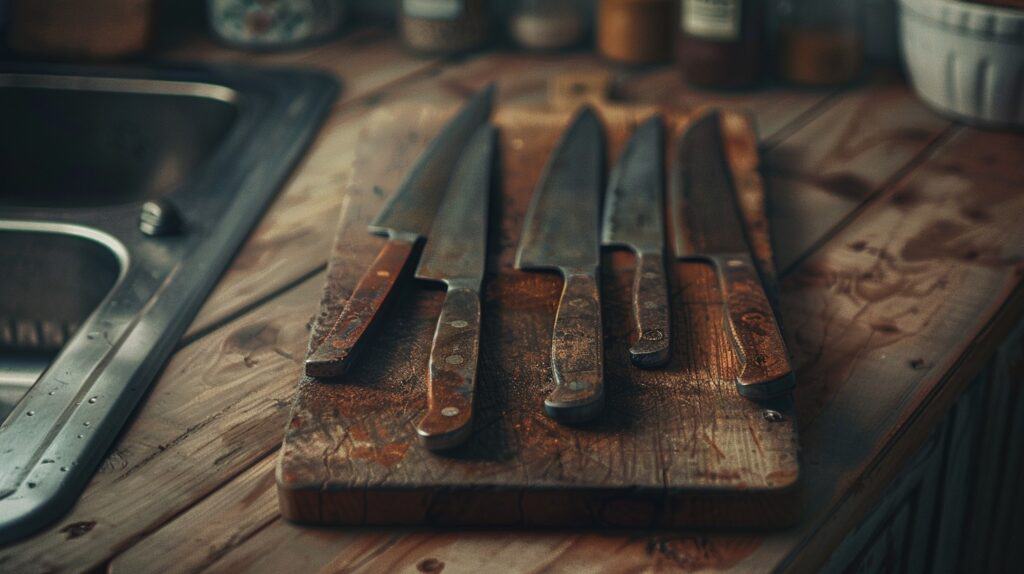
A rusty knife doesn’t make the cut. If your blade shows deep pits or the rust keeps coming back even after cleaning, it’s time for a change. Think of your knives like tools in a garage – when they’re too worn out to do their job well, you replace them.
Don’t wait until it’s too dangerous to use; a failing knife can slip and cause injuries.
Keep an eye on how smoothly your chef knife slices through tomatoes or if carving meat becomes a chore. These are signs that your trusty tool might need retiring. And don’t worry about finding a worthy successor – there are plenty of sharp new options waiting to take up the mantle in your kitchen arsenal.
Find the best chef knife here and give those long shelf life foods the prep they deserve with tools that won’t let you down.
Rust Myths Uncovered
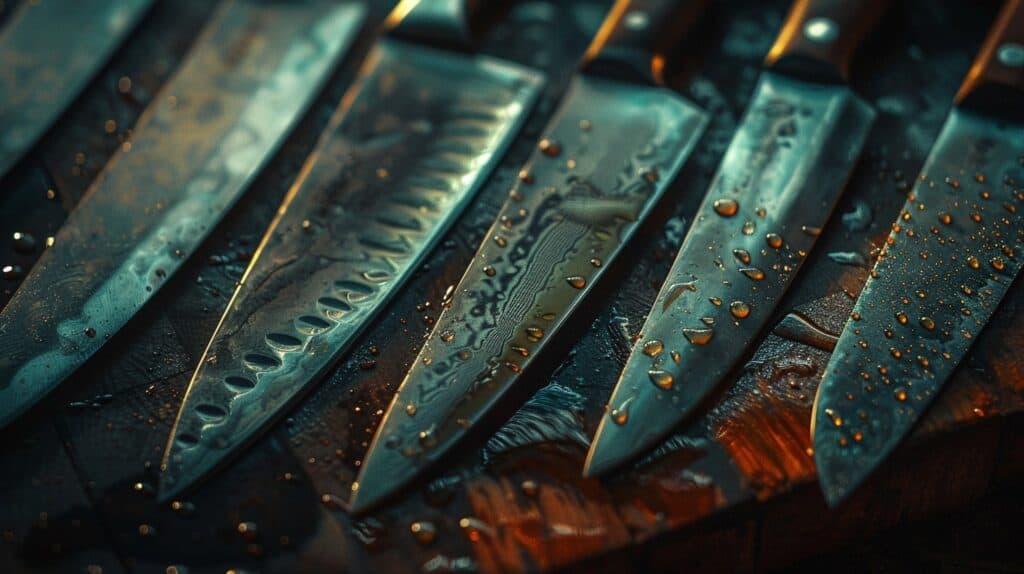
Some folks think rust turns knives into junk. That’s not the whole story. Rust attacks metal surfaces but doesn’t eat through them like termites in wood. I’ve seen plenty of blades come back from the brink with a little elbow grease and the right touch.
A buddy once told me, “If your knife is more orange than silver, you’re just a scrub away from solving your problem.” And he was right. With scouring pads and a dash of baking soda, we turned what looked like scrap metal back into culinary tools.
Only dead fish go with the flow – steer clear of rust myths.
There’s chatter that stainless-steel stays shiny and new forever. Wrong again! Even stainless gets spots if you neglect it, especially when it faces off against dishwashers or sinks on cleaning duty.
My own kitchen warrior, a Shun Kai Premier Nakiri knife, started showing its age after a dishwasher mishap. Lesson learned: hand wash only for these sharp friends, unless you want to tackle rust sooner than planned.
Pitting corrosion isn’t picky; it doesn’t care if your blade is carbon steel or alloyed perfection – neglect invites rust over every time.
FAQs About How to Remove Rust from Kitchen Knives
What’s the deal with my kitchen knives getting rusty?
Rust happens when your knives play too long in water or get cozy with dampness. It’s like they throw a party and invite ferric oxide, which is just a fancy term for rust. This unwelcome guest shows up because your knife’s metal reacts with oxygen. Not cool, right?
Can I make my rusty knife look brand new again?
Absolutely! Grab some cleaning products like sour salt or even a slice of lemon (yes, the fruit!). These can act like magic erasers to scrub away the rust. If it’s stubborn, using abrasives with different grit sizes can do wonders. Think of it as giving your knife a spa day, complete with exfoliation.
Is there a superhero tool to fight off rust?
You bet! A buffing wheel attached to a bench lathe can turn you into a knight in shining armor for your rusty knives. It buffs out the uglies and brings back that sparkle—like turning pumpkins into carriages but for cutlery.
How do I stop my knives from rusting again?
Keep them dry and happy! After washing, dry them quicker than you’d jump out of a haunted house—water is their enemy! Store them in places where air circulates well; think of it as their personal space that keeps them chill without moisture creeping in.
Are all knives doomed to rust at some point?
Not if they’re made from stainless steel or have been treated like royalty with special coatings—but let’s be real, even those high-class Shun Kai Premier Nakiri Knives need love and care to stay pristine forever.
