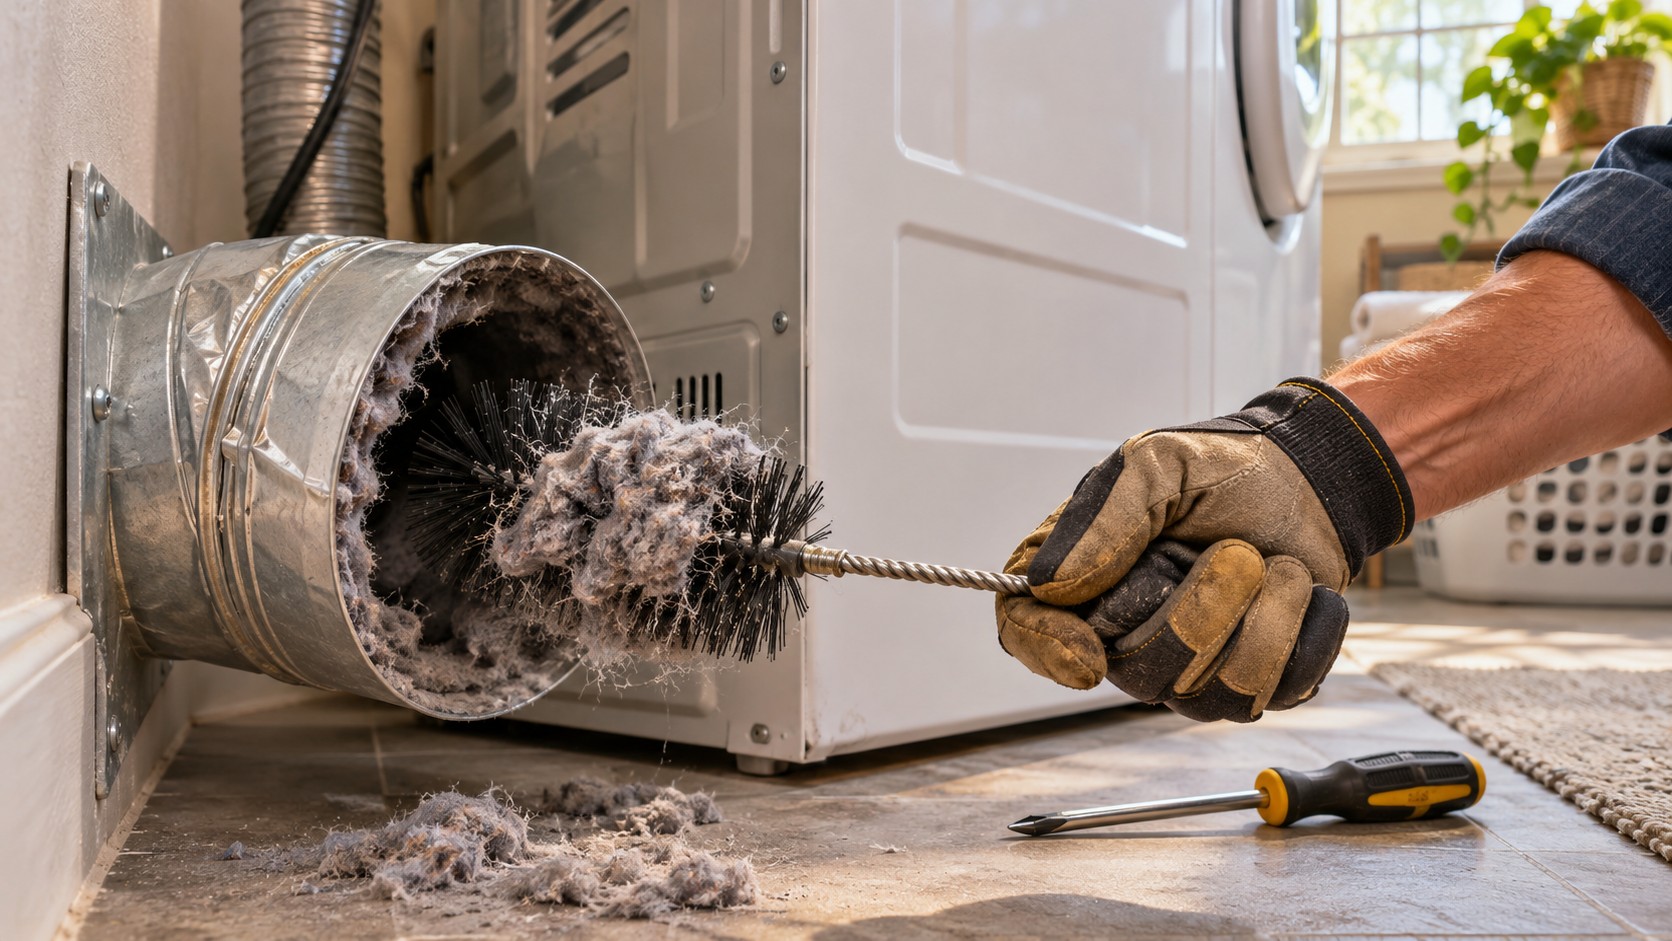
Ask most men what home maintenance they keep up with and you will hear about the furnace filter, the gutters, maybe the water heater. Almost nobody mentions the four-inch pipe behind the dryer. It is out of sight, it never makes noise, and it sits behind a machine that weighs more than 100 pounds. It is also the part of the house most likely to start a fire that you could have prevented with a screwdriver and half an hour.
The numbers
The U.S. Fire Administration estimates that about 2,900 clothes dryer fires in homes are reported to fire departments every year, causing roughly 5 deaths, 100 injuries and $35 million in property loss. The leading cause, at 34 percent, is not a wiring fault or a bad part. It is failure to clean. The same report found that these fires are most common in fall and winter and peak in January, when people are drying heavy loads: jeans, hoodies, flannel sheets, towels.
The mechanism is simple. A dryer is a heater and a fan in a box. The fan has to push hot, wet air out of the house through the vent. Lint that gets past the screen, and plenty does, settles in the duct, at every elbow and at the hood outside. As the pipe narrows, less air moves and the temperature inside the machine climbs. Lint is one of the most flammable things in your house. Campers use it as a fire starter for a reason.
Five signs your vent is choking
- A normal load needs two cycles, or jeans come out damp after an hour.
- The top of the dryer and the clothes are too hot to hold comfortably at the end of a cycle.
- The laundry room feels humid or smells musty while the dryer runs.
- You notice a hot or scorched smell. Stop the machine if you do.
- Outside, the vent flap barely opens when the dryer is on, or there is lint stuck around the hood.
Long dry times also cost money. An electric dryer is one of the hungriest appliances on your panel, and a machine that needs two cycles per load is doing the work twice.
The 30-minute job
You need a screwdriver or nut driver, a vacuum, and a dryer vent brush kit, the kind with flexible rods that screw together and attach to a drill. They run about $20 to $40 at any hardware store.
- Kill the power. Unplug the dryer. If it is gas, close the gas shutoff valve and be careful not to kink or stress the flexible gas line when you move the machine.
- Pull it out and disconnect the duct at the back of the dryer. Vacuum the exhaust port on the machine and the floor behind it.
- Brush the duct. Feed the brush into the wall pipe a section at a time, spinning the drill clockwise only so the rods do not unscrew inside the wall. Vacuum what comes out. If you can reach the hood outside, brush from that end too.
- Check the hood. The flap should swing freely. Clear lint and nests. There should be no screen over the opening: building codes prohibit screens on dryer vents because they clog.
- Clean the lint screen properly. Dryer sheets leave a film you cannot see. Hold the screen under the tap. If water pools on the mesh instead of running through, scrub it with dish soap and a brush.
- Reconnect and test. Push the dryer back without crushing the duct, run it on air-only for a few minutes, and confirm a strong stream of air at the hood outside.
Do this once a year. Do it twice if you have a big family, pets, or a long duct run.
Fix the ductwork while you are back there
If the connection behind your dryer is white vinyl or thin foil slinky hose, replace it. The model building code used across most of the United States calls for a four-inch metal exhaust duct with a smooth interior. It limits the flexible transition piece between the dryer and the wall to a single listed length of no more than eight feet that is not hidden inside a wall or floor. The same code caps the total run at 35 feet unless the dryer manufacturer specifies otherwise, and every 90-degree elbow counts as five feet of that allowance. Long screws that poke into the airstream are out too, because they catch lint. Joints get foil tape instead.
In plain terms: short, straight, rigid metal. A dryer shoved hard against the wall with the hose folded flat behind it is the most common mistake, and a recessed dryer box or a periscope-style duct solves it for about the price of a pizza.
When it is not the vent
If the duct is clean, air is blasting out of the hood and the dryer still takes forever or does not heat at all, the fault is inside the machine. Usual suspects are a blown thermal fuse, a failed heating element on an electric model, weak gas valve coils or a dead igniter on a gas model, or a bad cycling thermostat. A thermal fuse is a one-time safety device that opens when the dryer overheats, so a blown one is often the last warning sign of a vent that was restricted for months. Replacing it without fixing the airflow just buys you another blown fuse.
This is where a technician earns the fee. Internal repairs mean live voltage or gas, and a proper diagnosis includes checking exhaust temperature and airflow, not just swapping the part. Shops that work on dryers every day, such as FiXiFY Appliance Repair in the Denver area, see the pattern constantly: a no-heat or long-dry-time call that traces back to airflow.
The takeaway
You change your oil and you rotate your tires. Put the dryer vent on the same list. Thirty minutes a year, twenty dollars in tools, and you take the number one cause of dryer fires off the table.